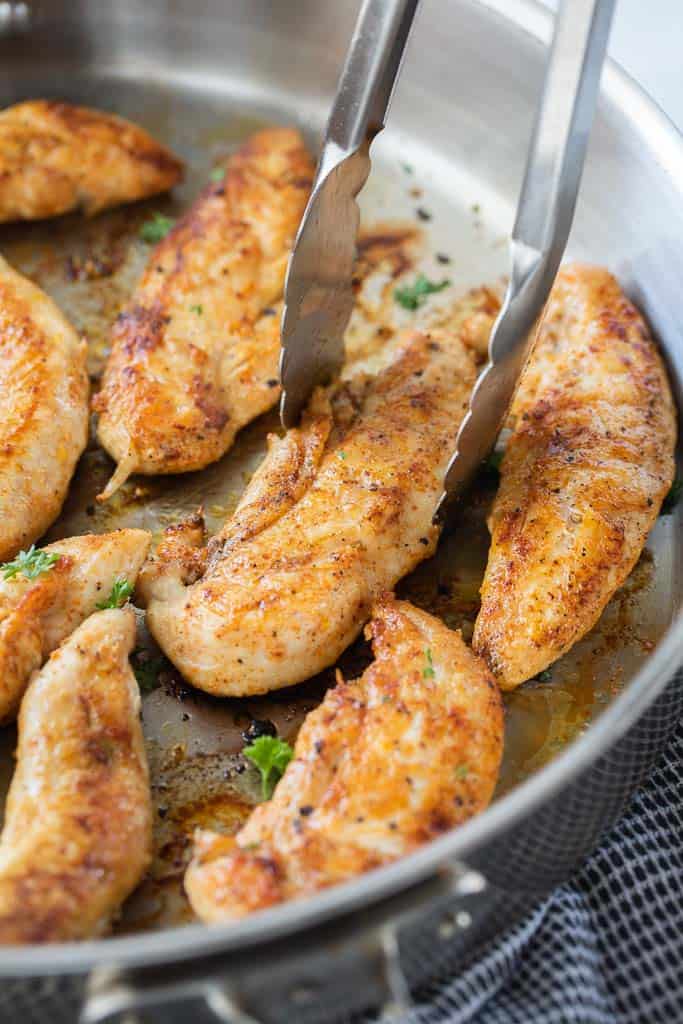
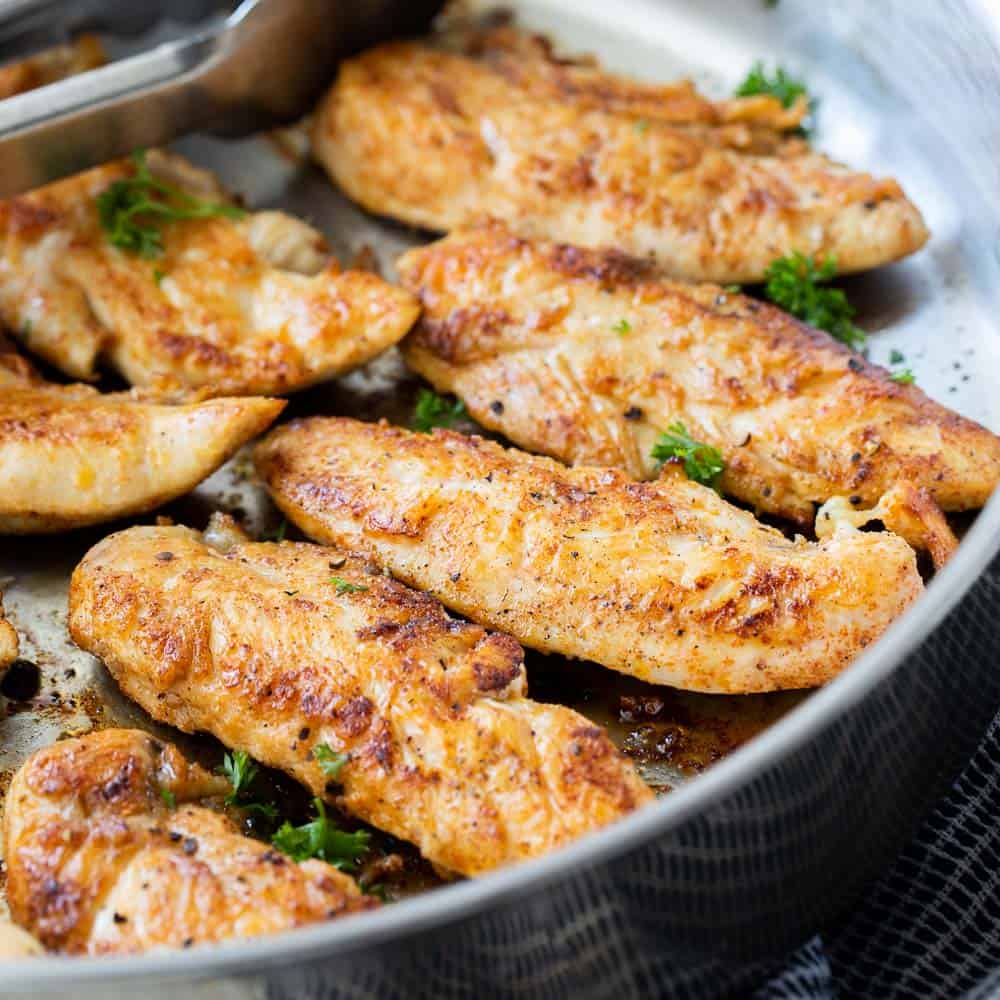
Learn how to make Pan Fried Chicken Tenders which are a delicious and easy-to-make meal that is perfect for any occasion. This recipe is a great way to enjoy juicy and flavorful chicken tenders that are crispy on the outside and tender on the inside. Whether you’re looking for a quick weeknight dinner or an after-school snack, these chicken tenders are sure to please.
Our recipe for homemade chicken tenders is made with 6 ingredients in under 10 minutes, making this a top choice for families looking for simplicity during busy times. Seasoned to perfection before pan-seared for additional flavor, these tenders turn out exactly how you imagine every time.
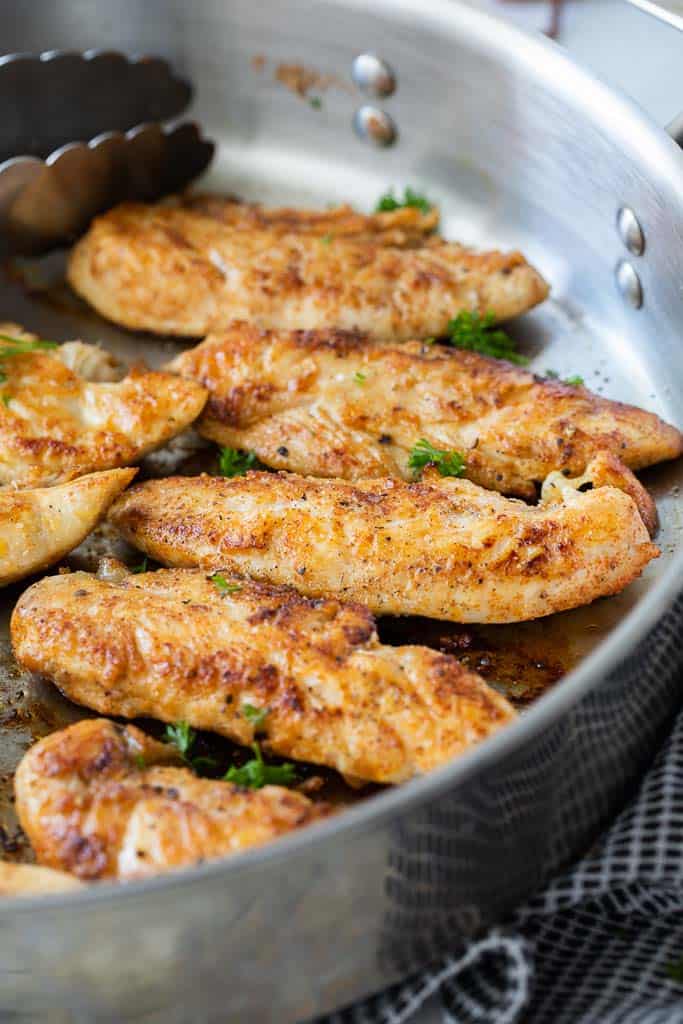
Best of all, there is no concern of drying out the chicken when following the recipe as written. Our method to making stove top fried chicken tenders has proven to impress time and time again.
Pan-fried chicken strips also make a fantastic meal prep recipe. Pan sear in bulk then use throughout the week in wraps, salads, sandwiches, tacos, enchiladas, casseroles, soups or your favorite chicken recipe.
This recipe along with Turkey Bacon in the Oven, Gluten Free Lasagna and Gluten Free Meatballs have made meal planning a breeze, especially when we use printable meal-planning spreadsheets. Meal planning can be overwhelming but with a little organization and easy-to-make recipes, you can set yourself up for success.
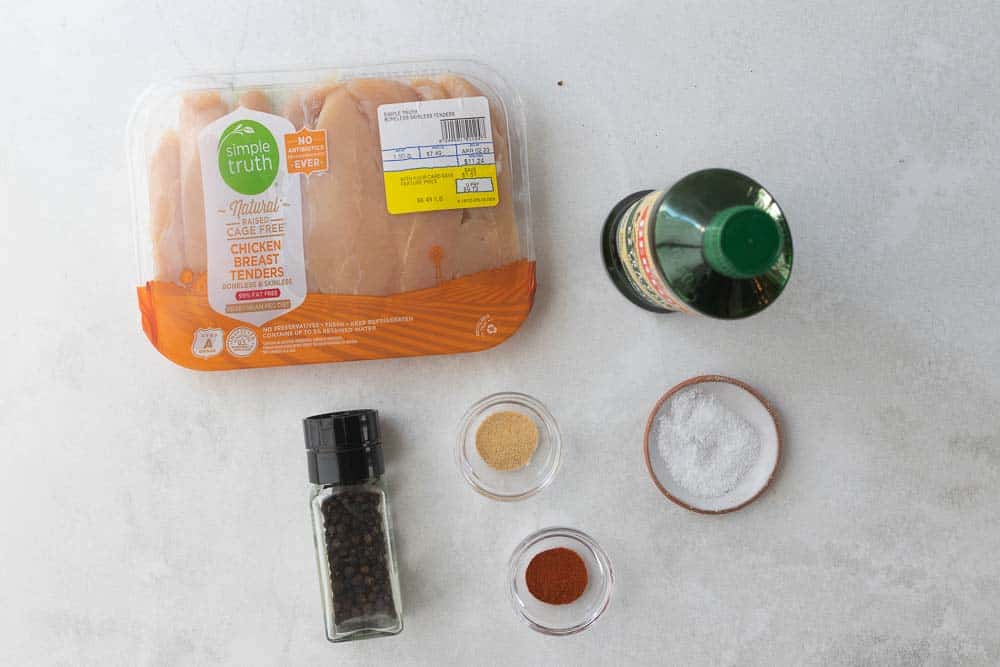
Table of Contents
Equipment
Ingredients
- 1 pound chicken tenders
- 1/2 teaspoon garlic powder
- 1/2 teaspoon paprika
- 1/2 teaspoon salt
- 1/4 teaspoon pepper
- 2 tablespoons olive oil
Gluten-Free Guide: If you’re new to eating gluten-free we understand it’s overwhelming trying to figure out which foods may contain gluten and which ones don’t. All of our gluten-free recipes marked with this symbol ✅ represent foods that need to be checked for gluten.


How To Make
Dry the chicken by patting it with a paper towel. Transfer the chicken to a mixing bowl and introduce the garlic powder, paprika, salt, and pepper. Use clean hands to thoroughly combine the ingredients.
Heat the Olive Oil:
- Start by selecting a skillet or frying pan that is appropriate for the number of chicken tenders you plan to cook. A non-stick skillet works well for this recipe, but you can also use a cast-iron or stainless steel pan.
- Add enough olive oil to coat the bottom of the skillet evenly. The oil should shimmer but not smoke when it’s hot enough. It’s best to use extra-virgin olive oil, which adds a pleasant flavor to the dish. You can also use other cooking oils like vegetable oil or canola oil if you prefer a neutral flavor.
- Allow the olive oil to heat over medium heat. This ensures that it’s hot enough to sear the chicken tenders but not so hot that it burns or smokes.
Add the Chicken Tenders:
- Carefully place the chicken tenders in the hot skillet, making sure there is some space between them. Overcrowding the pan can result in uneven cooking, so you may need to cook the tenders in batches if you have a large quantity.
- Lay the chicken tenders down in the skillet gently to avoid splattering hot oil. The side you initially place in the skillet will develop a beautiful sear, so arrange them evenly.


How Long to Fry Chicken Tender in a Pan?
Cook for 3 Minutes Without Moving:
- It’s important not to disturb the chicken tenders during the first 3 minutes. This allows them to form a golden-brown crust on the bottom side. The heat causes the proteins on the surface to react, creating that desirable sear.
- Use this time to prepare any side dishes or set the table. After about 3 minutes, you can gently lift one of the tenders to check for doneness. If it’s developed a nice sear, it’s time to flip.
Flip and Cook an Additional 2-3 Minutes:
- Use tongs to flip the chicken tenders over. The seared side should be beautifully browned. If not, give them a bit more time to develop that crust before flipping.
- Cooking times can vary depending on the thickness of the chicken tenders, so the final step should be based on the internal temperature. If you’re using an instant-read meat thermometer, insert it into the thickest part of one tender. You’re aiming for an internal temperature of 165°F (74°C). This is the minimum safe temperature for poultry.
- Continue to cook the chicken tenders for an additional 2-3 minutes on the other side. This time frame is a general guideline, but the actual cooking time may vary depending on your specific stovetop and the size of the tenders.
- Use the meat thermometer again to double-check the internal temperature. If it hasn’t reached 165°F, continue cooking until it does, but be cautious not to overcook and dry out the chicken.
Serving:
- Once the chicken tenders have reached 165°F and are fully cooked, remove them from the skillet and place them on a plate lined with paper towels to absorb any excess oil.
- Let the chicken tenders rest for a few minutes before serving. Resting allows the juices to redistribute throughout the meat, ensuring a moist and flavorful outcome.
Serving Suggestions
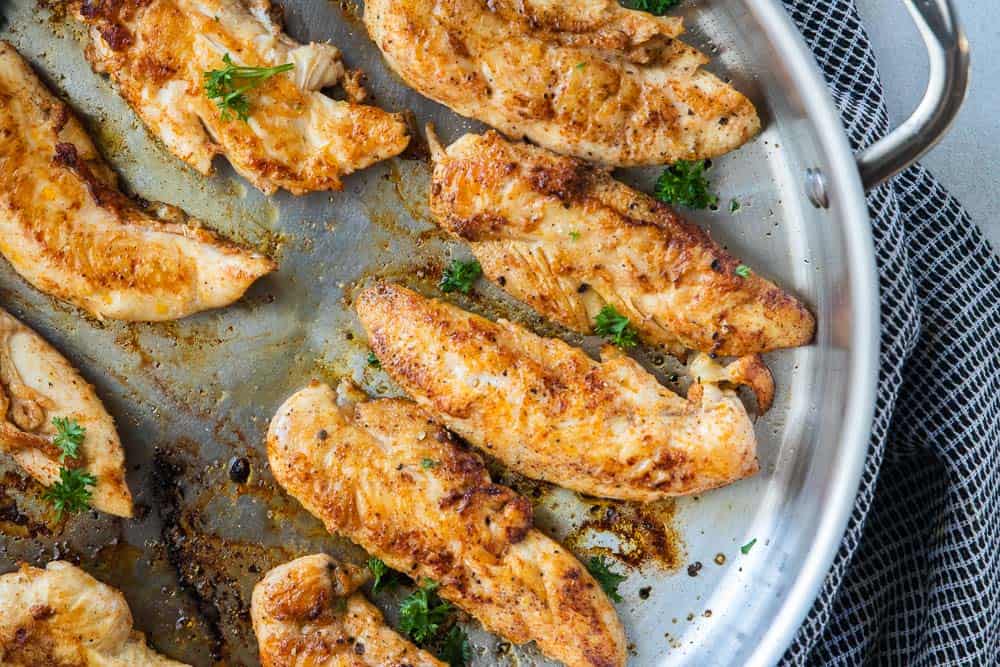
Skillet fried chicken tenders can be served with a variety of sauces from ketchup, barbeque, honey mustard or your personal favorite. Kids especially love to dip their crispy tenders into a sauce.
Turn into a chicken tender meal by serving with a starch and vegetable like any of these kid friendly options:
Or go the sweeter router by including Fruit Salad With Watermelon, Fruit Dip with Cool Whip, Mango Chunks or Watermelon Sticks on dinner plates.
Tips For Cooking Chicken
- Cook until the internal temperature reaches 165°F. Always insert the meat thermometer into the thickest part of the chicken tender when temping.
- Only use fresh tenders when pan frying for best results. Defrost frozen tenderloins or add to the air fryer straight from the freezer.
- Arrange the tenders in a single layer to not overcrowd the skillet with tenderloins. If cooking in bulk, make multiple batches or use a larger skillet.
- Let the skillet preheat before adding the chicken. This is necessary for making crispy chicken.
- Customize the flavor profile of this recipe by swapping out any of the spices for your personal favorites.
- Add a hint of spice by mixing red pepper flakes into the seasoning blend or sprinkling on the top of individual chicken tenders.
- Do not flip chicken until the edges start to turn white and the tenders easily pull away from the pan.
- Take advantage of the flavors in the skillet by deglazing with chicken or vegetable broth after the chicken has been removed. Scrape the glaze (aka fond) from the bottom of the skillet to simmer with the broth to create a flavorful sauce that can be drizzled over the chicken or used as a gravy for potatoes.
- Let the chicken rest for 3-5 minutes after cooking to keep the juices from running all over the plate.
Frequently Asked Questions
It is important to ensure chicken is fully cooked before serving. Having a meat thermometer when cooking chicken is a must if you want to keep it moist yet safe. Every stovetop cooks a bit differently so eliminate the guessing game by using a kitchen thermometer. The cooking time is going to be around 10 minutes and the chicken temp you are aiming for is 165 degrees.
Grab your frozen chicken tenders and put them in a tightly sealed plastic bag then fill your empty sink with cold water. Take your plastic bag with the tenders and immerse into the sink full of water. Set a timer and change out the water every half over to keep it nice and cold. For every pound of chicken, it will take a little over an hour to thaw completely and be ready to cook.
Make in a non-stick, stainless steel or a cast iron skillet. You could also cook in a Dutch oven pot if that is available.
These easy pan fried chicken tenders are flourless but if you are craving a more traditional piece of fried chicken, we have you covered as well. Check out Gluten Free Fried Chicken for a recipe that is perfectly flavored and cooked to perfection.
Storing Pan Fried Chicken Tenders
In the fridge: Store up to 5 days in a covered container.
In the freezer: Store up to 3 months in a covered container or in a Ziploc bag.
Reheating Leftovers
Microwave: Place in a microwave safe bowl with a splash of water or broth to reheat in 30-second increments.
Oven: Start by preheating the oven to 325 degrees then place the tenders on a baking sheet or dish (spread out so they aren’t touching). Brush oil on top of the chicken then bake for 10-12 minutes or until heated through. This is our recommended way to reheat as it keeps the chicken from drying out.
Skillet: Reheat chicken by adding to a preheated skillet over low heat for 5-7 minutes or until hot.
Air Fryer: Reheating in an air fryer will help crisp up the outside while heating the inside. Check out full instructions for Reheating Chicken Tenders in the Air Fryer.
Kids In The Kitchen
Cooking tips and suggestions for kids making this recipe.
- Serve this chicken tender recipe with your favorite dipping sauce such as BBQ, honey mustard or ketchup.
- Let the pan fried chicken rest for 5 minutes after removing from the skillet to keep the tenders juicy.
- Patting the chicken dry with a paper towel helps the seasoning to stick and make the tenders crispier.
More Chicken Tenderloin Recipes
- Boiled Chicken Tenders
- Air Fryer Ranch Chicken Tenders (No Breading)
- Gluten Free Chicken Tenders
- Flaxseed Chicken Tenders
- Instant Pot Frozen Chicken Tenderloins
- Chicken On A Stick
CKC Features both Gluten-Free Guidance and Kids Cooking Instructions: If you’re new to eating gluten-free we understand it’s overwhelming trying to figure out which foods may contain gluten and which ones don’t. All of our gluten-free recipes marked with this symbol ✅ represent foods that need to be checked for gluten or cross-contamination.
The ⭐️ symbol in the recipe below denotes the steps in which kid cooks may need a helper (depending on age). If there is no ⭐️ symbol, that step (or recipe) doesn’t require a helper.
Pan Fried Chicken Tenders
Equipment
Ingredients
- 1 pound chicken tenders
- 1/2 teaspoon garlic powder
- 1/2 teaspoon paprika
- 1/2 teaspoon salt
- 1/4 teaspoon pepper
- 2 tablespoons olive oil
Instructions
- Prep the chicken. Pat the chicken dry with paper towel. Add the chicken to a mixing bowl and add the garlic powder, paprika, salt, and pepper. Using clean hands mix well.1 pound chicken tenders, 1/2 teaspoon garlic powder, 1/2 teaspoon paprika, 1/2 teaspoon salt, 1/4 teaspoon pepper
- Cook the chicken. Heat the olive oil over medium heat in a skillet. Once hot, add the chicken tenders. Cook for 3 minutes without moving. Flip then cook an additional 2-3 minutes or until the internal temperature hits 165°F.2 tablespoons olive oil
- Serve. Serve hot or cold as is or with your favorite recipe.
Notes
-
- Cook until the internal temperature reaches 165°F. Always insert the meat thermometer into the thickest part of the chicken tender when temping.
-
- Only use fresh tenders when pan frying for best results. Defrost frozen tenderloins in the fridge.
-
- Arrange the tenders in the skillet in a single layer to not overcrowd the skillet with tenderloins. If cooking in bulk, make multiple batches or use a larger skillet.
-
- Let the skillet preheat before adding the chicken. This is necessary for making crispy chicken.
-
- Customize the flavor profile of this recipe by swapping out any of the spices for your personal favorites.
-
- Add a hint of spice by mixing red pepper flakes into the seasoning blend or sprinkling on the top of individual chicken tenders.
-
- Do not flip chicken until the edges start to turn white and the tenders easily pull away from the pan.
-
- Take advantage of the flavors in the skillet by deglazing with chicken or vegetable broth after the chicken has been removed. Scrape the glaze (aka fond) from the bottom of the skillet to simmer with the broth to create a flavorful sauce that can be drizzled over the chicken or used as a gravy for potatoes.
-
- Let the chicken rest for 3-5 minutes after cooking to keep the juices from running all over the plate.
Nutrition
If you enjoyed these recipes make sure to leave a comment and a star rating below!
Then follow us on social media and tag #createkidsclub if you make the recipe. We love seeing what you come up with!




Leave a Reply