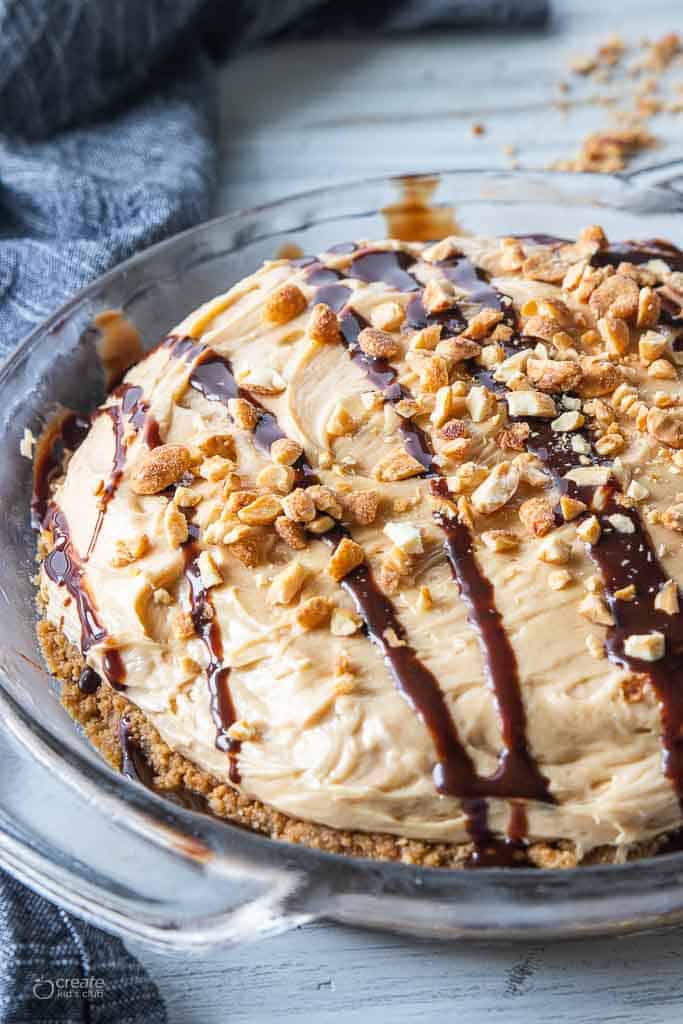
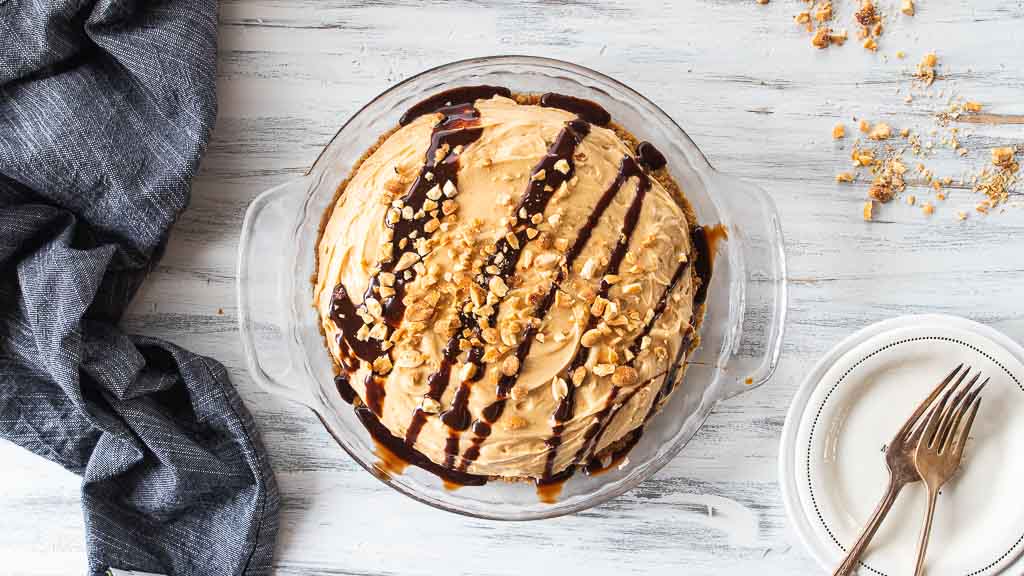
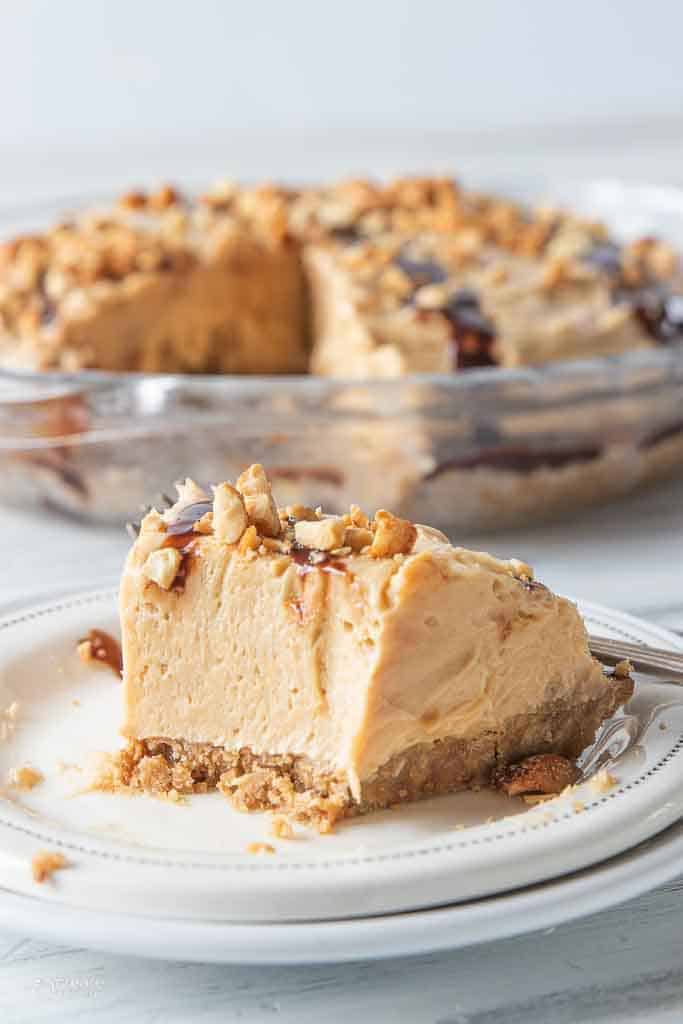
Our gluten free peanut butter pie is so easy it will become your go-to dessert for parties and gatherings. Made with simple ingredients including natural peanut butter, cream cheese, and cool whip topping.
This peanut butter pie recipe has been described as outstanding, amazing and even the best pie ever! We especially love this recipe because no one will even know it’s gluten-free. It’s the creamy filling and melt in your mouth crust your guests will notice!
Looking for another delicious graham cracker crust dessert? We have you covered with our no-bake cheesecake bites!

Using a no-bake graham cracker crust, this is a recipe that kids can tackle all on their own. It’s great for young bakers looking to create a new recipe for friends and family.
Kids will learn how to make peanut butter pie homemade plus how to make a graham cracker pie crust from scratch. All while becoming more comfortable in the kitchen creating gluten-free recipes.
To get started, gather the equipment and ingredients then follow the instructions or check out the kid-friendly recipe card below. Enjoy!


Table of Contents
Ingredients
Graham Cracker Crust
- 5.6-ounce box gluten-free graham crackers, crushed about 2 cups
- 1/2 cup butter, melted
- 2 teaspoons granulated sugar
- 1/8 teaspoon salt
Filling
- 8 ounces cream cheese, room temperature ✅
- 1 1/4 cup powdered sugar
- 1 cup natural peanut butter ✅
- 8 ounces whipped topping ✅
Toppings
- 2 tablespoons chocolate sauce ✅
- 2 tablespoons peanuts, crushed ✅
Gluten-Free Guide: If you’re new to eating gluten-free we understand it’s overwhelming trying to figure out which foods may contain gluten and which ones don’t. All of our gluten-free recipes marked with this symbol ✅ represent foods that need to be checked for gluten.
How To Make No Bake Peanut Butter Pie with Cool Whip
In a medium-sized bowl add the crushed graham crackers, sugar, and salt. Blend. Pour in the melted butter and stir well. Press into the pie pan firmly, using the back of a measuring cup to help press it down. Refrigerate until ready to use.


Make the filling
In the large bowl blend the cream cheese with the powdered sugar. Add the peanut butter and blend well. Use a spatula to fold in the whipped topping. Pour into the crust.


Refrigerate
Refrigerate the pie until it is firm, at least 1 hour.
Serve
Top with drizzled chocolate sauce and crushed peanuts.


Recipe Tips and Tricks
- Use a Food Processor: If you have a food processor, use it to crush the graham crackers. It will give you a more consistent texture and save you time. You can also use a plastic bag and a rolling pin to crush the crackers.
- Even Crust Thickness: When pressing the crust into the pie pan, make sure the thickness is even across the bottom and up the sides. This will ensure that each slice has a consistent crust.
- Chill the Crust: Refrigerating the crust before adding the filling helps it set and hold together better. It also makes for a firmer crust.
- Soften Cream Cheese: Make sure the cream cheese is at room temperature. This makes it easier to blend and results in a smoother filling. If it’s too cold, you may end up with lumps.
- Gradually Add Powdered Sugar: Add the powdered sugar gradually while blending with the cream cheese. This will prevent lumps and help you achieve a creamy consistency.
- Peanut Butter: Use natural peanut butter for a richer, nuttier flavor. You can also adjust the amount to your taste. If you want a stronger peanut butter flavor, you can add a little more.
- Whipped Topping: When folding in the whipped topping, do it gently to keep the filling light and airy. Overmixing can make it dense.
- Chilling Time: It’s best to refrigerate the pie for at least 2-3 hours to allow it to set completely. This will make slicing and serving much easier.
- Chocolate Drizzle: When drizzling chocolate sauce, you can do it in a decorative pattern using a squeeze bottle or a zip-top bag with a small hole cut in the corner. This will make your pie look more appealing.
- Crushed Peanuts: Toast the peanuts before crushing them for added flavor and a nice crunch. You can do this by placing them in a dry pan over medium heat for a few minutes, stirring frequently until they’re lightly browned.
- Variations: Get creative with toppings. Consider adding a few chocolate shavings, Reese’s peanut butter cups, or even a sprinkle of sea salt for a gourmet touch.

Frequently Asked Questions
Absolutely! Freezing this pie is a great way to save for a later date. You can freeze the entire pie or slice and freeze individual portions. Either way, it makes a delicious frozen treat. To freeze, wrap the pie or slices in plastic wrap to prevent freezer burn and store for up to 3 months.
You can double the recipe and divide between two pie pans or make in a 9×13 dish to feed a larger crowd.
Along with chocolate syrup and peanuts, you could toss shredded coconut, hot fudge, whipped cream, chopped pecans, butterscotch chips, and/or mini chocolate chips on top.

Storage Instructions
To store your Peanut Butter Pie with Graham Cracker Crust, place any leftovers in an airtight container or cover it with plastic wrap and aluminum foil. Ensure it’s well-sealed. The pie should be refrigerated promptly after serving, and it’s best consumed within 3-4 days for the best taste and texture.
Avoid freezing, as it can affect the pie’s creamy consistency and the crust’s texture.
Kids In The Kitchen
Cooking tips and suggestions for kids making this recipe.
- Use the back of a spoon, measuring cup or the bottom of a cup to firmly press the crust into the pie plate
- Letting the cream cheese come to room temperature first will make it easier to mix into the pie ingredients
- Use a whisk or food processor if you do not have a hand mixer
More Easy Pie Recipes
- Gluten-Free Pecan Pie
- Gluten-Free Impossible Pumpkin Pie
- Old Fashioned Sweet Potato Pie
- The Best Gluten-Free Apple Pie
- Dairy Free Chicken Pot Pie
- Gluten Free Chicken Pot Pie
- Crustless Chicken Pot Pie
- Gluten-Free Shepards Pie
- Easy Greek Spinach Pie
CKC Features both Gluten-Free Guidance and Kids Cooking Instructions: If you’re new to eating gluten-free we understand it’s overwhelming trying to figure out which foods may contain gluten and which ones don’t. All of our gluten-free recipes marked with this symbol ✅ represent foods that need to be checked for gluten or cross-contamination.
The ⭐️ symbol in the recipe below denotes the steps in which kid cooks may need a helper (depending on age). If there is no ⭐️ symbol, that step (or recipe) doesn’t require a helper.
Gluten Free Peanut Butter Pie Recipe
Equipment
- large mixing bowl
- handheld mixer or stand mixer
Ingredients
Graham Cracker Crust
- 5.6 ounce box gluten-free graham crackers, crushed about 2 cups
- 1/2 cup butter, melted
- 2 teaspoons granulated sugar
- 1/8 teaspoon salt
Filling
- 8 ounces cream cheese, room temperature ✅
- 1 1/4 cup powdered sugar
- 1 cup natural peanut butter ✅
- 8 ounces whipped topping ✅
Topping
- 2 tablespoons chocolate sauce ✅
- 2 tablespoons peanuts, crushed ✅
Instructions
- Make the crust. In a medium-sized bowl add the crushed graham crackers, sugar, and salt. Blend. Pour in the melted butter and stir well. Press into the pie pan firmly, using the back of a measuring up to help press it down. Refrigerate until ready to use.5.6 ounce box gluten-free graham crackers, crushed, 1/2 cup butter, melted, 2 teaspoons granulated sugar, 1/8 teaspoon salt
- ⭐️Make the filling. In the large bowl blend the cream cheese with the powdered sugar. Add the peanut butter and blend well. Use a spatula to fold in the whipped topping. Pour into the crust.8 ounces cream cheese, room temperature, 1 1/4 cup powdered sugar, 1 cup natural peanut butter, 8 ounces whipped topping
- Refrigerate. Refrigerate the pie until it is firm, at least 1 hour.
- Serve. Top with drizzled chocolate sauce and crushed peanuts.2 tablespoons chocolate sauce, 2 tablespoons peanuts, crushed
Notes
- More pie topping ideas: shredded coconut, hot fudge, whipped cream, chopped pecans, butterscotch chips, and/or mini chocolate chips.
- Storing: Store in the fridge for up to 3 days in an airtight container.
- Freezing: Store in the freezer for up to 3 months wrapped in plastic wrap to prevent freezer burn.
- Feeding large crowd: Double the recipe and divide between two pie pans or make in a 9×13 dish.
Nutrition
If you enjoyed these recipes make sure to leave a comment and a star rating below!
Then follow us on social media and tag #createkidsclub if you make the recipe. We love seeing what you come up with!


Susan says
I made this pie exclusively for one of my sons ( I have 5 sons all grown!) who has celiac disease. This was last Christmas of ’23. I had also bought a Pumpkin Pie, and Apple Pie for the other sons. Turned out, that the other sons didn’t want the store bought pies, they wanted to eat the Peanut Butter pie!! This pie is spot on of a peanut butter pie that I tried at a Casino a few years ago, and always wondered how to make it. Thanks to your recipe I can have it any time I want, make extra pies and give them to my sons! The only difference I did was used Jiff peanut butter, and chopped up Reese’s peanut butter cups to put on top. This pie is sooo amazing! Thank you again, for posting this!!!
Jodi Danen, RDN says
Thank you so much for sharing Susan! I’m so happy you enjoy this pie as much as my family does!