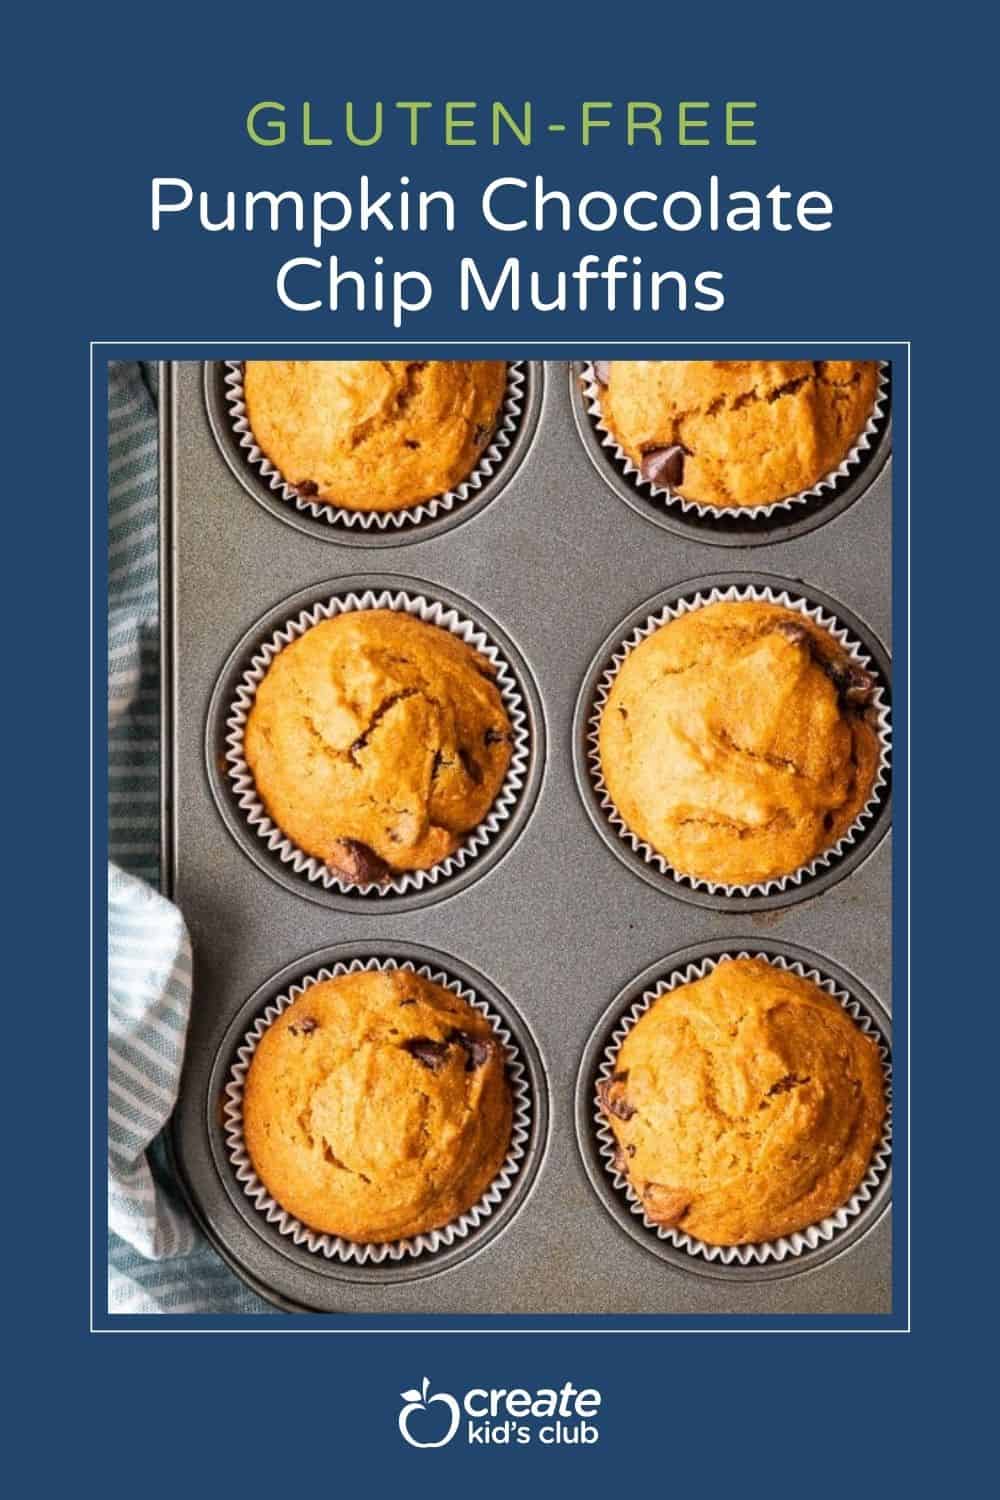
Indulge in the delightful flavors of autumn with our delectable gluten free chocolate chip pumpkin muffins. These mouthwatering treats boast an irresistible moistness and velvety chocolate chips. Whether you’re catering to the discerning palates of toddlers, seeking a quick and nutritious breakfast, preparing lunchbox surprises, or ending your day with a scrumptious dessert, these pumpkin muffins are the ultimate choice.
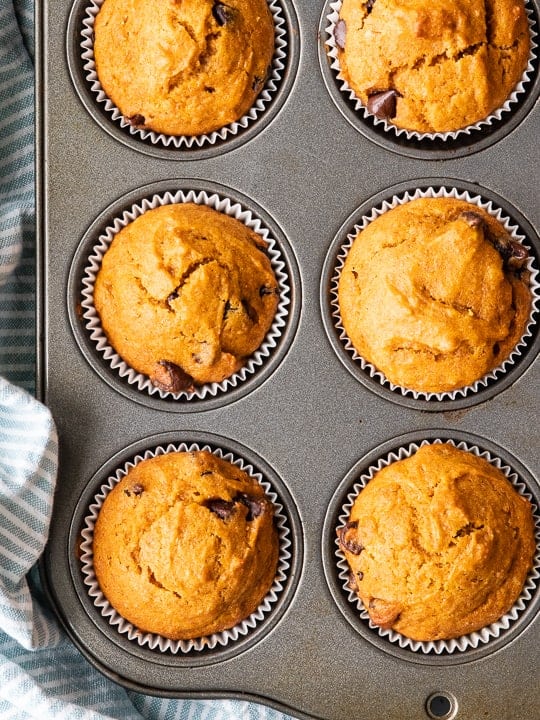
As the leaves turn golden and the air becomes crisp, our pantry is always stocked with canned pumpkin. Its versatility shines as it seamlessly transitions from starring in savory dishes to becoming the star ingredient in sweet confections. These muffins exemplify autumn’s finest – the comforting allure of pumpkin, and the irresistible allure of chocolate. Each bite transports you to a cozy fall day, making our gluten-free chocolate chip pumpkin muffins an absolute must-have for your fall menu.
Table of Contents
Ingredients
- 15 oz. can pumpkin
- 3 cups all-purpose gluten-free flour
- 1 1/2 cup sugar
- 1 cup vegetable oil
- 4 eggs
- 2 tsp. almond extract ✅
- 1 tsp. baking soda ✅
- 1 tsp. salt
- 1 cup chocolate chips ✅
Gluten-Free Guide: If you’re new to eating gluten-free we understand it’s overwhelming trying to figure out which foods may contain gluten and which ones don’t. All of our gluten-free recipes marked with this symbol ✅ represent foods that need to be checked for gluten.
How to Make
Begin by preheating your oven to 400 degrees Fahrenheit and generously coat your muffin tins with a non-stick cooking spray. This ensures that your muffins will release effortlessly once they’re baked to perfection.
In a mixing bowl, combine the dry ingredients that form the foundation of these delectable muffins. This includes the gluten-free flour, baking soda, and a pinch of salt. Whisk them together until they’re evenly combined, setting the stage for the wonderful texture and taste of your muffins.


In a separate medium-sized bowl, combine the wet ingredients. Combine the sugar, oil, eggs, and a touch of almond extract. These elements will infuse your muffins with sweetness, moisture, and a subtle hint of almond essence. Gently fold in the canned pumpkin, which is the star ingredient that defines these autumn treats.
Now, it’s time to combine the dry and wet ingredients. Carefully pour the wet mixture into the bowl of dry ingredients. Stir just until the ingredients begin to blend, taking care not to overmix. Add the chocolate chips to the mix. Gently fold them in until they’re distributed evenly throughout the batter, providing pockets of gooey chocolate goodness in every bite.


Spoon the batter into your prepared muffin tins, filling each about two-thirds full. Slide the tins into the preheated oven and let the magic happen. Bake for approximately 15-20 minutes, or until a trusty knife inserted into the center emerges clean.
Once baked to golden perfection, allow your muffins to cool for a few minutes.
Pumpkin Muffin Mix-In Ideas
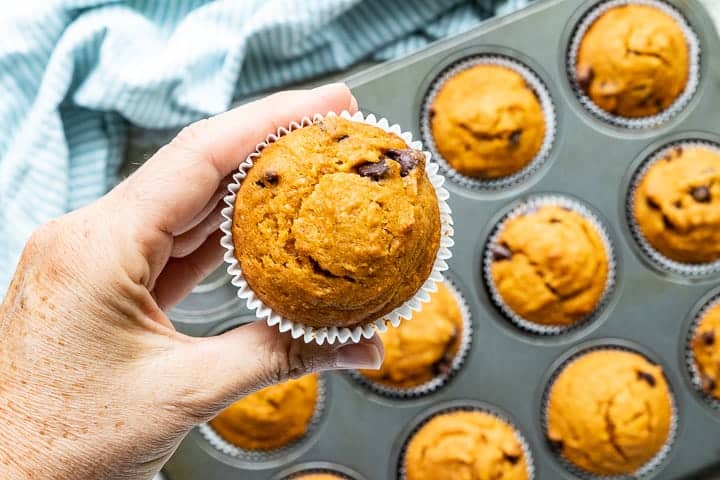
Even those this recipe makes the best pumpkin chocolate chip muffins, I do love to mix things up and throw in additional ingredients. Here are a few suggestions:
- Shredded coconut
- Cinnamon sugar
- Nutmeg
- Pumpkin spice seasoning
- Mini chocolate chips
- White chocolate chips
- Zucchini shreds
- Cream cheese
- Banana
Recipe Tips and Tricks
- Use Quality Ingredients: Start with fresh, high-quality ingredients for the best results. Ensure your canned pumpkin is pure pumpkin puree, and select a gluten-free flour blend that works well for baking.
- Room Temperature Ingredients: Allow your eggs and canned pumpkin to come to room temperature before using them. This helps with better mixing and a smoother batter.
- Don’t Overmix: When combining the wet and dry ingredients, be cautious not to overmix the batter. Overmixing can lead to tough muffins. Mix just until the ingredients are incorporated.
- Chocolate Chips: Use good-quality chocolate chips for a rich and indulgent flavor. You can also try different types of chocolate, like dark or semi-sweet, to customize the taste.
- Muffin Liners: Consider using parchment paper muffin liners or silicone muffin cups for easy removal and less sticking.
- Filling Muffin Tins: Fill each muffin cup about two-thirds full. This allows room for the muffins to rise and prevents them from overflowing.
- Even Distribution: Ensure the chocolate chips are evenly distributed throughout the batter to guarantee every bite has a delightful chocolate surprise.
- Baking Time: Keep a close eye on the muffins towards the end of the baking time. Insert a toothpick or knife into the center of a muffin—if it comes out clean or with a few moist crumbs, they’re done. Avoid overbaking, as it can result in dry muffins.
- Cooling: Let the muffins cool in the tin for about 5 minutes before transferring them to a wire rack to cool completely. This helps them set and prevents them from becoming too moist.
- Variations: Feel free to customize your muffins by adding chopped nuts, spices like cinnamon or nutmeg, or a drizzle of glaze on top for extra flavor and visual appeal.
FAQ
Yes, you can use fresh pumpkin puree if you prefer. Just ensure it’s well-drained and has a similar consistency to canned pumpkin.
Absolutely! Substitute dairy-free alternatives for milk and chocolate chips to make these muffins dairy-free.
To make these muffins healthier, consider using a natural sweetener like honey or maple syrup instead of sugar. You can also add grated carrots or zucchini for extra nutrients.
Absolutely! Spices like cinnamon, nutmeg, or pumpkin pie spice can enhance the flavor profile of these muffins. Start with a teaspoon and adjust to taste.
Storage Instructions
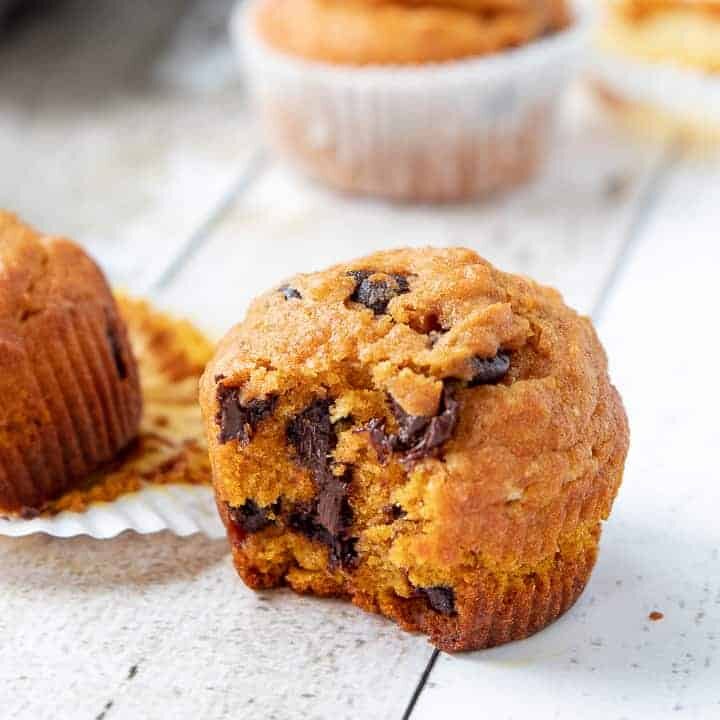
Allow your muffins to cool completely on a wire rack after baking. Once they’ve reached room temperature, transfer any leftover muffins to an airtight container. If you don’t have an airtight container, you can also use a resealable plastic bag.
If you plan to enjoy the muffins within the next two days, they can be stored at room temperature. However, for longer shelf life, it’s advisable to store them in the refrigerator, where they will remain fresh for up to a week. Refrigeration helps maintain their moisture and prevents any potential spoilage.
For extended storage, you can freeze the muffins for several months. Wrap each muffin individually in plastic wrap or aluminum foil to maintain their freshness. Place the wrapped muffins in a resealable freezer bag, ensuring you remove as much air as possible before sealing. Be sure to label the bag with the date for reference.
When you’re ready to enjoy your frozen muffins, simply thaw them in the refrigerator or at room temperature. You can also warm them in the oven or microwave for that freshly baked taste.
More family-friendly recipes
CKC Features both Gluten-Free Guidance and Kids Cooking Instructions: If you’re new to eating gluten-free we understand it’s overwhelming trying to figure out which foods may contain gluten and which ones don’t. All of our gluten-free recipes marked with this symbol ✅ represent foods that need to be checked for gluten or cross-contamination.
The ⭐️ symbol in the recipe below denotes the steps in which kid cooks may need a helper (depending on age). If there is no ⭐️ symbol, that step (or recipe) doesn’t require a helper.
Gluten-Free Chocolate Chip Pumpkin Muffins Recipe
Ingredients
- 15 ounce can pumpkin ✅
- 3 cups all-purpose gluten-free flour
- 1 1/2 cup sugar
- 1 cup vegetable oil
- 4 large eggs
- 2 teaspoon almond extract ✅
- 1 teaspoon baking soda ✅
- 1 teaspoon salt
- 1 cup chocolate chips ✅
Instructions
- Preheat the oven. Preheat oven to 400 degrees and prepare muffin tins with non-stick cooking spray.
- Combine the dry ingredients. In a large bowl, combine the dry ingredients including flour, baking soda, and salt.
- Combine the wet ingredients. In a medium-sized bowl, combine the wet ingredients: sugar, oil, eggs, and almond extract. Stir in the canned pumpkin.
- Stir together. Pour the wet ingredients into the dry ingredients, stirring just until the ingredients start to blend. Add the chocolate chips and stir until just blended.
- ⭐️Bake. Bake for 15-20 minutes or until a knife inserted into the center comes out clean.
Notes
Nutrition
If you enjoyed these recipes make sure to leave a comment and a star rating below!
Then follow us on social media and tag #createkidsclub if you make the recipe. We love seeing what you come up with!





Beth says
I tried these as muffins and made a second batch into bread. Both were amazing. Kids loved it!
Beth says
Super YUMMY, Jodi! We will be featuring you starting Wednesday at the Creative Crafts Linky Party!
Creatively, Beth