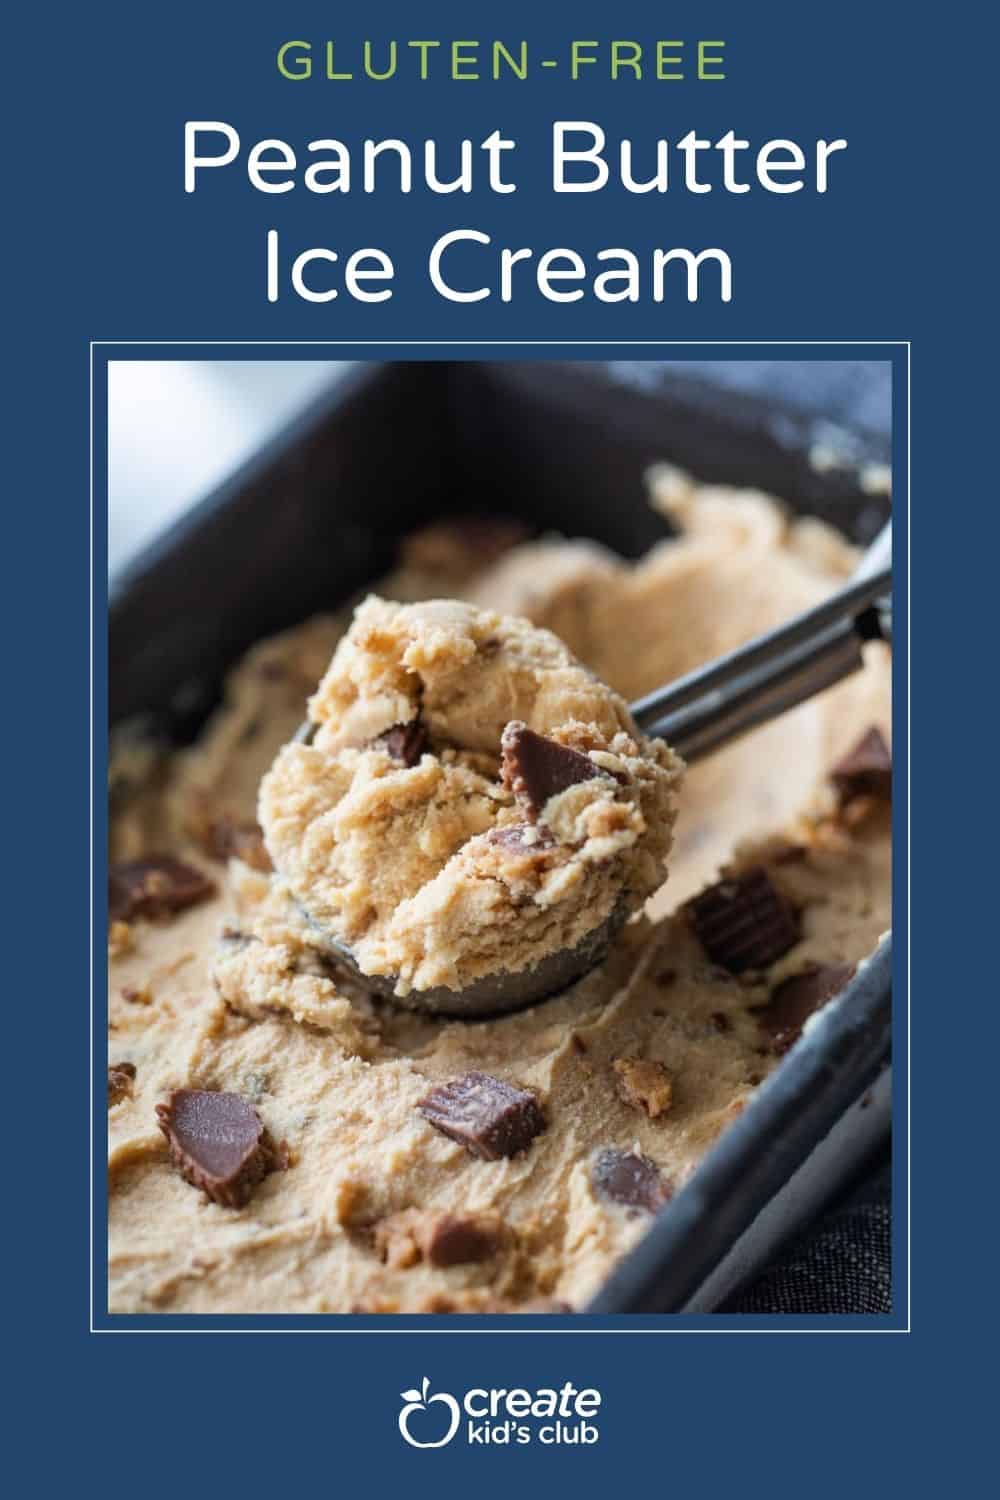
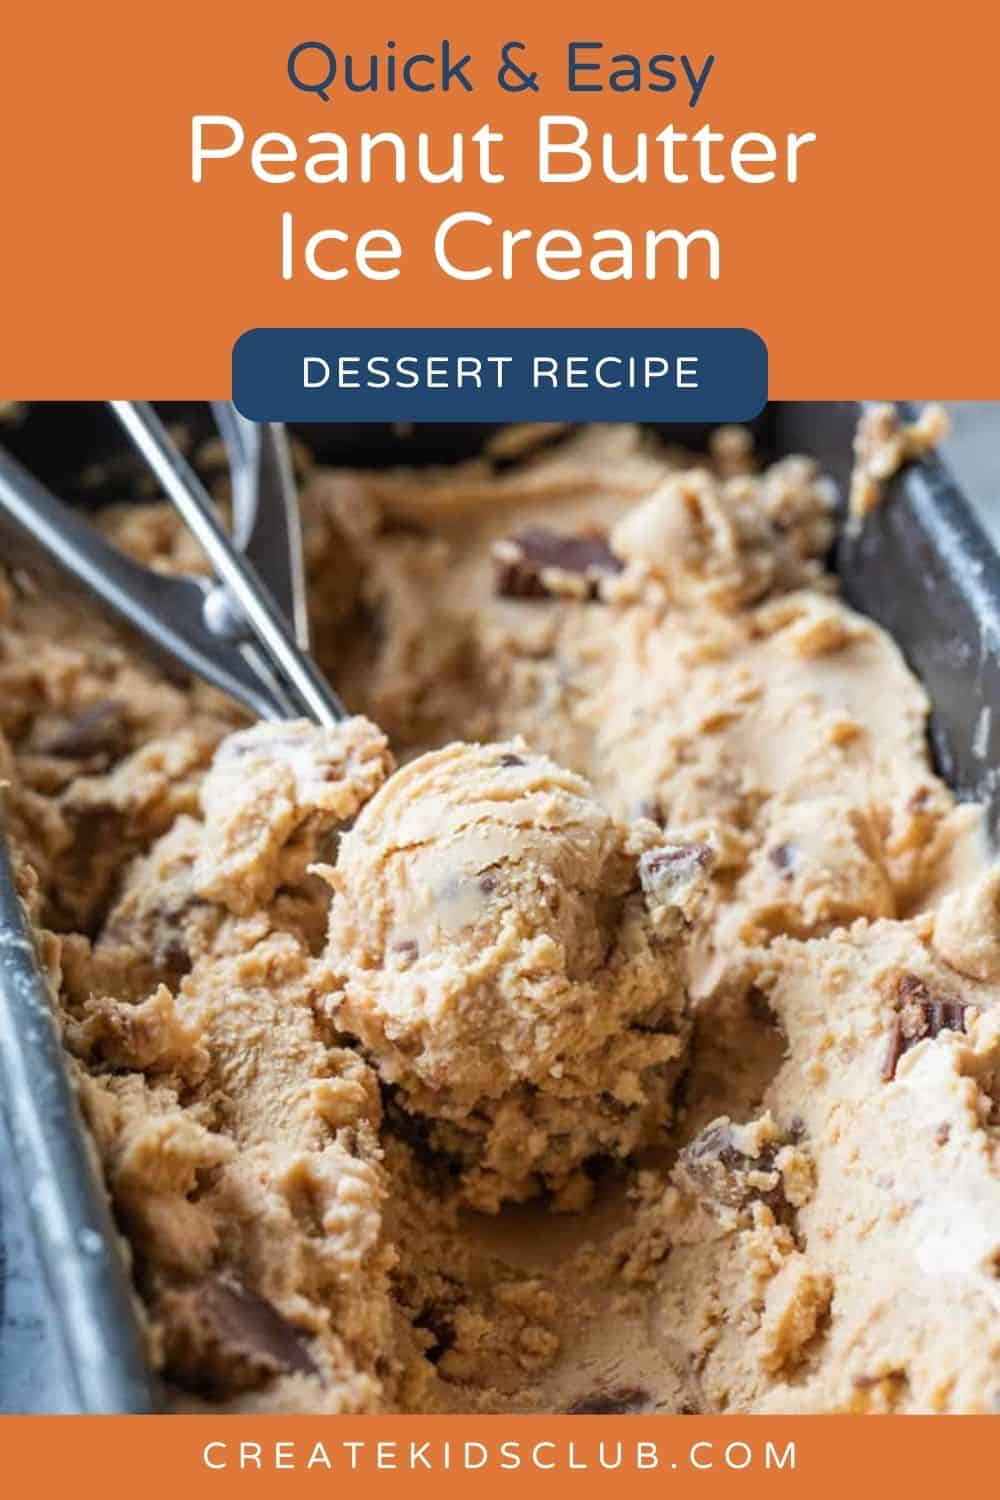
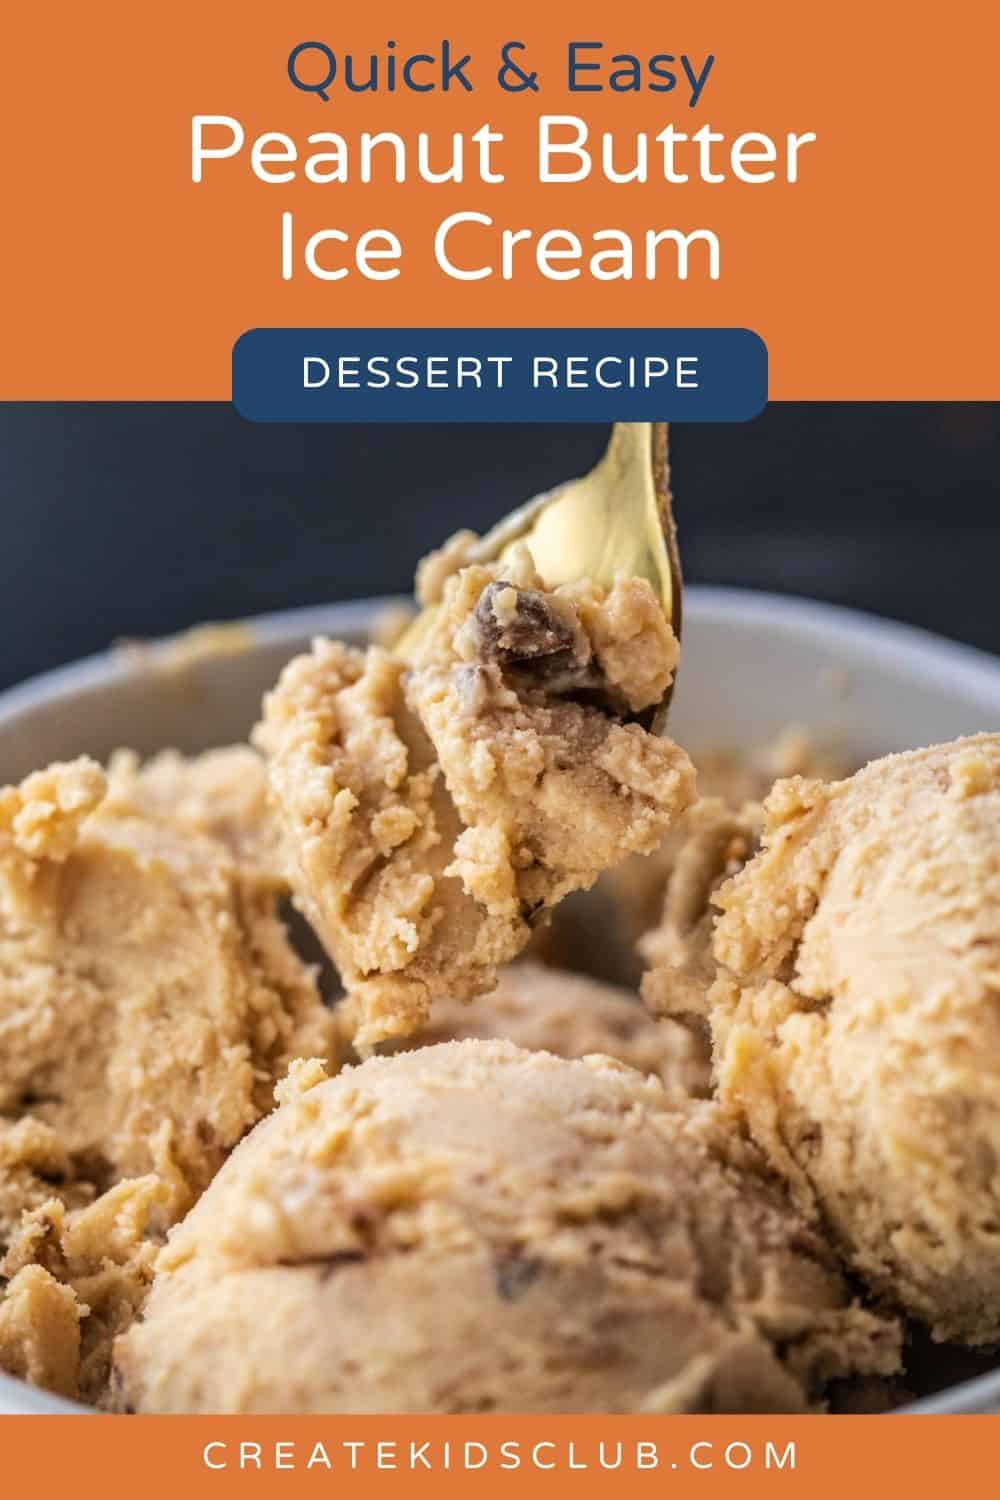
Our Peanut Butter Cup Ice Cream recipe is a velvety smooth peanut butter ice cream, swirled with chunks of decadent peanut butter cups and creamy peanut butter. Whether you’re planning a movie night or a summer get-together, this homemade creation will have everyone begging for seconds.
Making homemade ice cream is not only a fun activity, but it is an opportunity for the whole family to make memories while sharing a laugh or two!
Our family looks forward to making the most of the summer months as soon as school is out. From camping trips to resort vacations, we thrive on finding adventures to create lifelong memories. We also spend time in the kitchen to create our favorite frozen desserts or grill up burgers, brats, steaks and so much more!
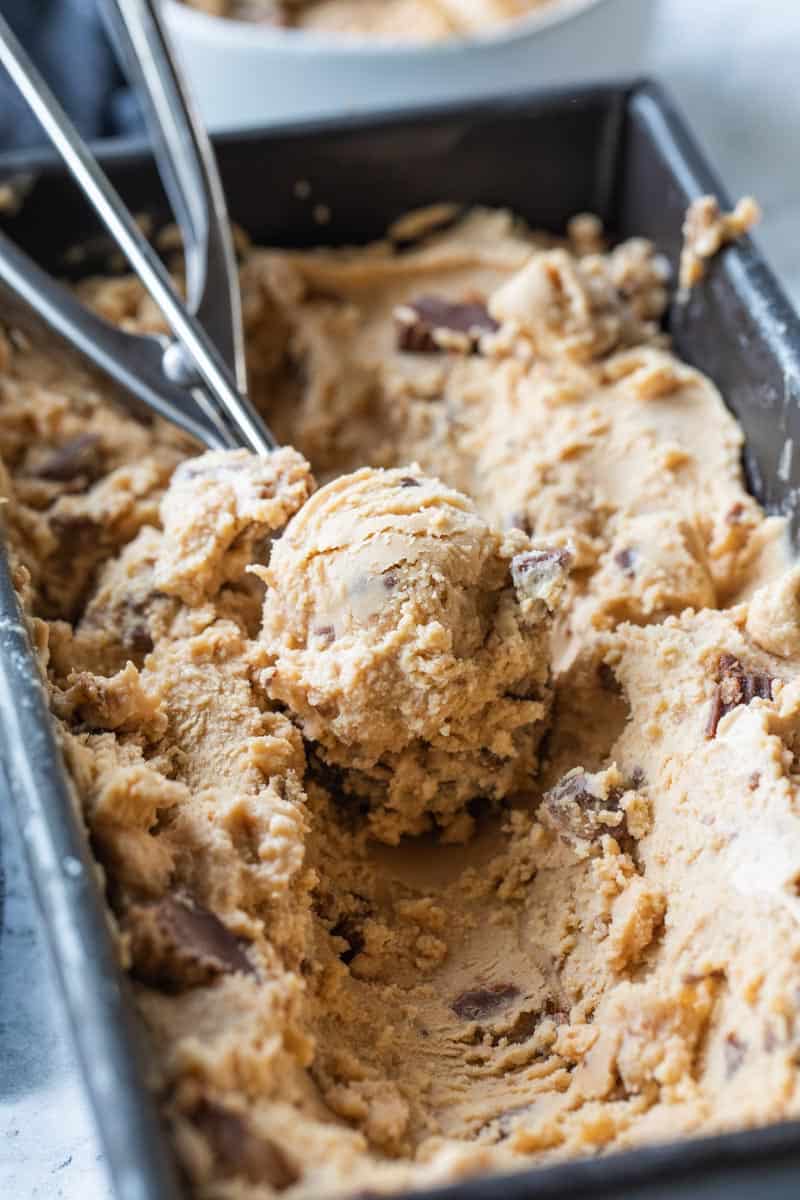
Summer wouldn’t be complete without this peanut butter homemade ice cream. Regardless of how busy the kids are these days, they will always stop and dart to the kitchen as soon I mentioned homemade ice cream.
We know your family will enjoy this Reeses cup ice cream as much as ours. Just wait to see how creative everyone gets, especially when they see the list of toppings below!
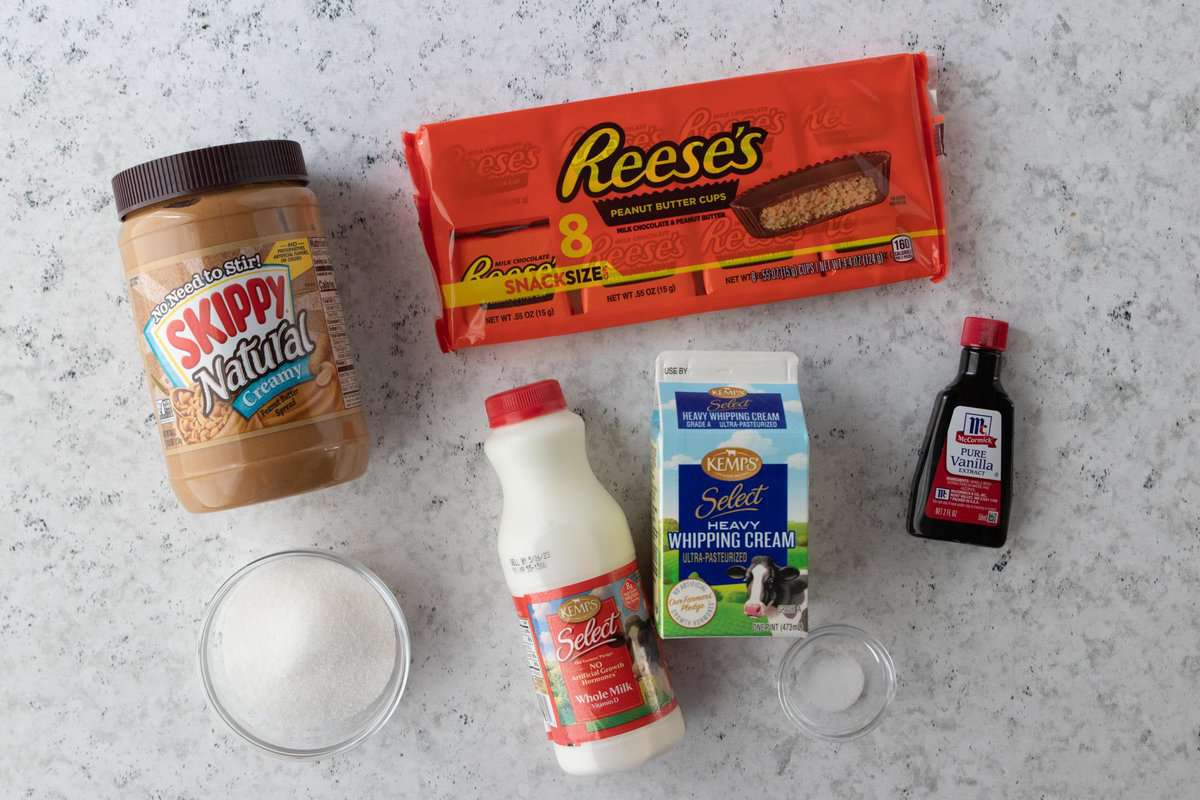
Table of Contents
Ingredients
This egg-free ice cream features minimal ingredients that can be substituted to meet personal preferences or dietary needs.
- Peanut butter – natural creamy peanut butter helps to create the smooth texture. Other nut butters such as almond, cashew or mixed nut can be used. For nut allergies, sun butter can replace the peanut butter while chocolate chips can replace the peanut butter cups.
- Sugar – white sugar is what sweetens this ice cream recipe and helps with the texture. For a richer flavor, brown sugar can be substituted.
- Vanilla – even the slightest addition of vanilla extract can transform the flavor of a dessert. Vanilla or almond extract are both delicious options.
- Salt – salt helps the ice cream to freeze while preventing ice crystals from forming when frozen. A necessary ingredient regardless of the ice cream flavor.
- Whole milk & heavy whipping cream – two important ingredients that contribute to the creaminess and richness of this dessert.
- Peanut butter cups – the perfect final touch to turn ordinary peanut butter ice cream into a dessert we crave! While it is our top favorite, gluten-free Oreos, snickers or M&Ms can also replace the peanut butter cups without compromising flavor.
How To Make
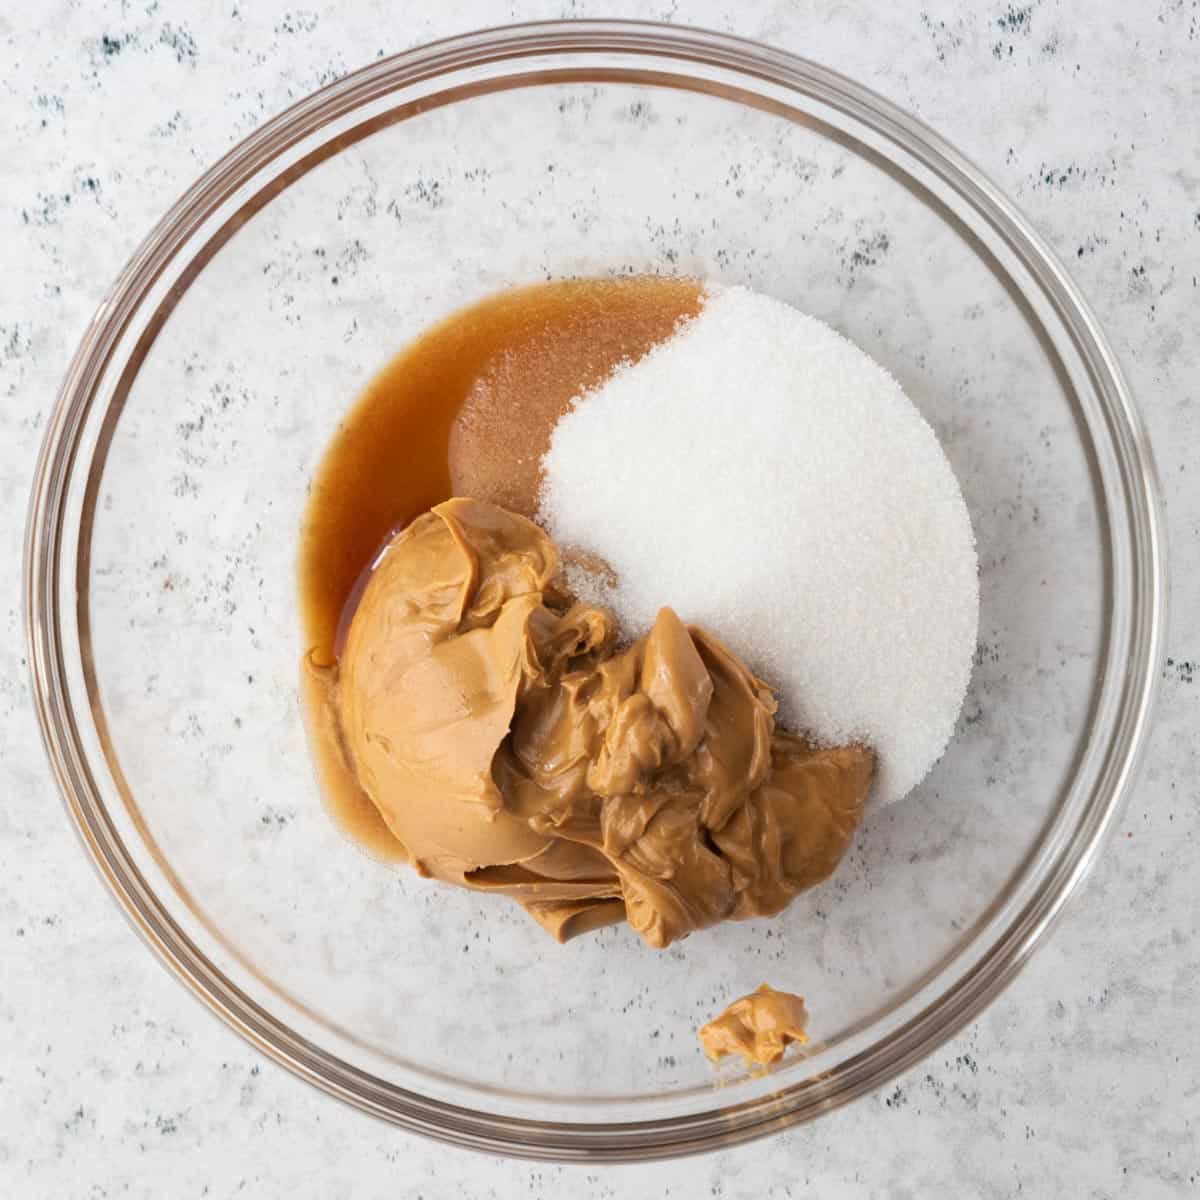
Start by blending the ice cream base. In a mixing bowl, use a handheld mixer to blend 1 cup of peanut butter along with 1/2 cup of sugar, 2 teaspoons of vanilla extract, and 1/2 teaspoon of salt. Once these ingredients are combined, pour in 1 cup of whole milk and continue blending until the mixture becomes smooth.
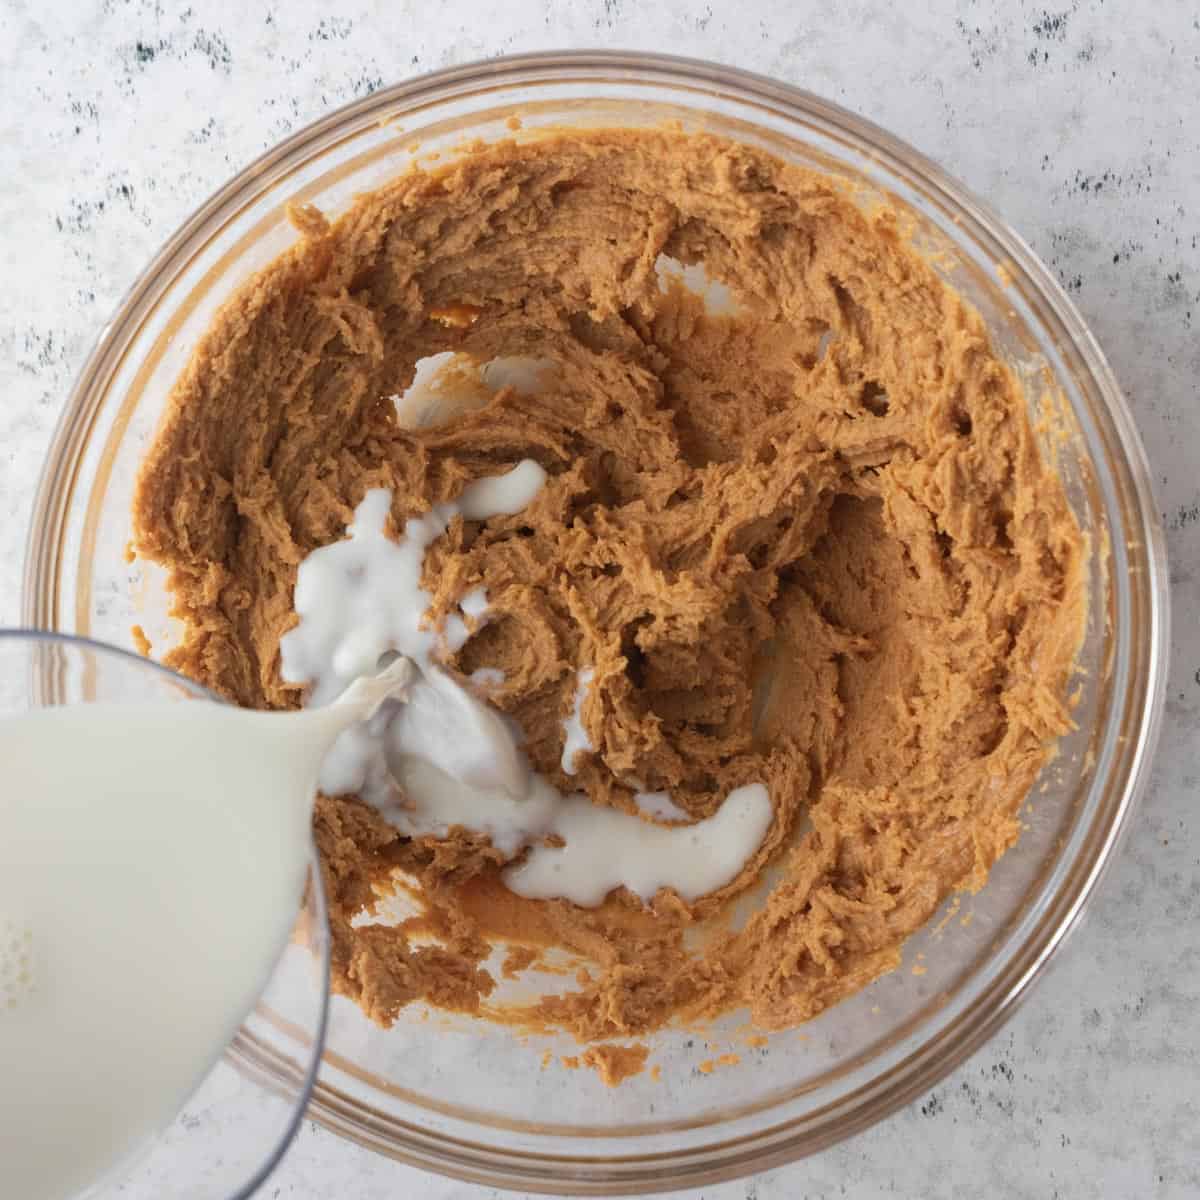
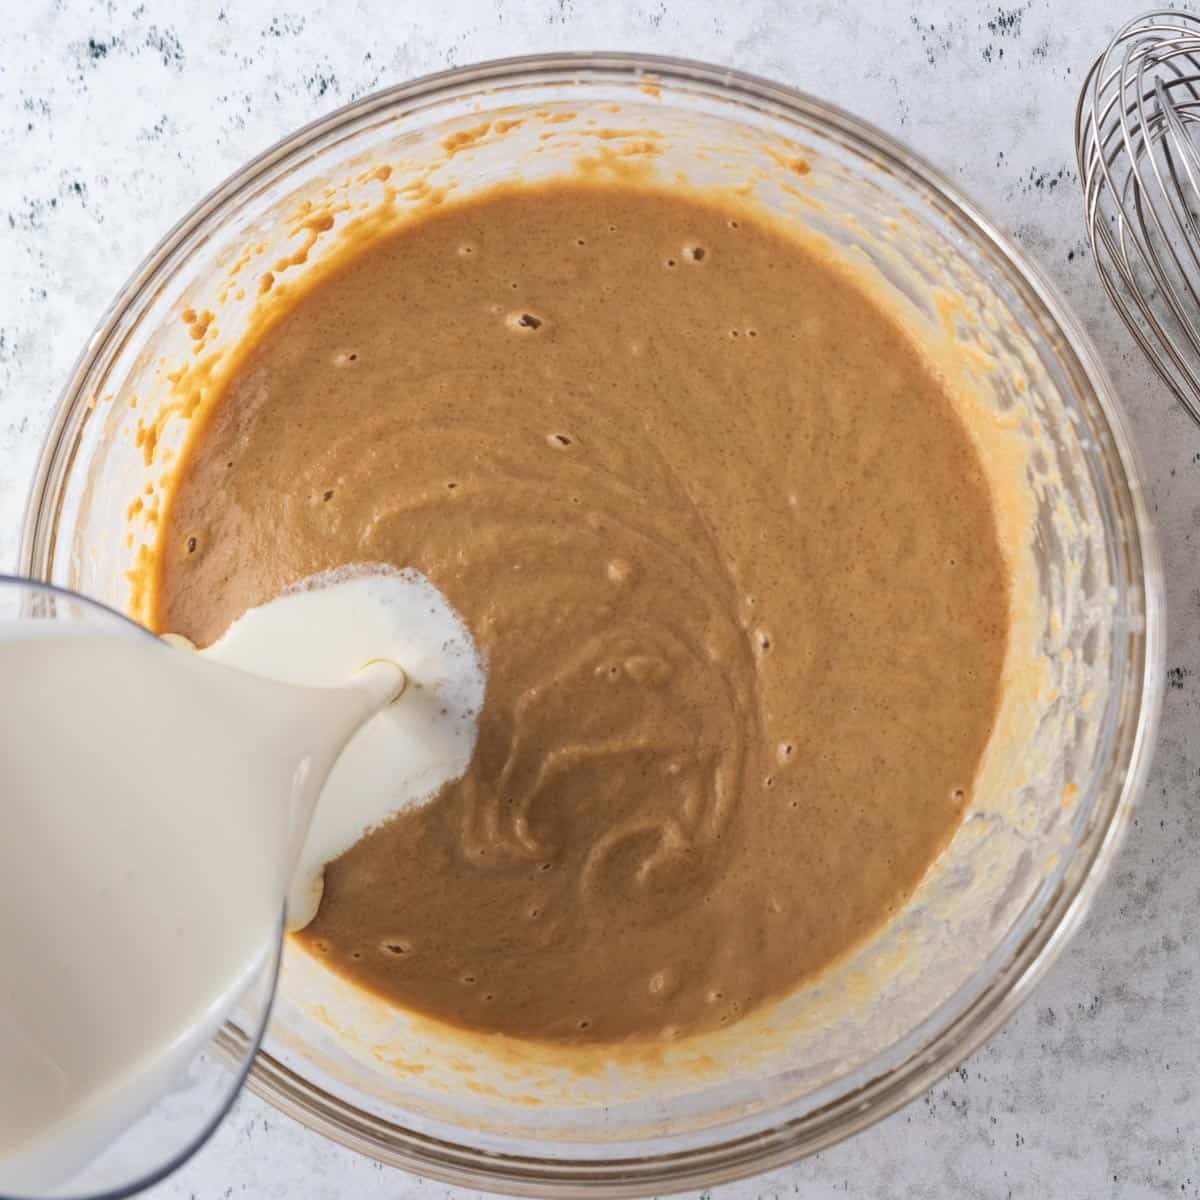
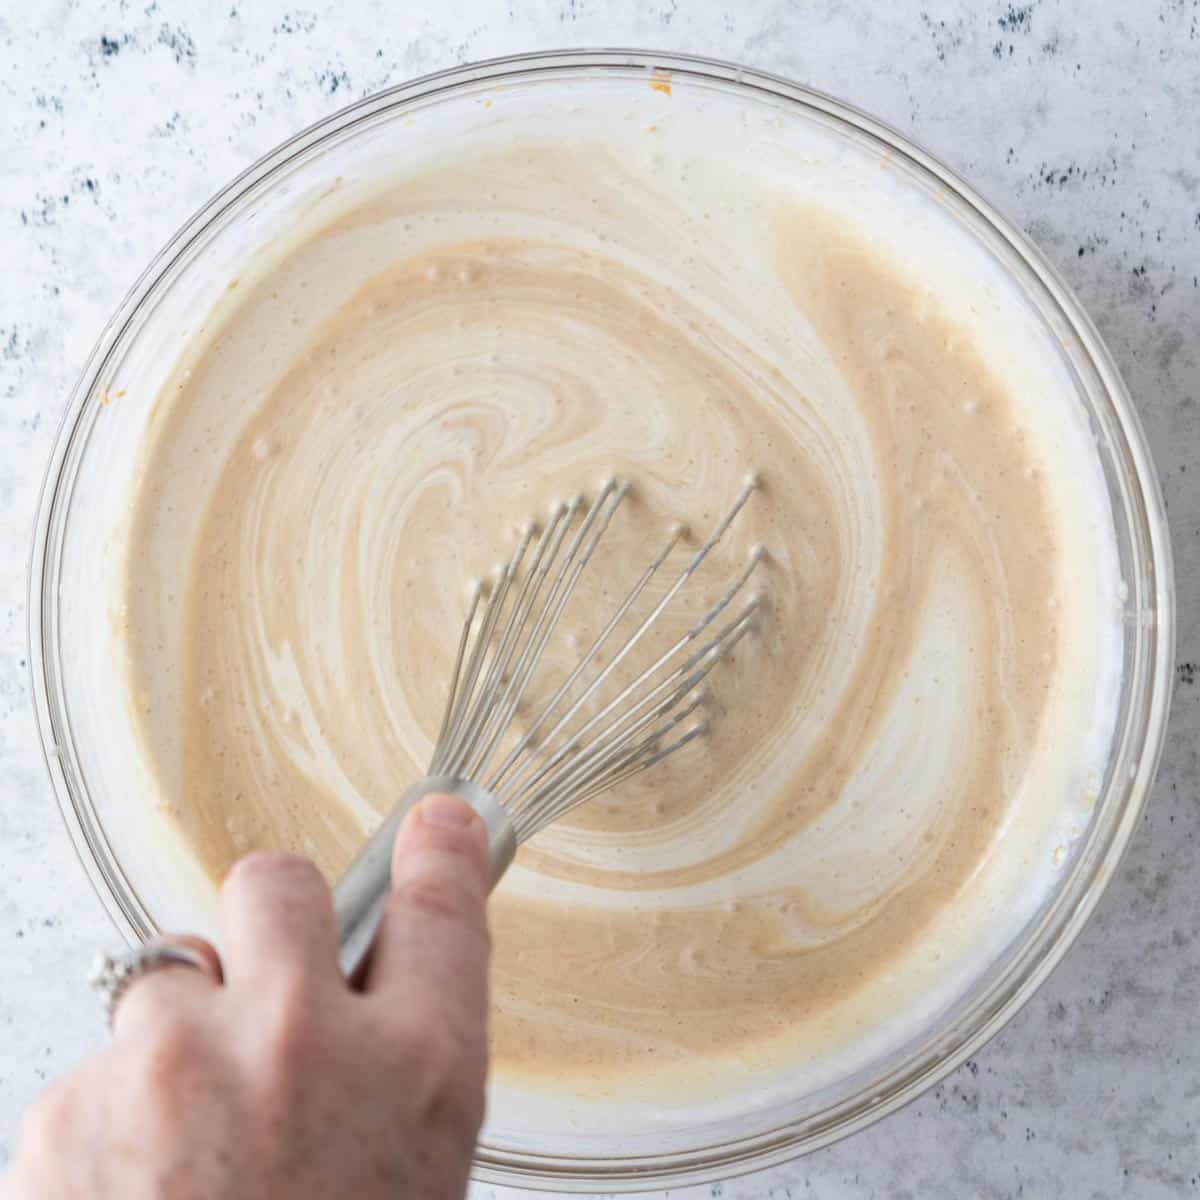
Next, whisk in the whipping cream. Gradually add 2 cups of heavy whipping cream to the mixture and whisk everything together until well combined.
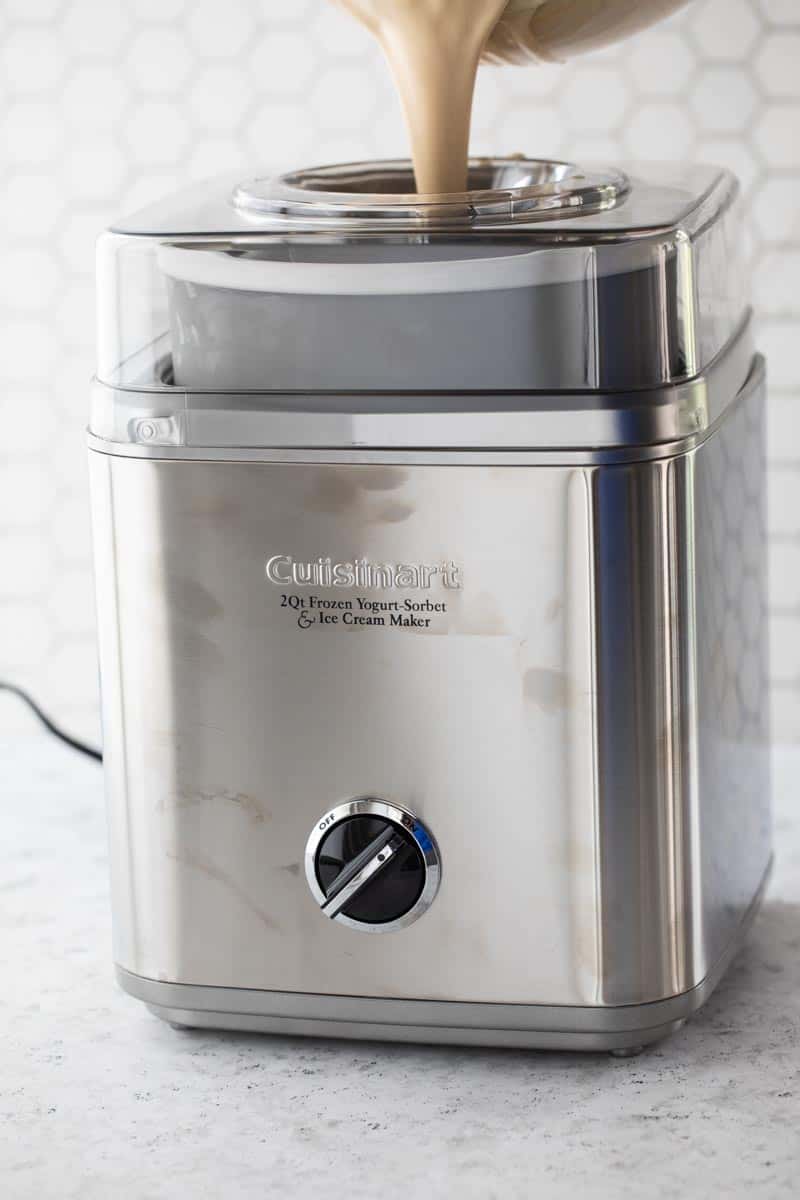
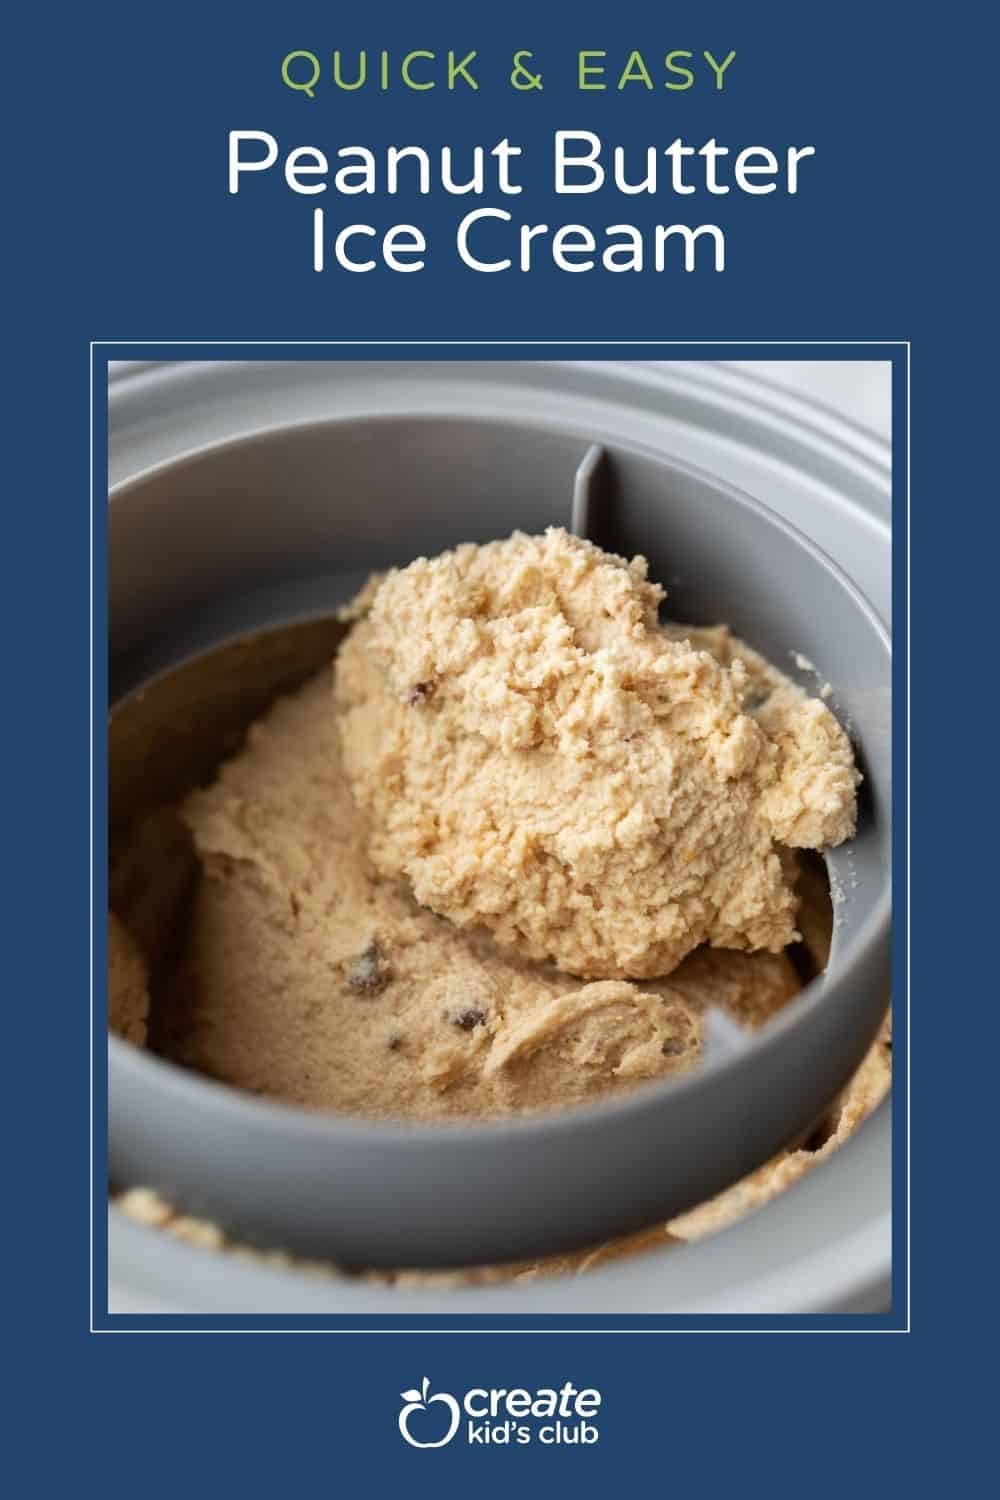
Now, it’s time to churn the ice cream. Prepare your ice cream machine by making sure it’s properly frozen. Pour the mixture into the ice cream maker and start churning. Allow it to churn for about 25 minutes. During this time, the mixture will start to thicken and freeze.
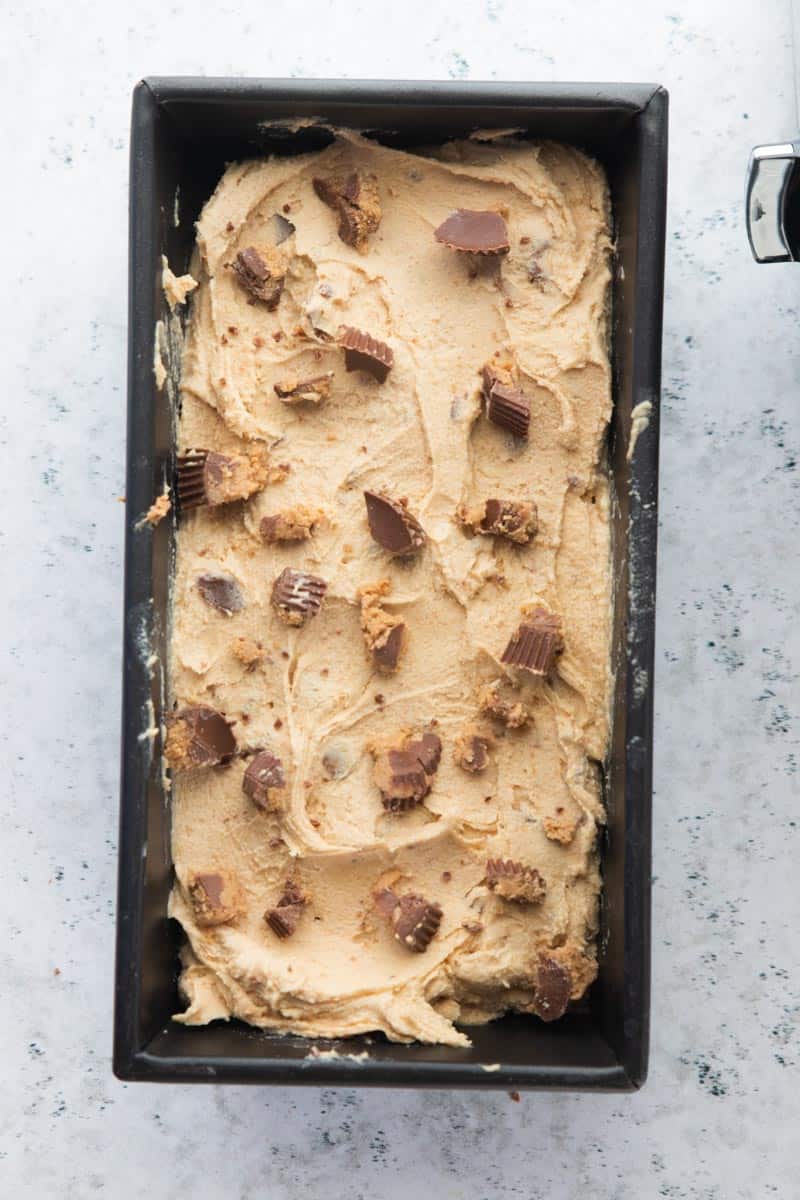
After 25 minutes of churning, it’s time to add some add-ins. First, toss in 8 chopped peanut butter cups to add a delicious crunch and extra flavor. Then, take the remaining peanut butter and drop teaspoon-sized chunks into the churning ice cream. Continue churning for a bit longer, just until the additional ingredients are evenly blended throughout the ice cream.
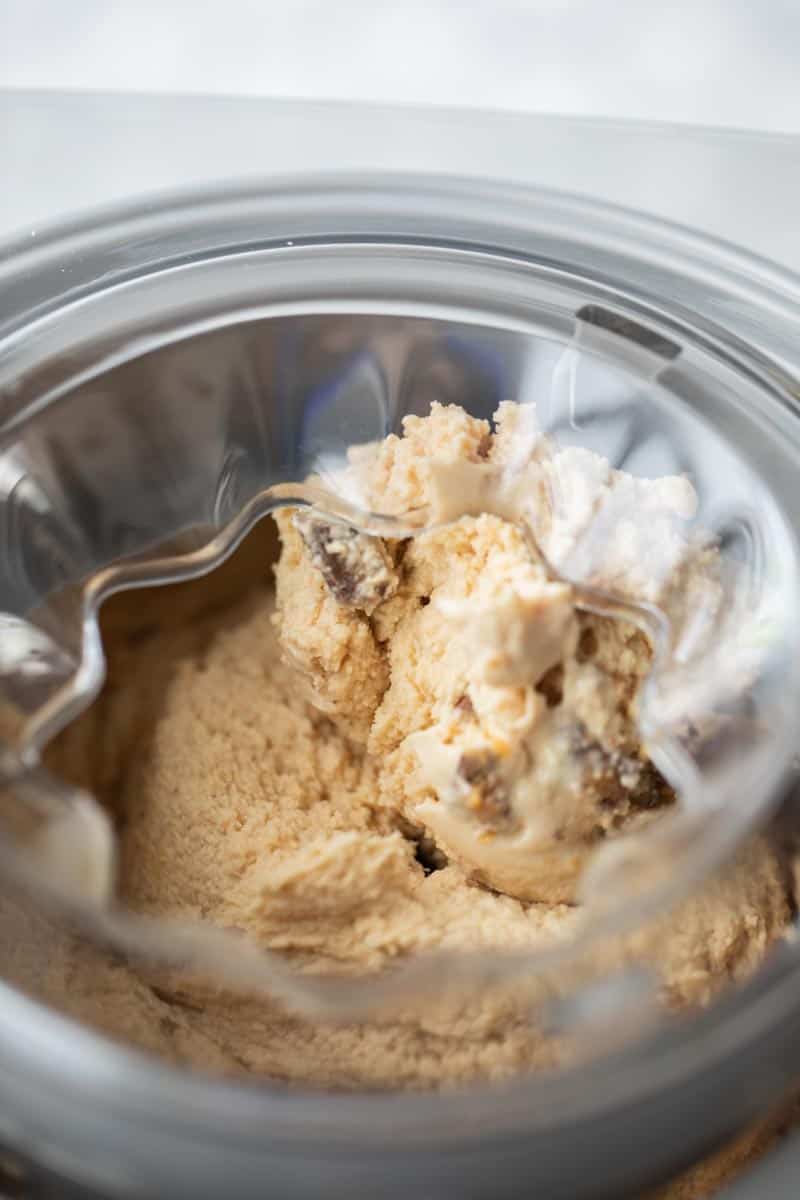
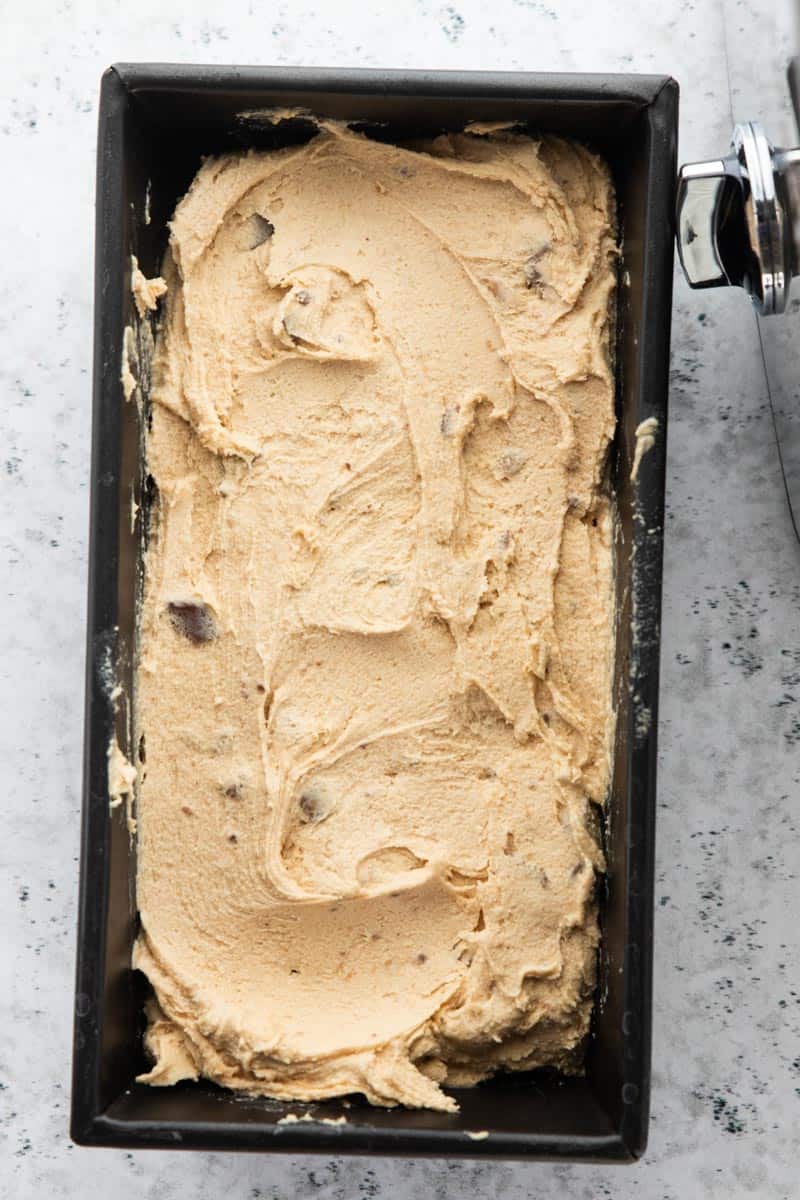
Once the ice cream has reached a creamy and cohesive consistency, it’s ready to be served. You can enjoy it right away, or if you prefer a firmer texture, transfer the ice cream to a loaf pan and place it in the freezer for at least 4 hours.
Whether you serve it immediately or let it firm up in the freezer, this peanut butter ice cream is sure to be a delightful treat that’s rich in flavor and perfect for any ice cream lover.
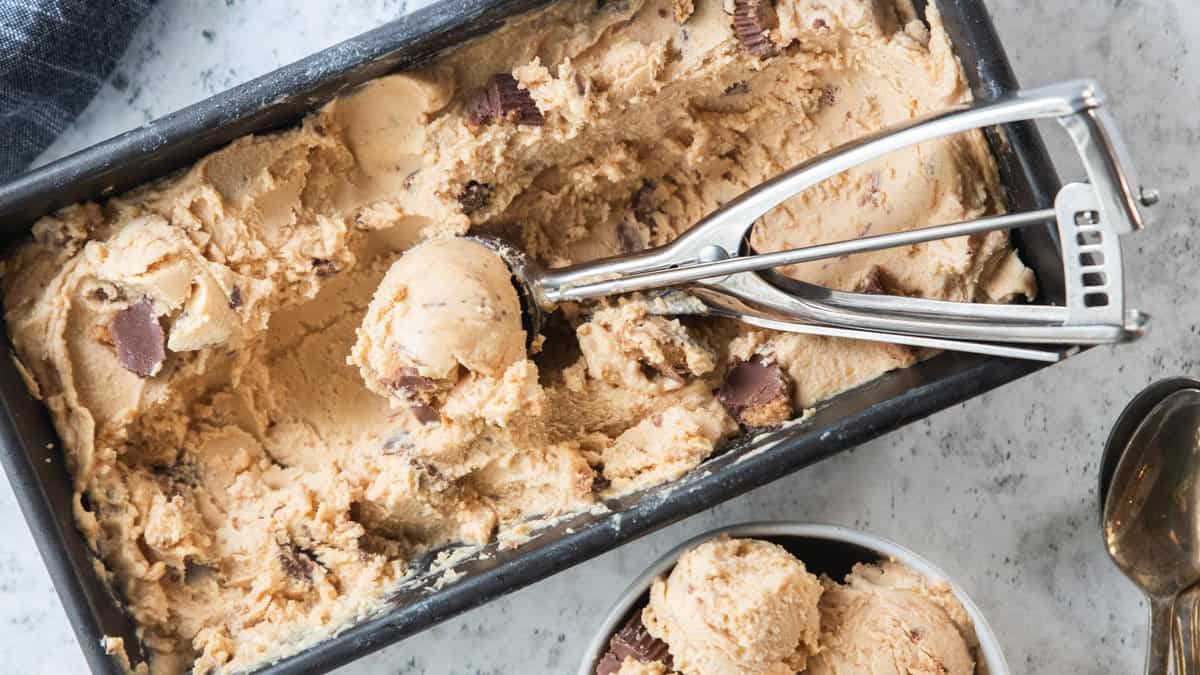
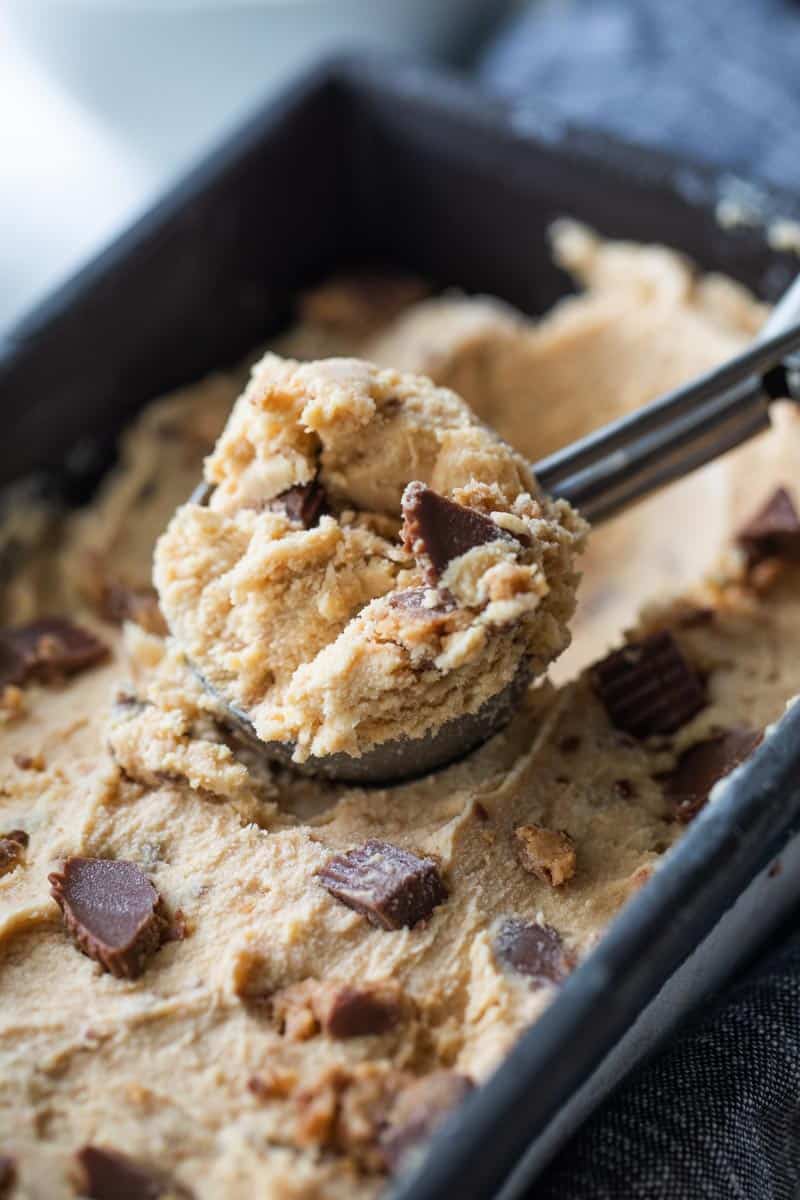
Be mindful that the longer the ice cream sits in the freezer, the firmer it will become. You can let it sit at room temperature for a few minutes to soften slightly. This will make scooping easier.
How To Make Without an Ice Cream Maker?
While we recommend an ice cream maker for a smooth and creamy finished product, it is possible to make no-churn ice cream.
The first method is pouring the liquid ice cream directly into the loaf pan then freezing overnight before serving. You will want to stir every hour for the first 4 hours it is freezing. This helps to incorporate air into the ice cream.
The other method is pouring the liquid ice cream into a large Ziploc bag and pressing out any excess air. Place that Ziploc bag into another large bag filled with salt or Rock salt. Shake the bags carefully until the ice cream is frozen. It can then be poured into the loaf pan and stored in the freezer until ready to serve. Kids have a blast shaking the bags to make homemade ice cream!
Tips and Tricks
- If possible, freeze the ice cream bowl & container at least 24 hours ahead of time.
- For a lower fat option, use half and half instead of heavy cream. However, note that the ice cream will be less creamy with this ingredient swap.
- Consider making single serving ice cream cups by scooping the ice cream into multiple small containers.
- Elevate the peanut butter flavor even more by drizzling peanut butter or sprinkling chopped peanuts on top of the scooped ice cream.
- Turn into a milkshake by blending scoops of ice cream with 2% or whole milk until the desired amount is reached.
Frequently Asked Questions
Yes! This recipe is gluten-free and egg-free.
It can take anywhere from 40 minutes to 4 hours depending on how long you decide to freeze the ice cream.
If following the recipe as written, it will create approximately 8 servings.
Absolutely, you can use a whisk or a fork to blend the ingredients if you don’t have a handheld mixer. It might require a bit more effort, but it’s doable.
Yes, freezing the ice cream maker’s bowl in advance is crucial for proper churning. Follow the manufacturer’s recommendations for the freezing time.
Of course! You can add chocolate chips, crushed cookies, nuts, or any other mix-ins you like during the churning process.
Kids In The Kitchen
Cooking tips and suggestions for kids making this recipe.
- This recipe involves using a hand mixer to blend the ingredients. Follow these tips when using a hand mixer. First, hold the mixer with one hand and the side of the bowl with your other hand. Make sure your fingers are on the side of the bowl, not inside the bowl. Second, continue to mix until the mixture is smooth. You may need to stop every 30 seconds or so to scrape the sides of the bowl with a spatula. Lastly, keep the mixer inside the mixing bowl until the beaters turn off. Otherwise, you could end up with a big mess!
- The whipping cream will be mixed into the mixture with a whisk. Keep this ingredient to the side until it is ready to be added. Continue to whisk until it has been incorporated. You know you are all set when the white swirls in the mixture disappear.
- If you like soft serve ice cream then serve right away after churning in the ice cream maker. If you prefer firm ice cream, it is best to freeze in the loaf pan for at least 4 hours.
Storing Instructions
Proper storage allows you to enjoy homemade ice cream the day it is made and weeks to come.
The ice cream should be poured into the container or loaf pan after it’s done churning since homemade varieties melt quicker than store-bought. Use an appropriate container such as one with an airtight lid that minimizes air exposure to prevent freezer burn. Empty Cool Whip containers are a great option if available.
If using a loaf pan, press a layer of plastic wrap directly on the surface of the ice cream when storing to prevent ice crystals from developing.
Always store ice cream in the coldest part of the freezer, which is usually toward the back. Homemade ice cream will have a shorter shelf life; however, it will likely be gone before you even realize. For best results, consume within 2 weeks.
More Frozen Dessert Recipes
- Cottage Cheese Ice Cream
- Fanta Ice Cream Float
- Vanilla Frozen Custard
- Watermelon Ice Cream
- Frozen Strawberry Lemonade
- Frozen Cheesecake Bites
CKC Features both Gluten-Free Guidance and Kids Cooking Instructions: If you’re new to eating gluten-free we understand it’s overwhelming trying to figure out which foods may contain gluten and which ones don’t. All of our gluten-free recipes marked with this symbol ✅ represent foods that need to be checked for gluten or cross-contamination.
The ⭐️ symbol in the recipe below denotes the steps in which kid cooks may need a helper (depending on age). If there is no ⭐️ symbol, that step (or recipe) doesn’t require a helper.
Peanut Butter Ice Cream Recipe
Equipment
- 2 spoons
Ingredients
- 1 1/3 cup peanut butter divided✅
- 1/2 cup sugar
- 2 teaspoons vanilla ✅
- 1/2 teaspoon salt
- 1 cup whole milk
- 2 cups heavy whipping cream
- 8 peanut butter cups chopped✅
Instructions
- ⭐️Blend the ice cream. In a mixing bowl using a handheld mixer blend 1 cup of peanut butter with the sugar, vanilla, and salt. Add the whole milk and blend until smooth.1 1/3 cup peanut butter, 1/2 cup sugar, 2 teaspoons vanilla, 1/2 teaspoon salt, 1 cup whole milk
- Whisk in the whipping cream. Add the whipping cream and whisk together.2 cups heavy whipping cream
- Churn in the ice cream machine. Add the mixture to the frozen ice cream maker. Churn for 25 minutes. Then add the chopped peanut butter cups. Add the rest of the peanut butter by dropping in teaspoon-sized chunks. Continue churning just until blended.8 peanut butter cups, 1 1/3 cup peanut butter
- Serve. Serve as is or transfer to a loaf pan to freeze for at least 4 hours for firm ice cream.
Notes
-
- If possible, freeze the ice cream bowl & container at least 24 hours ahead of time.
-
- For a lower fat option, use half and half instead of heavy cream. However, note that the ice cream will be less creamy with this ingredient swap.
-
- Consider making single serving ice cream cups by scooping the ice cream into multiple small containers.
-
- Elevate the peanut butter flavor even more by drizzling peanut butter or sprinkling chopped peanuts on top of the scooped ice cream.
-
- Turn into a milkshake by blending scoops of ice cream with 2% or whole milk until the desired amount is reached.
Nutrition
If you enjoyed these recipes make sure to leave a comment and a star rating below!
Then follow us on social media and tag #createkidsclub if you make the recipe. We love seeing what you come up with!




Leave a Reply