Indulge your little campers with a speedy and delectable Canned Chicken Quesadilla—a kid-friendly delight made with canned chicken, refried beans, and heaps of cheese. This effortless camping meal or quick lunch option is not only a time-saver but also gluten-free.
Navigating through the myriad of camping food choices can be overwhelming, but I’ve finally curated a concise list of easy camp meals, with the Canned Chicken Quesadilla making a triumphant entry. Crafting shredded chicken is a breeze—simply bake or boil boneless canned chicken thighs and shred using a Kitchenaid or stand mixer.
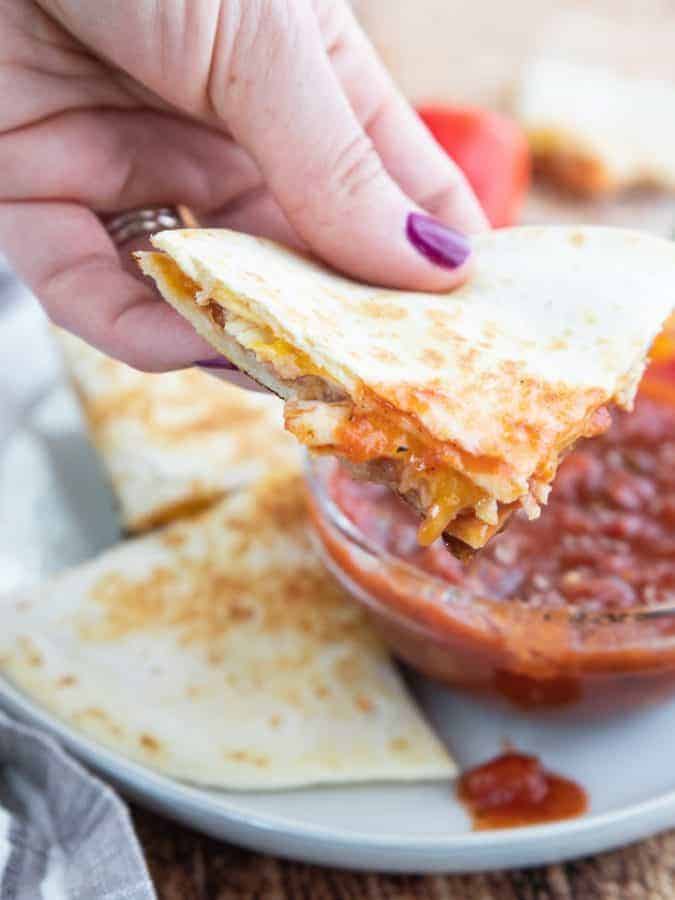
In under 10 minutes and with fewer than 5 ingredients, whip up a satisfying campsite lunch. Opting for canned ingredients not only streamlines the cooking process but also conserves cooler space—a crucial consideration during RV and camping trips. Efficient planning, maximizing non-refrigerated items, and strategic use of fridge/freezer space are essential. Simplify your camping gear by minimizing cooking tools, saving space amid tent supplies, personal bags, and food provisions. Ensure a cast iron pan is on your camping checklist—an invaluable asset for cooking and reheating various recipes. If you haven’t explored the versatility of cast iron, give it a try on your next trip and share your experiences!
Table of Contents
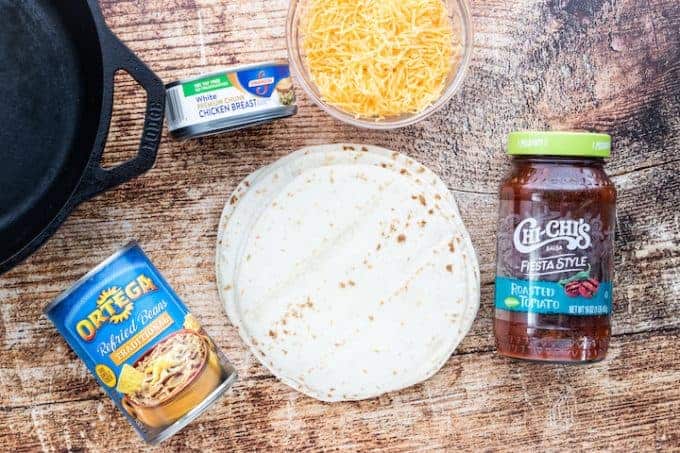
Ingredients
- 16 ounce can refried beans ✅
- 4.5 onnce can white chunk chicken ✅
- 1 cup shredded cheddar cheese ✅
- 10 gluten-free tortillas
Gluten-Free Guide: If you’re new to eating gluten-free we understand it’s overwhelming trying to figure out which foods may contain gluten and which ones don’t. All of our gluten-free recipes marked with this symbol ✅ represent foods that need to be checked for gluten.
HOW TO MAKE
- Preheat the Cast Iron Pan:
- Begin by heating a cast iron pan on the stovetop or grill grate over medium-high heat. Allow it to reach the desired temperature for optimal cooking.
- Prepare the Pan:
- Drizzle a small amount of oil onto the heated cast iron pan. Swirl the oil to ensure even coverage, preventing the quesadilla from sticking and enhancing its golden crispiness.
- Assembly:
- Carefully place the prepared quesadilla into the pan. Ensure an even distribution to promote uniform cooking and melting of the ingredients.
- Cooking Time:
- Allow the quesadilla to cook for approximately 2-3 minutes on each side. Monitor the heat to achieve a golden-brown exterior while ensuring that the cheese inside melts to a gooey perfection.
- Flip and Repeat:
- Using a spatula, gently flip the quesadilla to cook the other side. This step ensures that both sides achieve the desired texture and color.
- Check for Doneness:
- Keep a close eye on the quesadilla, ensuring that it reaches the ideal level of crispiness and that the cheese has completely melted. Adjust the cooking time if needed, depending on the heat source and thickness of the quesadilla.
- Serve Promptly:
- Once the quesadilla has attained its golden perfection and the cheese is gooey and melted, promptly remove it from the pan. Serve immediately to savor the dish at its best, when the flavors and textures are at their peak.
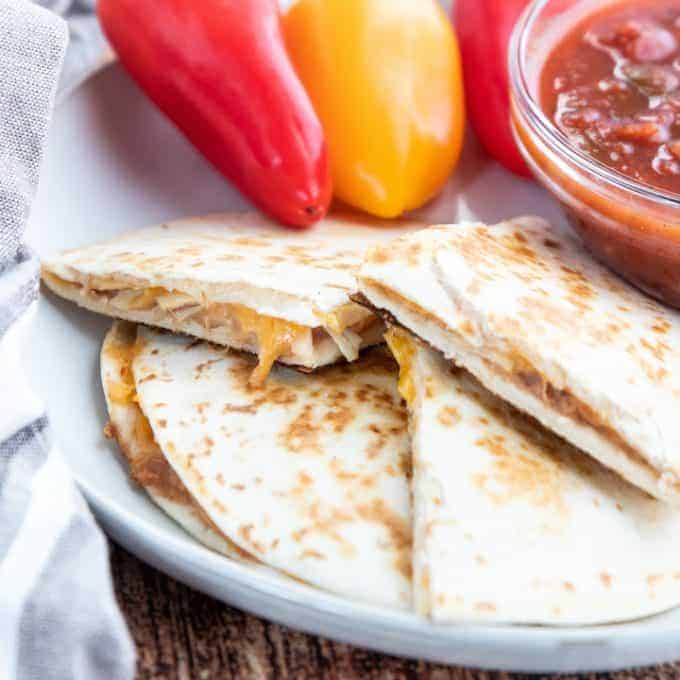
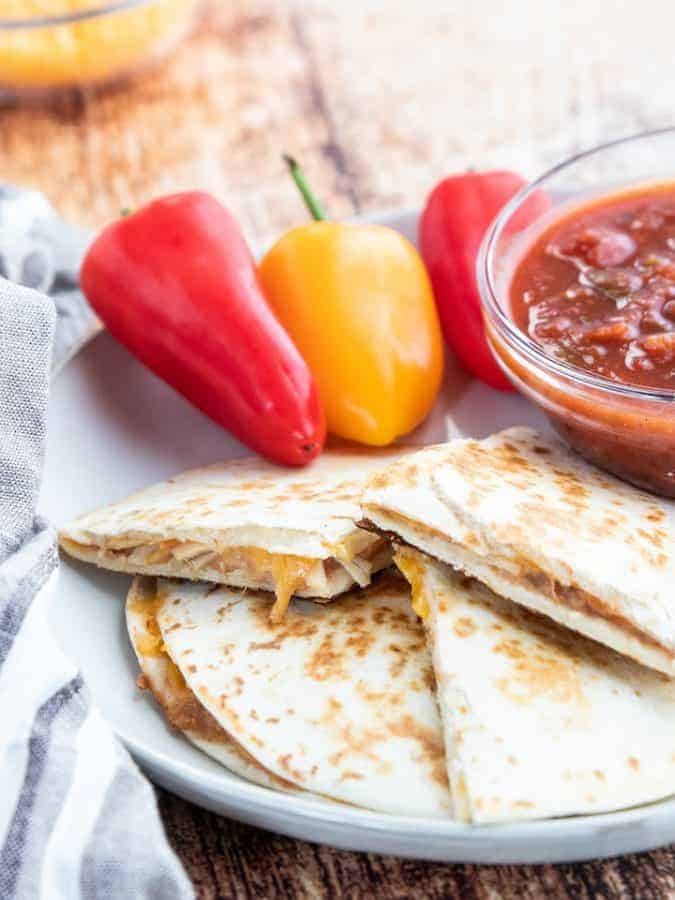
Following these steps guarantees a well-cooked, flavorful quesadilla with a delightful crunch and gooey interior, making it an enticing treat for your campsite or quick lunch.


Recipe Tips and Tricks
Prep Ingredients in Advance:
Before you start cooking, have all your ingredients prepped and ready. This includes shredded chicken, canned refried beans, grated cheese, and any additional toppings or seasonings.
Mix Up Cheese Varieties:
Experiment with different types of cheese to add complexity to the flavor. A blend of cheddar, Monterey Jack, or pepper jack can provide a delicious mix.
Add Flavor with Spices:
Elevate the taste by incorporating spices or herbs into the shredded chicken or bean mixture. Cumin, chili powder, garlic powder, or cilantro can add a burst of flavor.
Customize with Toppings:
Customize each quesadilla with personalized toppings. Fresh salsa, guacamole, sour cream, or chopped green onions can enhance the overall experience.
Use a Cast Iron Pan:
A cast iron pan is ideal for achieving a crispy exterior. It distributes heat evenly, providing consistent results. Make sure the pan is well-seasoned to prevent sticking.
Press Down Gently:
While cooking, gently press down on the quesadilla with a spatula. This helps the ingredients meld together and ensures even cooking.
Experiment with Canned Ingredients:
Explore different canned ingredients like black beans, corn, or diced tomatoes to add variety and texture to your quesadilla.
Serve with a Fresh Side:
Balance the richness of the quesadilla with a fresh side salad or fruit salsa. The contrast will complement the flavors.
Cleanup Tips for Cast Iron:
After cooking, let the cast iron pan cool slightly before cleaning. Use a brush or paper towel to remove any residue, and avoid using soap to maintain the seasoning.
FAQ
Yes, you can experiment with different canned meats such as canned beef, turkey, or even canned tuna for variations in flavor.
Avoid overloading the quesadilla with wet ingredients. Pat excess moisture from canned items like beans or tomatoes before using. Additionally, cook over medium-high heat for a crisp finish.
Yes, you can adapt the recipe for an open flame. Use a grill grate or a suitable pan that can withstand direct heat.
Storage Instructions
Storage Instructions for Cooked Quesadillas at Home:
- Refrigeration:
- Allow any leftover quesadillas to cool to room temperature before refrigerating.
- Place them in an airtight container or wrap them tightly in plastic wrap.
- Store in the refrigerator and consume within 2-3 days for the best quality.
- Freezing:
- For longer storage, freeze cooked quesadillas individually.
- Wrap each quesadilla tightly in plastic wrap or foil to prevent freezer burn.
- Place wrapped quesadillas in a sealed freezer bag, removing as much air as possible.
- Label with the date for reference.
- Frozen quesadillas can typically be stored for 1-2 months.
Storage Instructions for Cooked Quesadillas While Camping:
- Packaging:
- Wrap each quesadilla individually in foil or plastic wrap.
- Place the wrapped quesadillas in a sealed container or resealable plastic bag.
- Consider using a separate cooler or cooler section for cooked items to avoid cross-contamination.
Easy Camping Lunches
- Bean and Cheese Burritos
- Egg McMuffin
- Kielbasa, Pepper, Onion and Potato Hash
- Quick and Easy Yogurt Parfaits
CKC Features both Gluten-Free Guidance and Kids Cooking Instructions: If you’re new to eating gluten-free we understand it’s overwhelming trying to figure out which foods may contain gluten and which ones don’t. All of our gluten-free recipes marked with this symbol ✅ represent foods that need to be checked for gluten or cross-contamination.
The ⭐️ symbol in the recipe below denotes the steps in which kid cooks may need a helper (depending on age). If there is no ⭐️ symbol, that step (or recipe) doesn’t require a helper.
Canned Chicken Quesadilla Recipe
Ingredients
- 16 ounce can refried beans ✅
- 4.5 onnce can white chunk chicken ✅
- 1 cup shredded cheddar cheese ✅
- 10 gluten-free tortillas
Instructions
- ⭐️Prep the pan. Heat cast iron pan on the stovetop or on the grill grate over medium-high heat. Add a drizzle of oil to the pan.
- Assemble the quesadilla. Spread the refried beans onto a tortilla. Top with chicken and cheese. Place a tortilla on top. Place quesadilla into the pan.16 ounce can refried beans, 4.5 onnce can white chunk chicken, 1 cup shredded cheddar cheese, 10 gluten-free tortillas
- ⭐️Cook. Place the quesadilla into the pan. Cook for about 2-3 minutes per side, or until golden brown and cheese is melted.
- Serve. Cut into wedges and serve immediately.
Notes
Nutrition
If you enjoyed these recipes make sure to leave a comment and a star rating below!
Then follow us on social media and tag #createkidsclub if you make the recipe. We love seeing what you come up with!




Kari says
I wouldn’t have thought to use canned chicken. Great idea!