Indulge in the wholesome goodness of our healthy pumpkin pancakes recipe, a favorite among kids and adults alike. Crafted with canned pumpkin, a dash of almond extract, and a sprinkle of pumpkin pie seasoning, these pancakes are a cherished autumn delight. Discover the art of crafting pumpkin spice pancakes that pack a punch of flavor using only a handful of ingredients.
Prepare to elevate your breakfast game with our Pumpkin Pancakes – a convenient, make-ahead breakfast option that can be prepared in abundance, frozen, and reheated whenever needed. These pancakes are a lifesaver for those bustling mornings when your little ones can easily warm them up and participate in creating their breakfast.
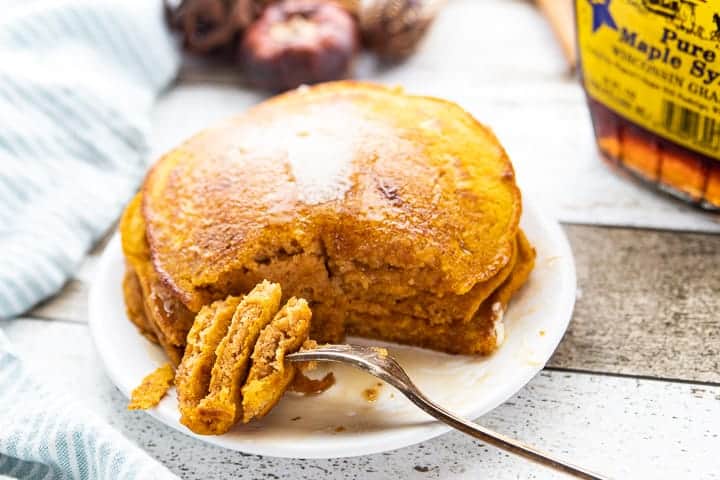
The entire family is sure to relish the harmonious flavors that unite to form these pumpkin-infused pancakes. According to my children, they taste just like a slice of homemade pumpkin pie! For an added touch of sweetness, crown them with luscious maple syrup, indulgent caramel sauce, or the natural goodness of honey.
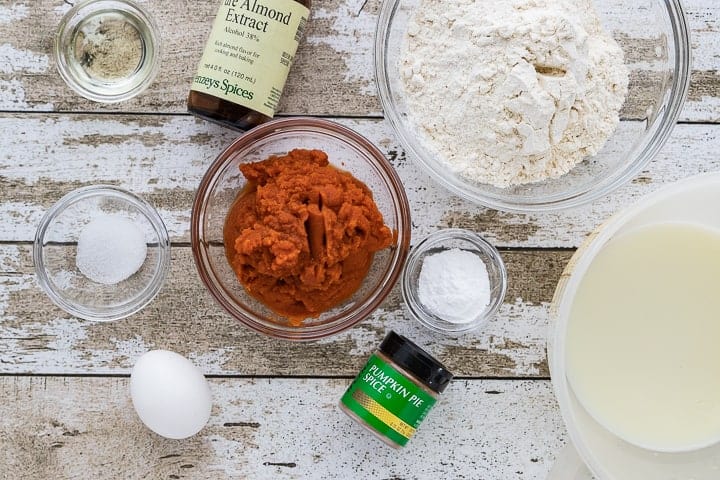
Table of Contents
Ingredients
- 1/2cup canned pumpkin
- 1 1/2 cup milk (or almond milk for a dairy-free version)
- 1 egg
- 2 tablespoons Vegetable oil
- 2 tablespoons brown sugar
- 1 teaspoon Almond extract (or vanilla) ✅
- 1 ½ cup gluten-free flour
- 1 1/2 teaspoons baking powder ✅
- 1 tsp. baking soda ✅
- 1 tsp. pumpkin pie seasoning ✅
- ½ tsp. Salt
Gluten-Free Guide: If you’re new to eating gluten-free we understand it’s overwhelming trying to figure out which foods may contain gluten and which ones don’t. All of our gluten-free recipes marked with this symbol ✅ represent foods that need to be checked for gluten.
How to Make Healthy Pancakes for Kids
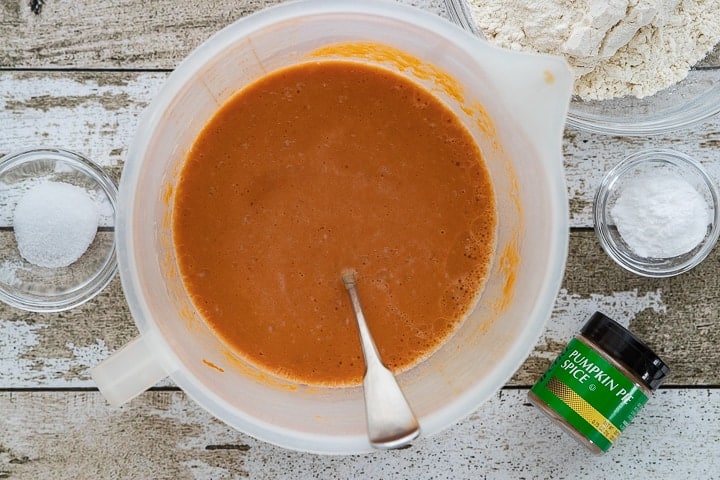
To whip up these delicious kid-friendly pumpkin pancakes, start by combining your wet ingredients. In a medium-sized bowl, vigorously whisk together 1 ½ cups of milk, ½ cup of canned pumpkin puree, 1 egg, 2 tablespoons of vegetable oil, 2 tablespoons of brown sugar, and 1 teaspoon of almond extract (or vanilla extract).
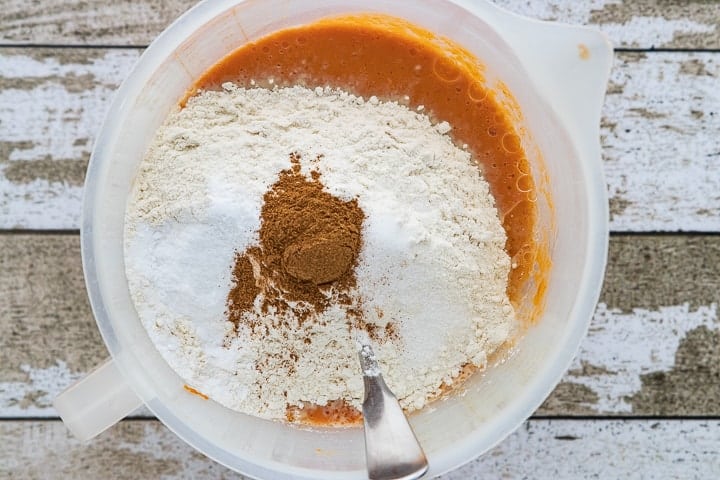
Next, in another medium-sized bowl, focus on the dry ingredients. Whisk together 1 ½ cups of all-purpose gluten-free flour, 1 ½ teaspoons of baking powder, 1 teaspoon of baking soda, 1 teaspoon of pumpkin pie seasoning, 1 teaspoon of cinnamon, and ½ teaspoon of salt.
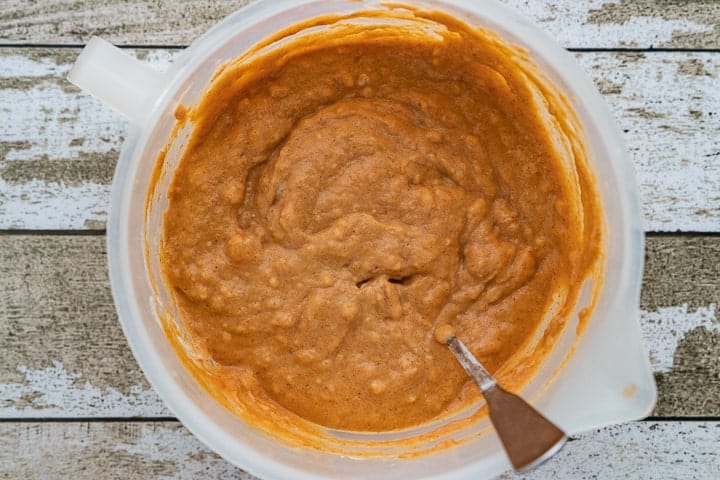
Now, it’s time to combine the dry and wet components. Gently stir the dry ingredients to the wet ones, folding them together until just moistened. Be cautious not to overmix, as this could result in tough pancakes. It’s perfectly fine if there are a few lumps in the batter.
Prepare your cooking surface by preheating a griddle to 350 degrees or heating a large nonstick skillet over medium heat.
Using a ¼ cup measuring cup, scoop the pancake batter and pour it onto the hot griddle or skillet. Allow the pancakes to cook for approximately 1 ½ to two minutes per side. You’ll know it’s time to flip them when the edges start to show a bit of browning, and the center of the pancake batter forms bubbles.
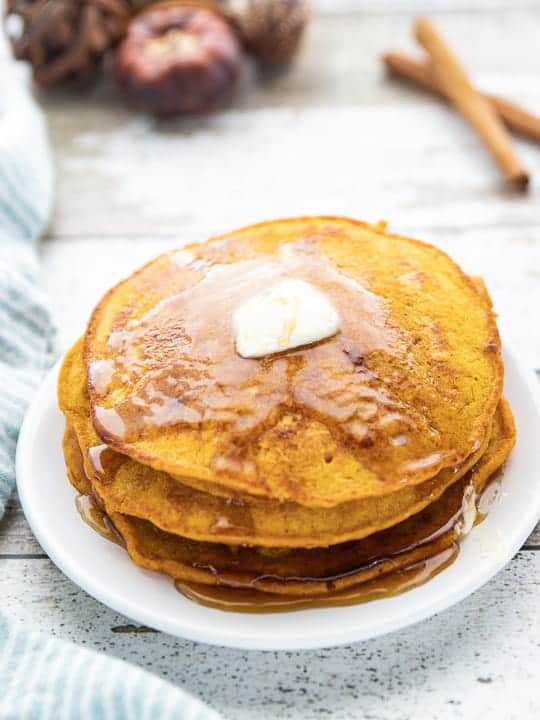
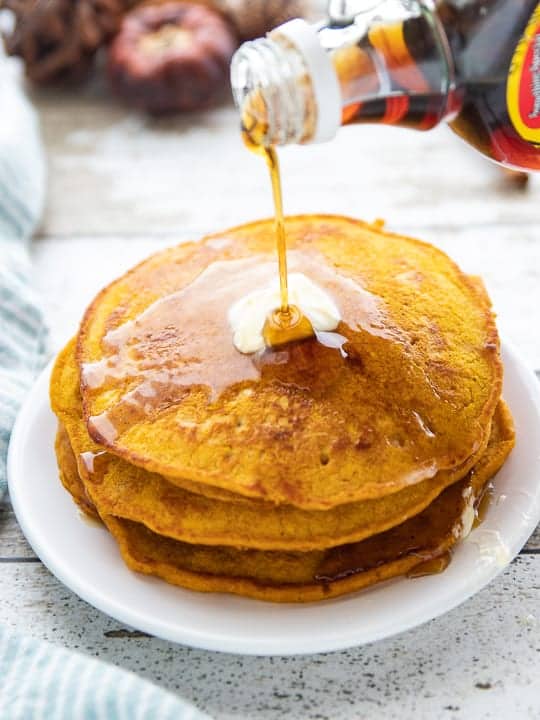
Once cooked to perfection, serve these delightful pumpkin pancakes with a generous drizzle of warmed maple syrup for a truly scrumptious breakfast treat.
Pancake Add-in Suggestions
- chocolate chips
- chopped pecans
- shredded coconut
Recipe Tips
- Use a Nonstick Skillet or Griddle: If you’re not using a nonstick surface, make sure to grease it lightly with cooking spray or a small amount of oil to prevent sticking.
- Check the Batter Consistency: Gluten-free flours can vary in their moisture content. If your batter seems too thick, you can add a little more milk to reach the desired pancake batter consistency.
- Don’t Overmix: Overmixing gluten-free pancake batter can make the pancakes dense. It’s okay if there are a few lumps in the batter; resist the urge to over-stir.
- Let the Batter Rest: If you have the time, allowing the batter to rest for about 10-15 minutes can help improve the texture of your pancakes.
- Preheat the Cooking Surface: Make sure your griddle or skillet is fully preheated before adding the pancake batter. You can test if it’s hot enough by sprinkling a few drops of water onto the surface; they should sizzle.
- Use a Ladle or Measuring Cup: To ensure uniform-sized pancakes, use a ¼ cup measuring cup or ladle to pour the batter onto the cooking surface.
- Adjust Heat as Needed: Cooking temperatures can vary, so adjust the heat as needed to prevent burning or undercooking. You want a medium heat that cooks the pancakes evenly.
- Watch for Bubbles: Look for bubbles forming on the surface of the pancakes; this is a sign it’s time to flip them. Be patient and flip gently to avoid splattering.
- Keep Pancakes Warm: If you’re making a large batch, you can keep the cooked pancakes warm by placing them on a baking sheet in a 200°F (93°C) oven while you finish cooking the rest.
- Variations: Get creative with toppings! Besides maple syrup, consider adding sliced bananas, chopped nuts, chocolate chips, or whipped cream for extra flavor and texture.
- Make Ahead: These pancakes can be frozen. After cooking, let them cool, then stack with parchment paper in between and freeze in an airtight container. Reheat in a toaster or microwave.
- Experiment: Feel free to experiment with spices and flavorings. You can customize your pumpkin pancakes with additional spices like nutmeg, cloves, or ginger for extra warmth and depth of flavor.
FAQ
Yes, you can substitute regular all-purpose flour if you don’t require a gluten-free recipe. The measurements should remain the same.
If you don’t have almond extract, you can use vanilla extract as a substitute, and your pancakes will still taste great.
Yes, you can substitute other milk alternatives for dairy milk if you have dietary preferences or restrictions. Just make sure the milk alternative is unsweetened and unflavored.
Look for bubbles forming on the surface of the pancakes and the edges starting to brown. When you see these signs, gently flip the pancakes.
Pumpkin pie seasoning is a blend of spices like cinnamon, nutmeg, cloves, and allspice. You can make your own by combining these spices in the desired proportions or use a pre-made pumpkin pie spice blend.
Storage Instructions
- Cool Completely: Allow the cooked pancakes to cool to room temperature on a wire rack or a clean, dry surface. This helps prevent condensation and sogginess during storage.
- Stack and Separate: Gently stack the cooled pancakes with a piece of parchment paper between each pancake to prevent them from sticking together. This step is essential to ensure easy separation when you’re ready to reheat them.
- Airtight Container or Freezer Bag: Place the stacked pancakes in an airtight container or a freezer-safe resealable bag. Ensure you remove as much air as possible before sealing to prevent freezer burn.
- Label and Date: Don’t forget to label the container or bag with the date of preparation. This helps you keep track of their freshness.
- Freeze: Store the container or bag in the freezer. Your gluten-free pumpkin pancakes should stay fresh for up to 2-3 months.
When you’re ready to enjoy them again:
- Thaw: Remove the desired number of pancakes from the freezer and let them thaw in the refrigerator overnight or at room temperature for a few hours.
- Reheat: Warm the pancakes in a toaster, oven, or microwave until they are heated through and achieve the desired level of warmth.
CKC Features both Gluten-Free Guidance and Kids Cooking Instructions: If you’re new to eating gluten-free we understand it’s overwhelming trying to figure out which foods may contain gluten and which ones don’t. All of our gluten-free recipes marked with this symbol ✅ represent foods that need to be checked for gluten or cross-contamination.
The ⭐️ symbol in the recipe below denotes the steps in which kid cooks may need a helper (depending on age). If there is no ⭐️ symbol, that step (or recipe) doesn’t require a helper.
Healthy Pumpkin Pancakes Recipe
Ingredients
- 1 ½ cup milk
- 1/2 cup canned pumpkin puree
- 1 egg
- 2 tablespoons vegetable oil
- 2 tablespoons brown sugar
- 1 teaspoon almond extract, or vanilla extract ✅
- 1 ½ cup all-purpose gluten-free flour
- 1 1/2 teaspoons baking powder ✅
- 1 teaspoon baking soda ✅
- 1 teaspoon pumpkin pie seasoning ✅
- 1 teaspoon cinnamon ✅
- ½ teaspoon salt
- Warmed maple syrup
Instructions
- Whisk the wet ingredients. In a medium-sized bowl, whisk the milk, pumpkin puree, egg, oil, sugar, and almond extract to combine.1 ½ cup milk, 1/2 cup canned pumpkin puree, 1 egg, 2 tablespoons vegetable oil, 2 tablespoons brown sugar, 1 teaspoon almond extract, or vanilla extract
- Whisk the dry ingredients. In a medium-sized bowl whisk together the flour, baking powder, baking soda, pumpkin pie seasoning, cinnamon, and salt.1 ½ cup all-purpose gluten-free flour, 1 1/2 teaspoons baking powder, 1 teaspoon baking soda, 1 teaspoon pumpkin pie seasoning, 1 teaspoon cinnamon, ½ teaspoon salt
- Add dry ingredients. To the dry ingredients to the wet ingredients.
- Fold together the ingredients. Stir until moistened, but don’t over-blend, because this will make your pancakes tough. It’s ok if there are some lumps.
- Preheat griddle. Preheat a griddle to 350 degrees, or heat a large nonstick skillet over medium heat.
- ⭐️ Cook. Using a ¼ cup measuring cup, scoop pancake batter and pour onto hot griddle or skillet. Cook the pancakes for about 1 ½ to two minutes per side. You’ll know when to flip the pancakes when the edges start to get a little cooked and the center of the pancake batter is bubbly. Serve with syrup.Warmed maple syrup
Notes
Nutrition
If you enjoyed these recipes make sure to leave a comment and a star rating below!
Then follow us on social media and tag #createkidsclub if you make the recipe. We love seeing what you come up with!



Sheri says
The favor was just perfect!
DeAnna Nothelfer says
Yummy, my husband was wrinkling his nose until his first bite. These were light and fluffy. Definitely will make again. No more store bought pancake mix!!
Maria says
Why do the ingredients and amounts vary from the official recipe versus the section that says what’s in healthy pancakes. I followed the top section and am wondering why the texture was off
Jodi Danen, RDN says
Hi Maria! Thank you so much for pointing this out. I had updated the recipe due to changes I made retesting the recipe but neglected to update the post. I have made those changes based on your feedback – thank you!!
Evelyn silvas says
Can we sub the flour with whole wheat pastry flour?
Jodi Danen, RDN says
Hi Evelyn- Yes, you should be able to swap the regular flour with whole wheat pastry flour with good results!