Learn how to poach shrimp in just a few simple steps. Poached shrimp results in perfectly cooked shrimp every time. Use in your favorite recipes or shrimp cocktail.
Never worry about tough and rubbery shrimp with this cooking method. Poaching makes shrimp juicy and plump, just the way we like! Feature at dinner or as an appetizer. You might also enjoy learning how to boil shrimp.
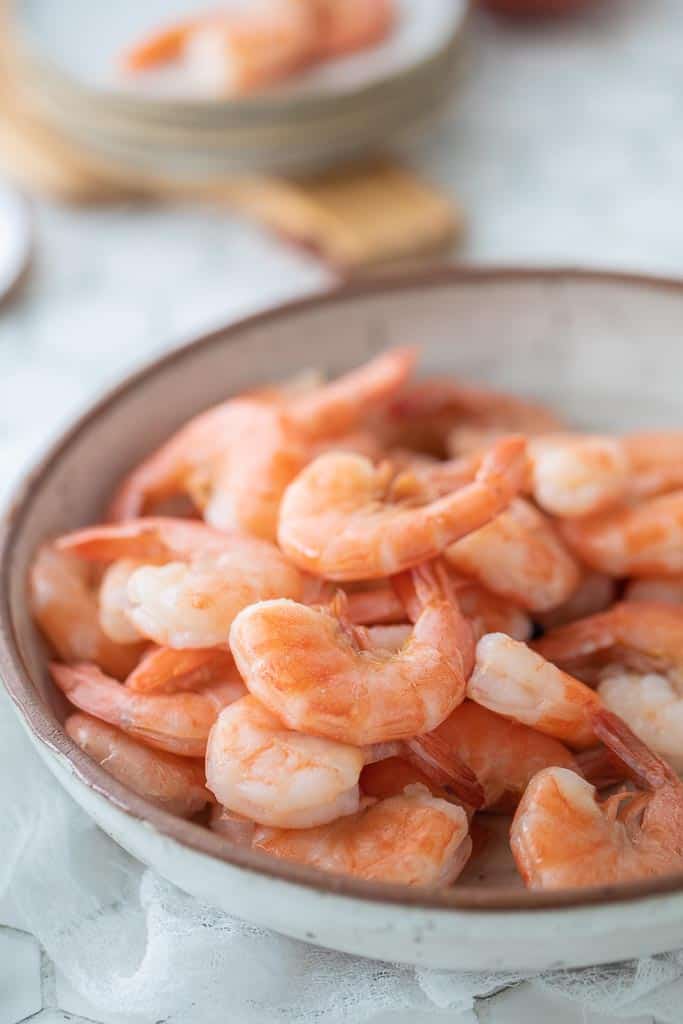
Poaching is one of the best ways to cook frozen shrimp or fresh if you are looking for a simple yet quick cooking method.
Consider poaching the next time you are craving shrimp cocktail, or a seafood inspired recipe at home. Boiled shrimp is another quick and simple way to prepare shrimp.
Cooked shrimp can be served as is or seasoned to perfection with cocktail sauce, fresh lemon juice, garlic butter or your favorite seasoning blend.
Generally enjoyed chilled, you can also skip the ice bath and incorporate poached shrimp in any pasta, casserole, soup or taco recipe.
For more seafood recipes, check out our Crab Artichoke Dip and Gluten Free Crab Cakes.
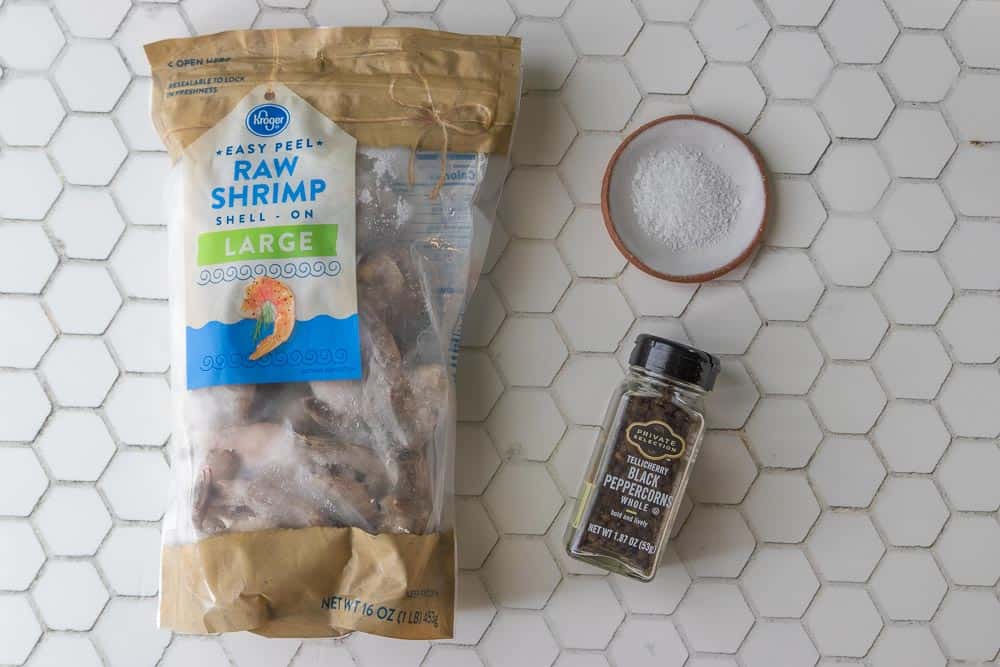
Table of Contents
Ingredients
- 2 pounds shrimp
- 1 teaspoon salt
- 1 teaspoon whole peppercorns
Gluten-Free Guide: If you’re new to eating gluten-free we understand it’s overwhelming trying to figure out which foods may contain gluten and which ones don’t. All of our gluten-free recipes marked with this symbol ✅ represent foods that need to be checked for gluten.


How To Make
Fill a large stockpot with water then add the salt and peppercorns. Bring the water to a boil.
Once boiling, turn the heat off. Add the shrimp and cover the stockpot. Leave covered for 2-3 minutes for fresh shrimp or 4-5 minutes for frozen shrimp.


Using a slotted spoon remove the shrimp from the hot water and place them into the ice bath for 3 minutes.
The ice bath stops the cooking process to prevent tough and rubbery shrimp. If looking to serve poached shrimp hot, toss it immediately into your dish and serve.
You want to steer away from reheating shrimp, if possible, to prevent an unappetizing texture.
Use in your favorite recipe or enjoy with shrimp sauce.


Recipe Tips
- Choose High-Quality Shrimp: Opt for fresh, high-quality shrimp for the best taste and texture. If using frozen shrimp, make sure they’re properly thawed before cooking.
- Use a Large Pot: Using a large stockpot allows the shrimp to cook evenly without overcrowding.
- Don’t Skimp on Seasoning: Salt and peppercorns enhance the flavor of the shrimp. Feel free to add other aromatics like garlic, bay leaves, or herbs for extra flavor.
- Boil the Water First: Before adding salt and peppercorns, bring the water to a rolling boil. This ensures that the seasonings disperse evenly and the water is ready for cooking.
- Timing is Key: Be precise with the cooking time. Overcooking can make the shrimp tough and rubbery, while undercooking can leave them raw.
- Turn Off the Heat: Turning off the heat once the water reaches a boil prevents the shrimp from overcooking and becoming tough.
- Cover the Pot: Covering the pot after turning off the heat traps the residual steam, which continues to gently cook the shrimp.
- Use an Ice Bath: Placing the cooked shrimp in an ice bath immediately stops the cooking process and helps maintain their tenderness. This step also helps prevent the shrimp from becoming overcooked.
Frequently Asked Questions
Shrimp can be the star of the show when it comes to entertaining. If serving as an appetizer, generally plan on 2-3 shrimp per person. Large shrimp weigh in anywhere from 30-35 shrimp per pound to help you plan accordingly.
Yes. Poaching is an excellent way to quickly cook frozen shrimp without needing to thaw first.
Cooked shrimp cocktail is best served immediately. If looking to store leftovers, we wouldn’t recommend keeping longer than 2-3 days.
Store shrimp in the fridge until ready to serve. Leftovers should return to the fridge in an airtight container.
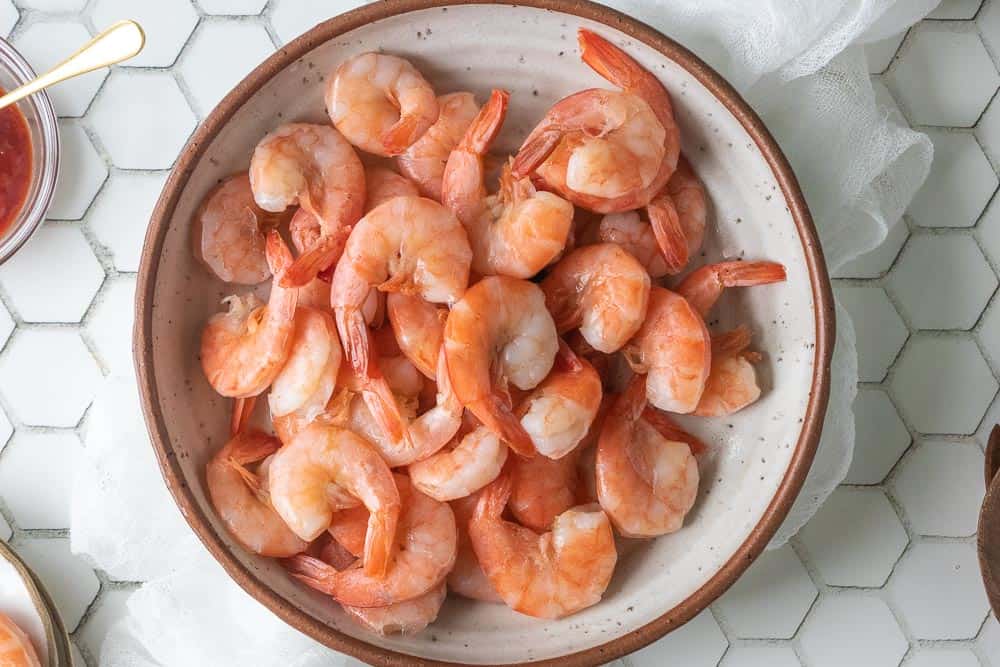
Serve in a classic shrimp cocktail recipe or toss in your favorite salads, wraps, fried rice, pasta or tacos. The shrimp can be served whole or chopped to be incorporated into a recipe.
Storage Instructions
If you’re planning to enjoy the shrimp immediately, drain them well and pat them dry before serving. However, if you won’t be consuming them within a few hours, store them properly. Place the boiled shrimp in an airtight container or a resealable plastic bag and store them in the refrigerator. Remember to use the shrimp within 1-2 days for the best flavor and quality.
If you’re looking for longer-term storage, freezing the boiled shrimp is a great option. After allowing the shrimp to cool, pat them dry to remove excess moisture. Portion the shrimp into smaller amounts based on your needs and place them in airtight freezer-safe containers or resealable plastic bags. Squeeze out as much air as possible before sealing to prevent freezer burn. Label each container or bag with the contents and the freezing date, then place them in the freezer. Frozen boiled shrimp can be stored for around 2-3 months.
When you’re ready to use the frozen shrimp, there are safe thawing methods to ensure their quality. The best approach is to transfer the shrimp from the freezer to the refrigerator and allow them to thaw slowly overnight. If you’re in a hurry, you can place the frozen shrimp in a sealed plastic bag and submerge the bag in cold water. Change the water every 30 minutes until the shrimp are thawed. Remember that once the frozen boiled shrimp are thawed, it’s recommended not to refreeze them.
Kids In The Kitchen
Cooking tips and suggestions for kids making this recipe.
- Keep a close eye on the shrimp and remove as soon as they turn pink (approximately 2-3 minutes for fresh and 4-5 minutes for frozen).
- An ice bath will stop the cooking process and prevent the shrimp from becoming rubbery. Remember we used an ice bath when freezing peaches and broccoli!
- You can use tail on or tail off shrimp for this recipe – read the package to see which one you are making.
More Shrimp Recipes
- Air Fry Shrimp
- Air Fryer Coconut Shrimp
- Shrimp Foil Packets in the Oven
- Shrimp Scampi Pasta (Gluten Free)
- Shrimp Ceviche Recipe
CKC Features both Gluten-Free Guidance and Kids Cooking Instructions: If you’re new to eating gluten-free we understand it’s overwhelming trying to figure out which foods may contain gluten and which ones don’t. All of our gluten-free recipes marked with this symbol ✅ represent foods that need to be checked for gluten or cross-contamination.
The ⭐️ symbol in the recipe below denotes the steps in which kid cooks may need a helper (depending on age). If there is no ⭐️ symbol, that step (or recipe) doesn’t require a helper.
How To Poach Shrimp Recipe
Equipment
- medium-sized mixing bowl filled with ice and water
Ingredients
- 2 pounds shrimp
- 1 teaspoon salt
- 1 teaspoon whole peppercorns
Instructions
- ⭐️Bring water to a boil. Fill a large stockpot with water then add the salt and peppercorns. Bring the water to a boil.1 teaspoon salt, 1 teaspoon whole peppercorns
- ⭐️Turn the heat off. Once boiling, turn the heat off. Add the shrimp and cover the stockpot. Leave covered for 2-3 minutes for fresh shrimp or 4-5 minutes for frozen shrimp.2 pounds shrimp
- ⭐️Place into an ice bath. Using a slotted spoon remove the shrimp from the hot water and place them into the ice bath for 3 minutes.
- Serve. Use in your favorite recipe or enjoy with shrimp sauce.
Notes
Serving Suggestions
Serve in a classic shrimp cocktail recipe or toss in your favorite salads, wraps, fried rice, pasta or tacos. The shrimp can be served whole or chopped to be incorporated into a recipe.Storage & Reheating Instructions
Poached shrimp is best served immediately after cooking. If looking to store leftovers, keep in the fridge for a maximum of 3 days. We do not recommend reheating shrimp as they often become tough and rubbery. Enjoy the leftovers chilled. CKC Features both Gluten-Free Guidance and Kids Cooking Instructions: If you’re new to eating gluten-free we understand it’s overwhelming trying to figure out which foods may contain gluten and which ones don’t. All of our gluten-free recipes marked with this symbol ✅ represent foods that need to be checked for gluten or cross-contamination. The ⭐️ symbol in the recipe below denotes the steps in which kid cooks may need a helper (depending on age). If there is no ⭐️ symbol, that step (or recipe) doesn’t require a helper.Nutrition
If you enjoyed these recipes make sure to leave a comment and a star rating below!
Then follow us on social media and tag #createkidsclub if you make the recipe. We love seeing what you come up with!




Leave a Reply