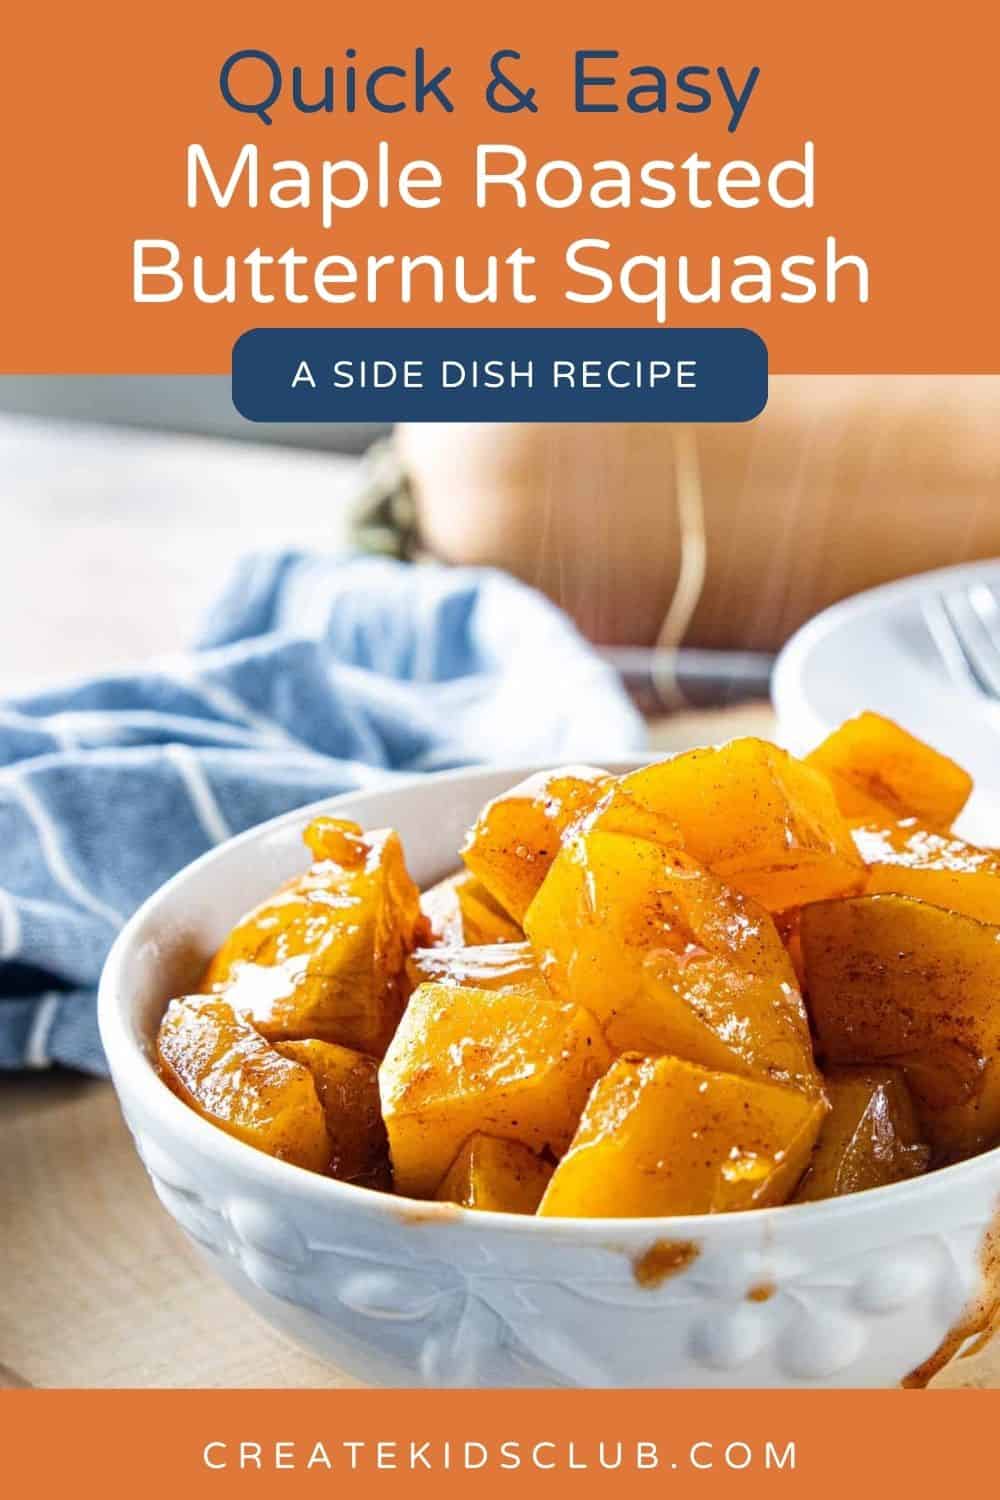
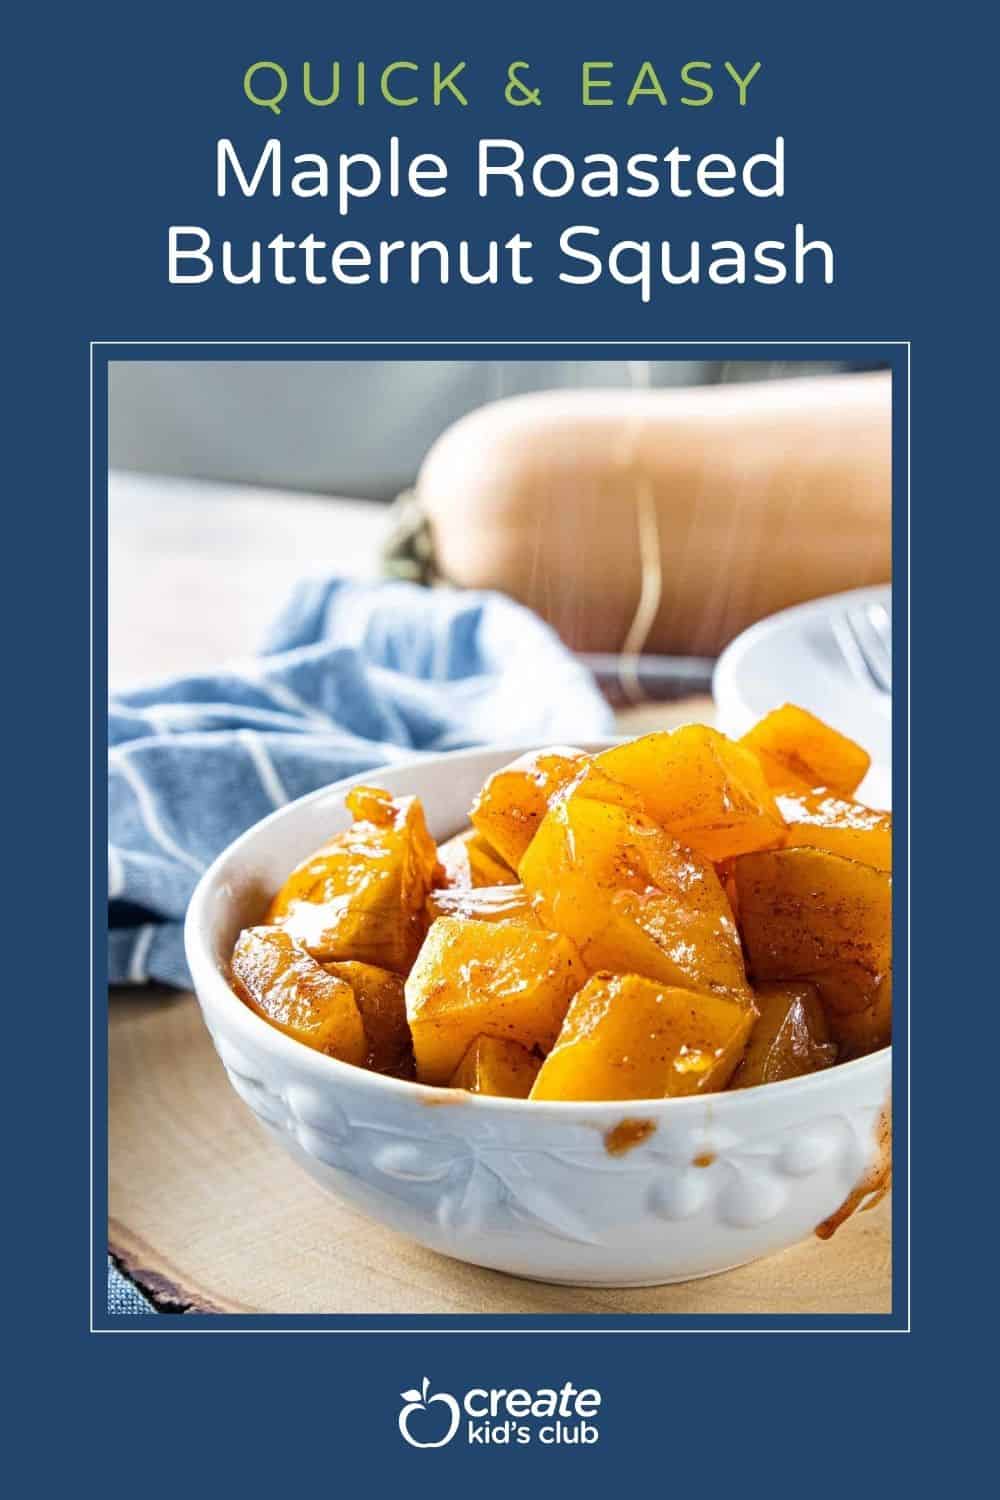
Introducing Maple-Glazed Roasted Butternut Squash to your family is a fantastic way to acquaint them with this delicious vegetable. With a mere four ingredients, this dish is incredibly straightforward, and its caramelized notes are a hit with kids.
Prepare to be enamored with this squash recipe; it will quickly become your preferred side dish. The delightful combination of sweet maple syrup and aromatic cinnamon delivers a taste that is truly unique. What’s more, it can be prepped, roasted, and plated in just 25 minutes.
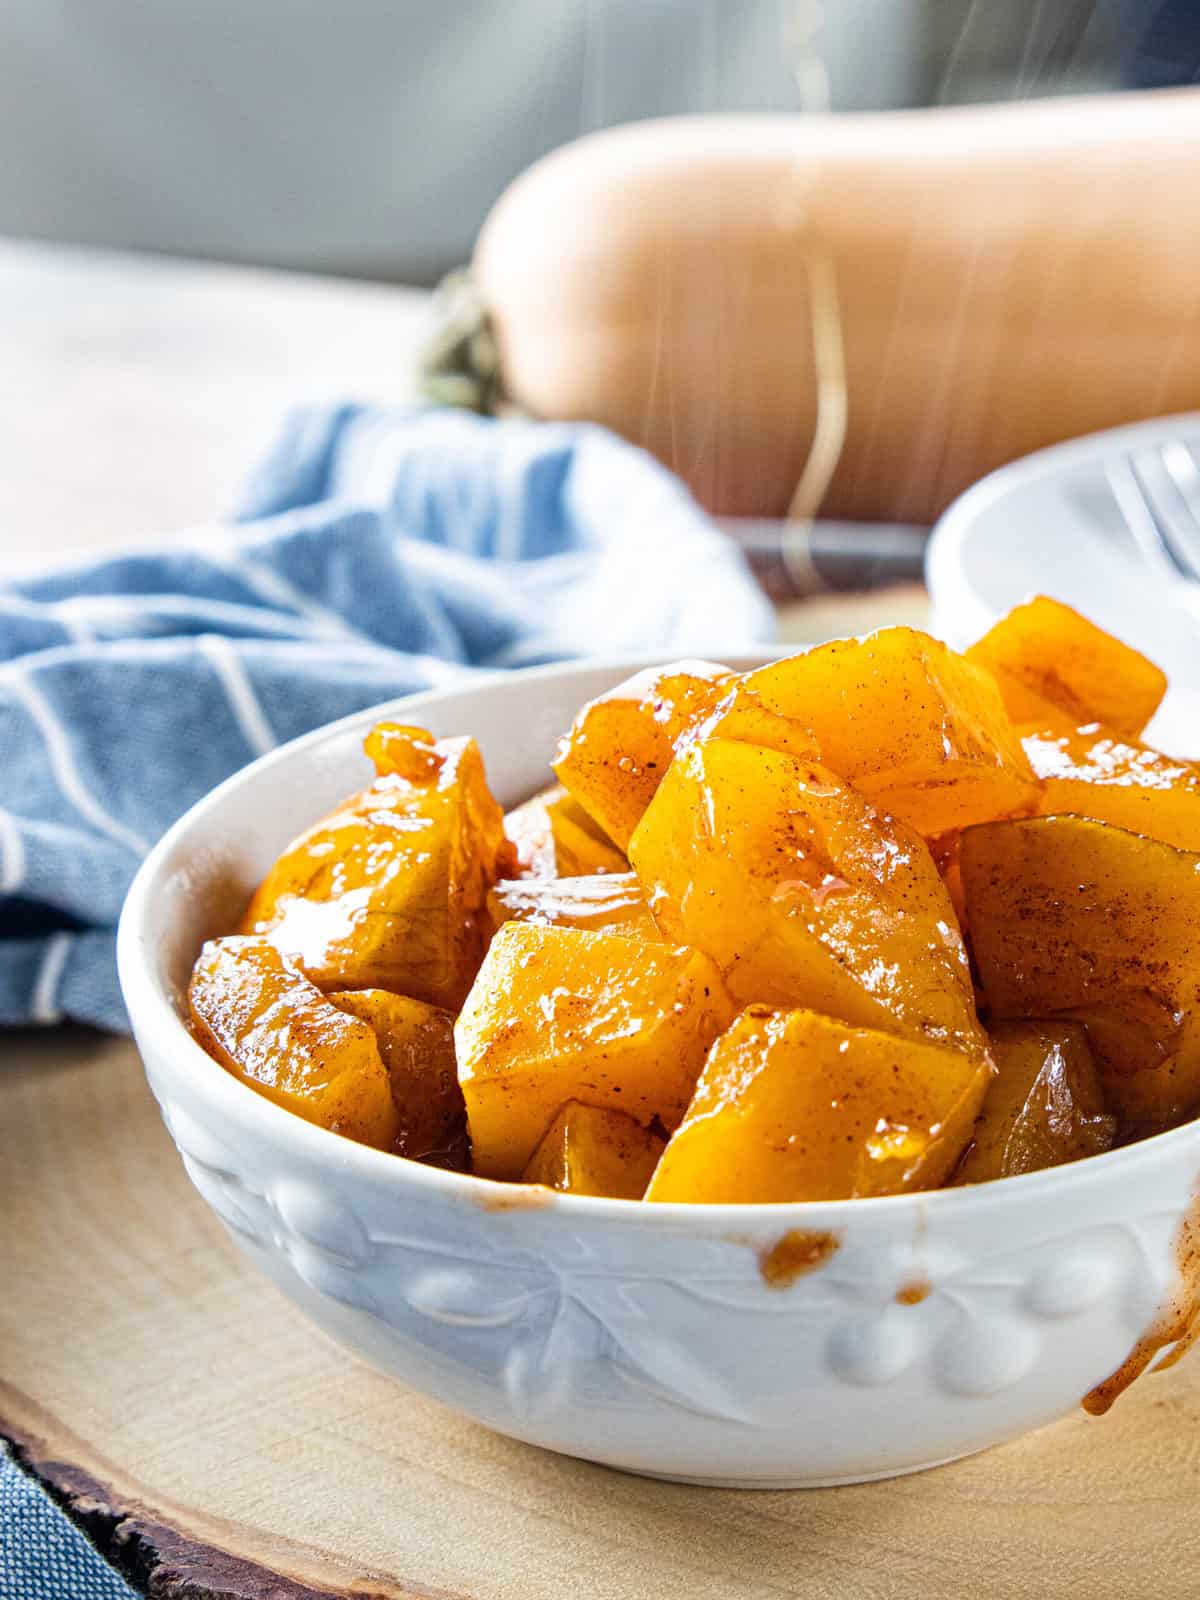
This uncomplicated squash recipe is an explosion of flavors, perfectly suited for the autumn and winter seasons. It offers a scrumptious approach to savoring vegetables, all while filling your home with an enticing aroma!
Squash pairs well with our grilled porterhouse steak, air fried chicken thighs or a roasted pork loin.
Ingredients
- 1 small butternut squash, peeled and diced
- 1/4 cup maple syrup
- 1/2 teaspoon cinnamon
- 1/2 teaspoon salt
Table of Contents
How To Make Butternut Squash Maple Syrup Recipe
To prepare this butternut squash with maple syrup dish, start by preheating your oven to 400ºF (200ºC). Next, it’s time to prep the squash. Begin by peeling and dicing a small butternut squash. If you need visual guidance, there’s a video in the post that provides step-by-step instructions.
For the flavorful sauce, gather 1/4 cup of maple syrup, 1/2 teaspoon of cinnamon, and 1/2 teaspoon of salt. In a small bowl, combine these ingredients to create a blend of sweet and savory flavors.
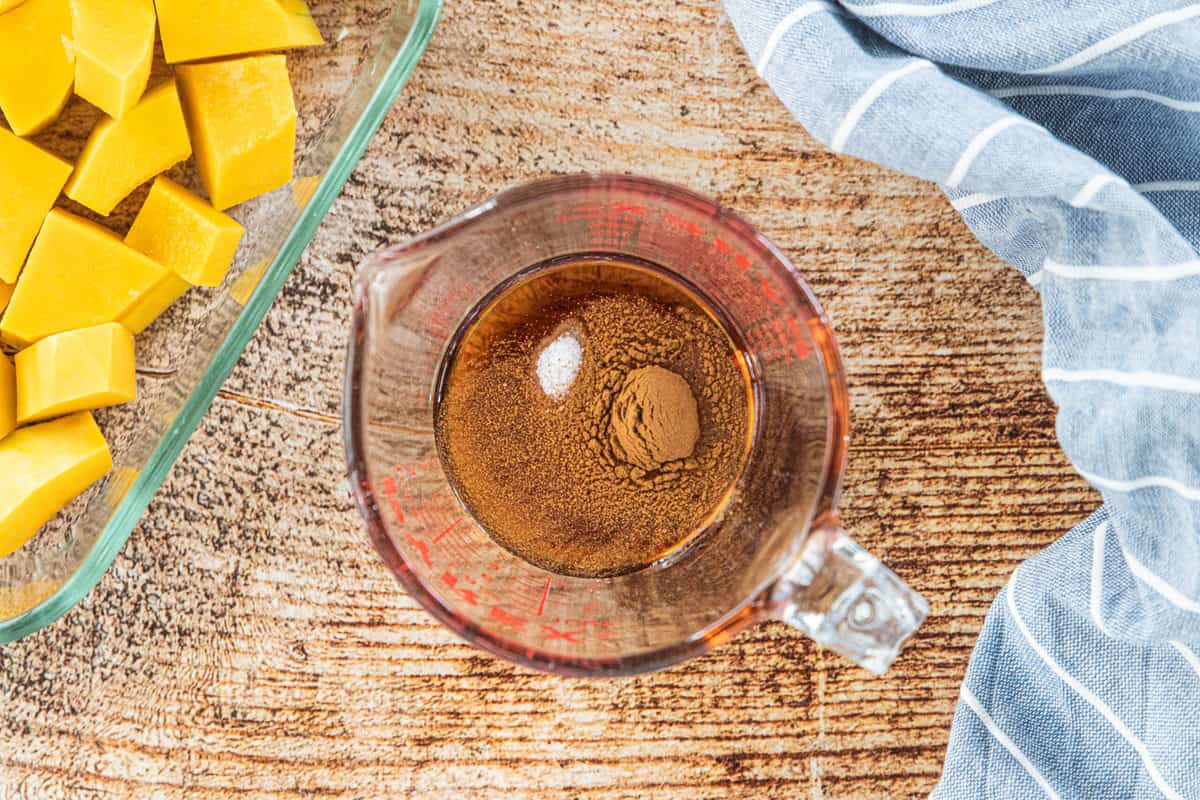
Place the diced butternut squash into a baking pan. Carefully pour the prepared maple syrup mixture over the squash. Give everything a good stir, ensuring that the syrupy goodness coats the squash evenly.
With your squash perfectly prepared, it’s time to bake. Slide the baking pan into the preheated oven and let it cook for approximately 25 to 30 minutes. Remember to give the mixture a gentle stir halfway through the baking time to ensure even cooking. As the dish bakes, you’ll notice the aroma filling your kitchen.
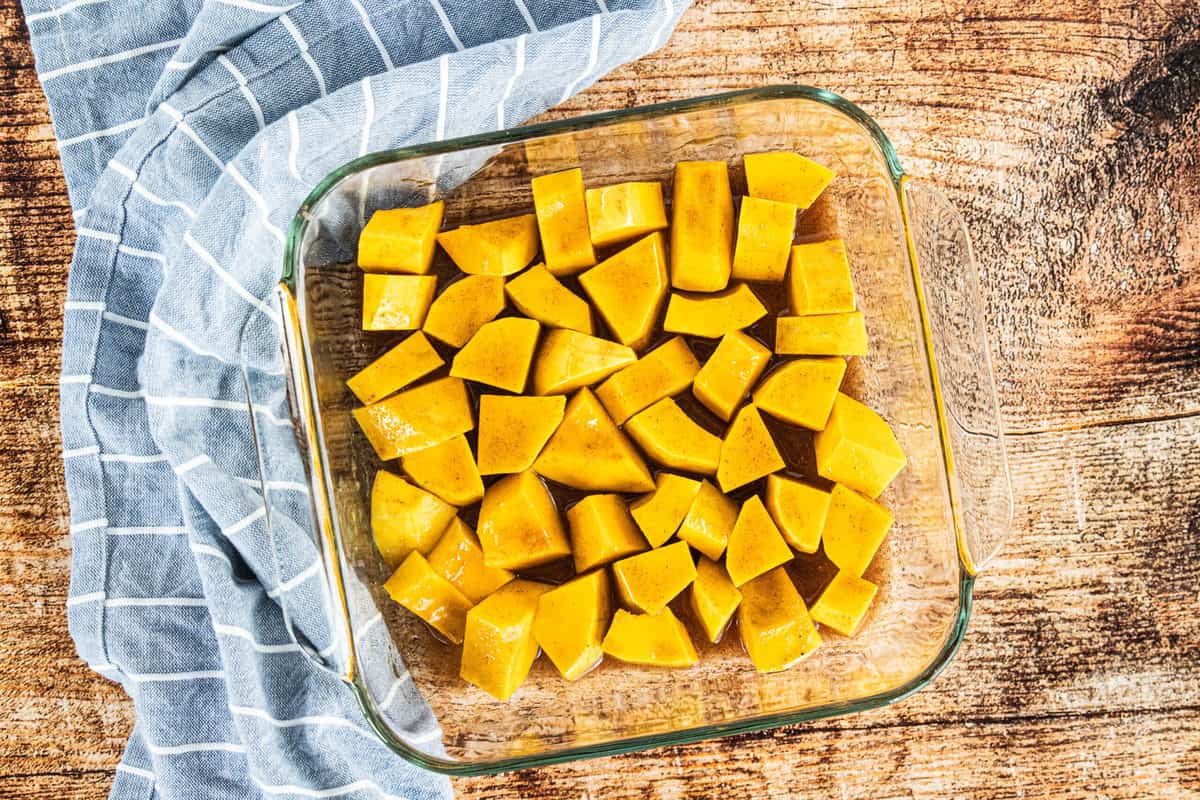
Keep an eye on the squash’s progress. The telltale signs of doneness include the sauce thickening and the squash becoming fork-tender.
PRO TIP: Line the baking pan or baking sheet with tin foil before adding the diced butternut squash. This makes for an easy clean-up.
Tips and Tricks
- Efficient Squash Prep: To make the process of peeling and dicing the butternut squash easier, consider using a sharp vegetable peeler and a sturdy chef’s knife. Removing the tough skin and cutting the squash into uniform pieces will promote even cooking.
- Sauce Mixing Technique: When combining the maple syrup, cinnamon, and salt for the sauce, start by adding the syrup to the bowl first. This can help prevent the cinnamon and salt from clumping together and ensure a smoother blend.
- Coating Evenly: When pouring the maple syrup mixture over the diced squash, use a spatula or spoon to ensure an even coating. This way, each piece of squash gets its fair share of flavor.
- Stirring During Baking: When instructed to stir the squash mixture halfway through the baking time, do so gently. Avoid vigorous stirring that might break down the squash pieces, leading to uneven texture.
- Doneness Signs: Keep a close eye on the squash as it bakes. Look for visual cues such as a thickened sauce and squash pieces that are easily pierced with a fork. These are indicators that the dish is ready to be enjoyed.
- Customization: Feel free to adjust the quantity of ingredients according to your taste preferences. If you prefer a stronger cinnamon flavor or a touch of extra sweetness, you can modify the sauce ingredients accordingly.
FAQ
Absolutely. The maple syrup provides sweetness, so you can adjust the amount to your taste. Start with the suggested quantity and add more if desired. Keep in mind that altering the syrup amount might also affect the overall texture of the sauce.
While the recipe specifies butternut squash, you can experiment with other varieties of squash, like acorn or kabocha. Keep in mind that cooking times might vary, so monitor the dish closely to achieve the desired texture.
Gently insert a fork or a knife into a piece of squash. If it goes in easily with minimal resistance, the squash is fork-tender. If it feels firm or requires effort to pierce, it needs more cooking time.
Absolutely. Pecans, walnuts, cranberries, and/or dates are all great options. Simply choose the ingredients you wish to add and mix in at step 3.
Storage Instructions
To store your prepared butternut squash dish, first, allow it to cool to room temperature after cooking. Once cooled, transfer the leftovers to an airtight container or securely cover the baking pan with plastic wrap or aluminum foil. For optimal freshness and safety, label the container with the date of preparation. Refrigerate the dish, and it should stay good for about 3-4 days.
Reheating
In the oven, place a portion in an oven-safe dish, cover with foil, and warm at a low temperature (around 300ºF or 150ºC) until heated through. Alternatively, use the microwave by placing the dish in a microwave-safe container, covering it with a microwave-safe lid or wrap, and reheating in short intervals, stirring periodically.
While reheated butternut squash might not have the same crisp texture as when freshly baked, the flavors should still be enjoyable.
Freeze
Allow the squash to cool completely, then transfer to a freezer-safe container or zip-top bag, removing excess air before sealing. Label with the date and freeze. When you’re ready to use frozen squash, thaw it in the refrigerator overnight. While the texture might change upon thawing, the squash can be incorporated into soups, stews, or purees by reheating gently on the stovetop or in the microwave.
Other Butternut Squash Recipes:
CKC Features both Gluten-Free Guidance and Kids Cooking Instructions: If you’re new to eating gluten-free we understand it’s overwhelming trying to figure out which foods may contain gluten and which ones don’t. All of our gluten-free recipes marked with this symbol ✅ represent foods that need to be checked for gluten or cross-contamination.
The ⭐️ symbol in the recipe below denotes the steps in which kid cooks may need a helper (depending on age). If there is no ⭐️ symbol, that step (or recipe) doesn’t require a helper.
Maple-Roasted Butternut Squash Recipe
Equipment
- 9×9 inch baking pan
Ingredients
- 1 small butternut squash, peeled and diced
- 1/4 cup maple syrup
- 1/2 teaspoon cinnamon ✅
- 1/2 teaspoon salt
Instructions
- Preheat the oven. Preheat the oven to 400º.
- ⭐️Prep the squash. Peel and dice the butternut squash. Watch the video in the post for instructions.1 small butternut squash, peeled and diced
- Mix the sauce. In a small bowl combine maple syrup, cinnamon, and salt.1/4 cup maple syrup, 1/2 teaspoon cinnamon, 1/2 teaspoon salt
- Blend. Place the butternut squash into the baking pan. Pour maple syrup mixture on top and stir.
- ⭐️Bake. Bake for 25-30 minutes stirring halfway through. Squash is done when the sauce thickens and the squash is fork-tender.
Video
Notes
Nutrition
If you enjoyed these recipes make sure to leave a comment and a star rating below!
Then follow us on social media and tag #createkidsclub if you make the recipe. We love seeing what you come up with!



Carrie says
I made this last night and it smelled like I had a pie in the oven. So good!