If you’ve been intimidated about using your instant pot you’re not alone. This Beginners Guide will provide you with all the information you need to know to get started using this helpful cooking tool today.
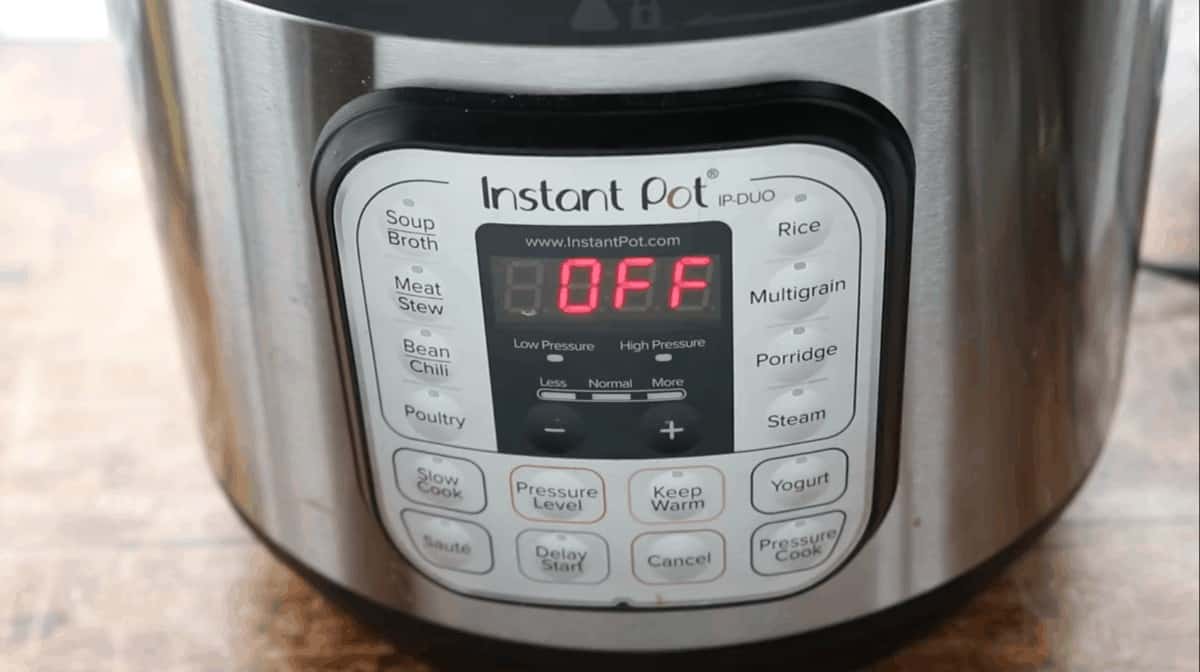
If you’re like me, you’ve let your instant pot sit in the hall closet for a couple of weeks (or months). It’s time to take it out and give it a try.
I was a bit nervous about using the instant pot at first. It seems like there are so many buttons, features, safety warnings, and accessories. Once you use it a time or two you’ll see that it’s not complicated and is really handy. This kitchen tool has truly changed the way I create meals at my house.
Whether you are an Instant Pot pro or newbie, there are always new tips, tricks or recipes to learn. I hope you learn a thing or two in this How to Use an Instant Pot guide.
UNPACKING YOUR INSTANT POT
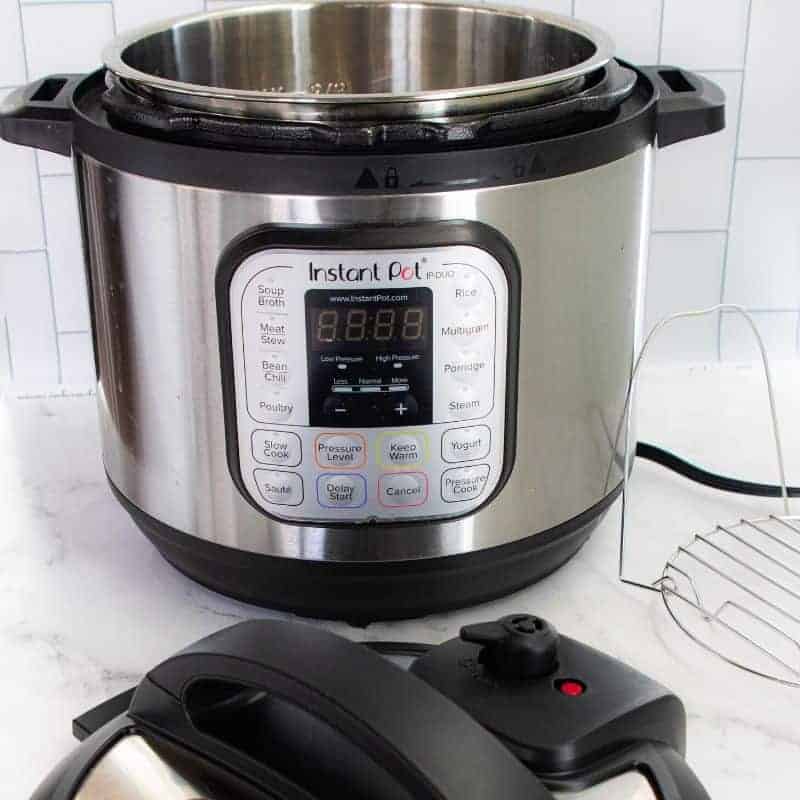
First things first, remove your Instant Pot and the various parts from the box. Remove any plastic wrap or pieces of cardboard.
You will find a few extra things in the box, but you don’t really need those (measuring cup, ladle, spoons, etc.).
Instant Pot Parts
Base Unit
The base unit holds the heating element. It is important to never pour any ingredient into the base unit.
Stainless Steel Inner Pot
This inner pot will fit inside the base unit. This pot holds all the ingredients for any recipe that you make.
Lid
Each Instant Pot will have a different variation of the lid. Simply place on the base unit and turn to secure.
Sealing Ring
The purpose of the sealing ring is to ensure proper sealing. The sealing ring is designed to withstand high-pressure cooking and is in place for your safety. It is recommended to replace the sealing ring every 12-18 months. There are different sizes of sealing rings based on the quart size so make sure the ring fits.
I recommend keeping 2 sealing rings on hand. Use 1 ring for savory dishes and 1 ring for sweet dishes.
Steam Release Valve
This valve controls the Instant Pot’s ability to build pressure and properly cook your recipe. You should see a floating pin next to the valve. If the pin is up then the pot is under pressure. If the pin is down then the pot is depressurized.
Condensation Collector
The purpose of the condensation collector is to collect excess water released during cooking. There are different sizes of collectors based on the quart size. Truth be told, mine is sitting a drawer somewhere, I don’t use it.
Wire Rack/Trivet
The wire rack/ trivet should fit in the bottom of your stainless steel inner pot. It will definitely come in handy when you use the steam function.
Power Cord
The power cord detaches on some of the models. If you purchase an instant pot with a detached power cord, simply plug it into the connection on the base unit.
Accessories
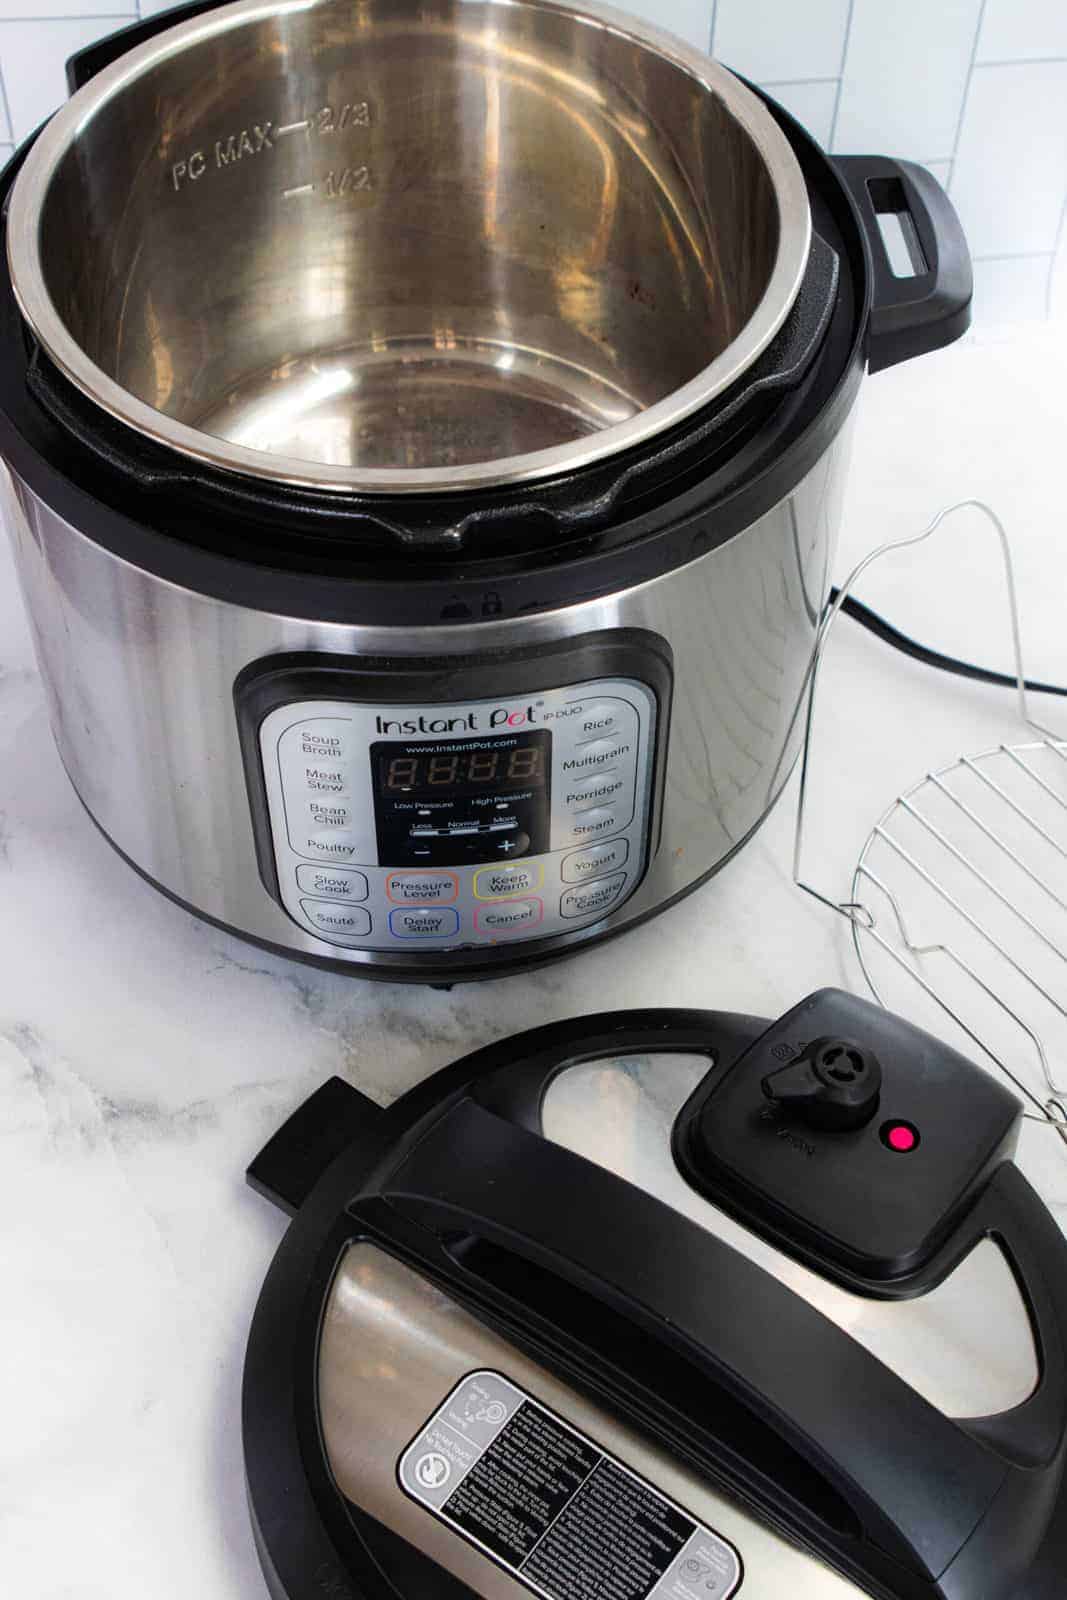
Check out all the Accessories available! The accessories in the box will vary model to model.
HOW TO USE AN INSTANT POT FOR THE FIRST TIME?
An Instant Pot is a multi-cooker appliance that has the features to pressure cook, saute, slow cook, steam, sous vide, keep food warm and cook meat/stew, bean/chili, soup/broth, multigrain, porridge, and homemade yogurt.
It is one of the most versatile kitchen appliances that I have ever used. It allows you to do all these functions in only one tool saving money, time, and most importantly space in your kitchen! Can you imagine storing a separate appliance for each of these 14 functions?!
The more I use my Instant Pot, the more impressed I am. In the beginning, I never expected to be able to create tender Pulled Pork or French Dip Sandwiches. I honestly thought I would use the Instant Pot once and then it would sit in the closet collecting dust. Boy was I wrong!
How To Do the INITIAL WATER TEST
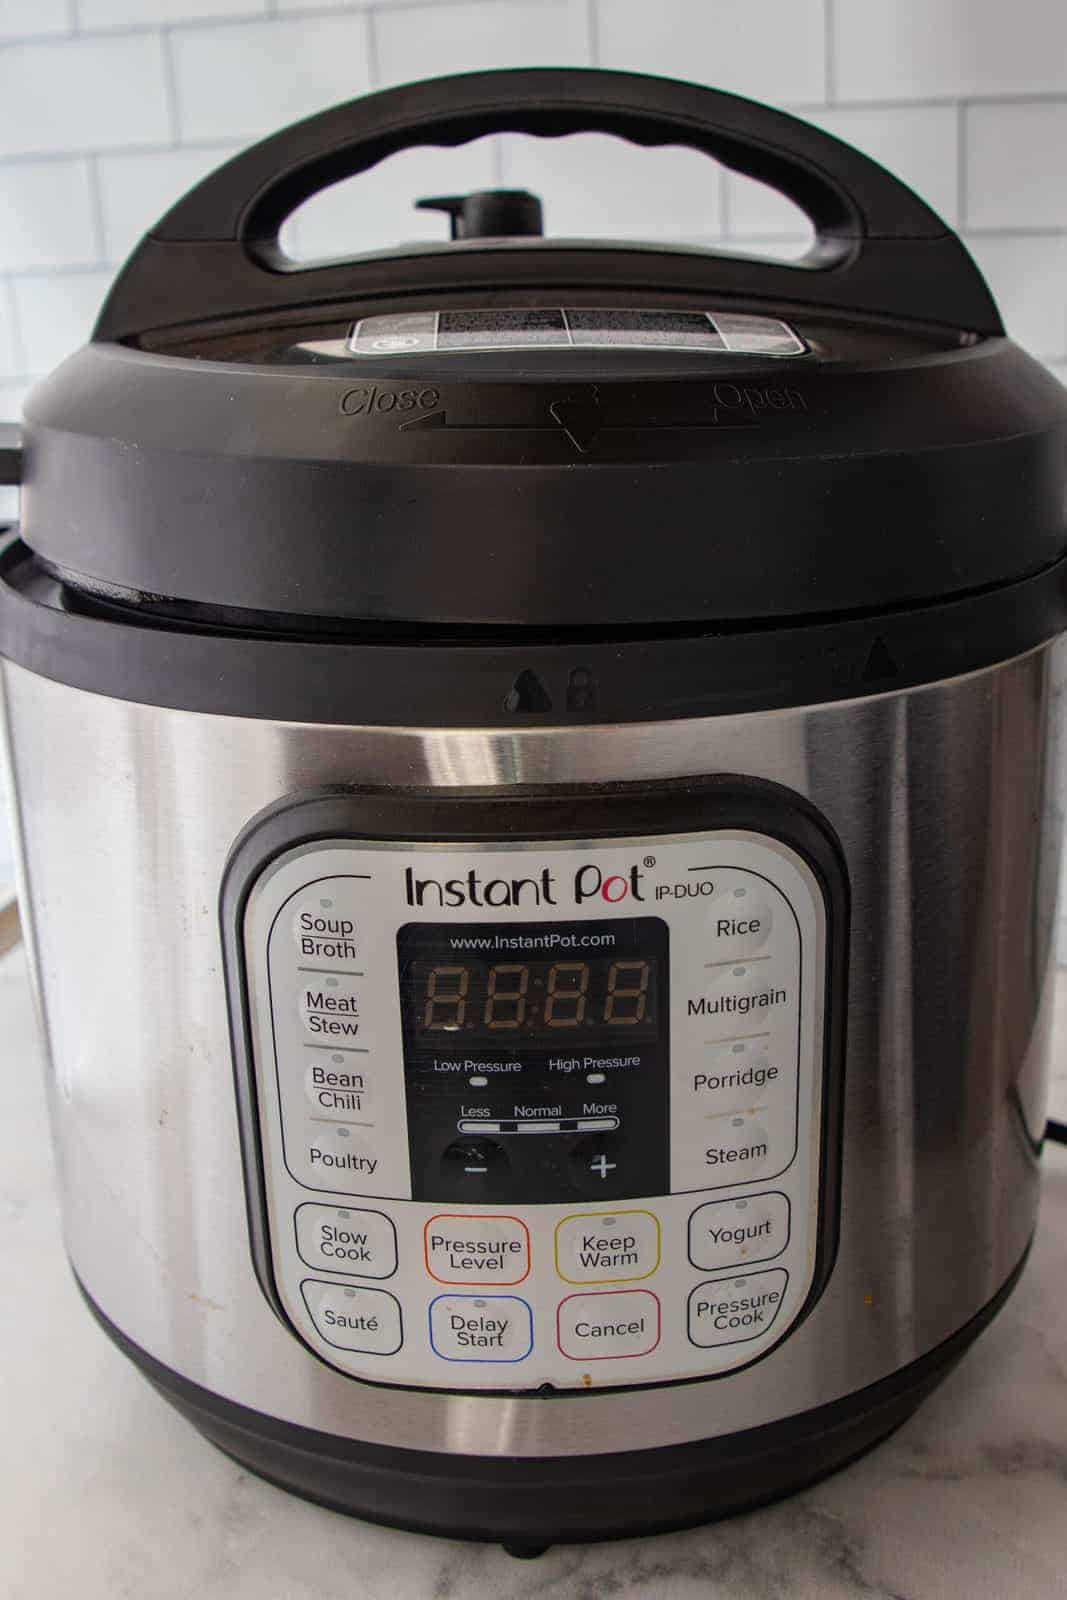
Before cooking your first recipe, I recommend running the Initial Rest Run to make sure everything is properly working.
If for any reason the Instant Pot you bought is defective, this is the time to find out. Plus, this tests lets you familiarize yourself with the appliance.
- Check to make sure the power cord is firmly connected to the connection socket, which is located on the back of the cooker base. If so, plug into a wall outlet.
- Next, place the inner pot into the base of the Instant Pot and add 3 cups of water to that inner pot.
- PRO TIP: Never pour food or liquid into the cooker base without the inner pot in place.
- Check the sealing ring to make sure it is installed correctly.
- PRO TIP: When it is set, it should not be able to be removed easily.
- Place on the lid and turn. See below for specific directions for how to put the lid on.
- PRO TIP: The Instant Pot should chime when you open and close the lid.
- Turn the steam release valve to the “SEALING” position.
- PRO TIP: The Ultra model will automatically set the steam release to the “SEALING” position when the lid is closed.
- Then, select the “MANUAL” or “PRESSURE COOK” button.
- PRO TIP: These two buttons do the same exact thing. Depending on your model, you will have either button.
- Adjust the cooking time using the + / – buttons or use the dial (if you have that option) to adjust the cooking time to 5 minutes.
- PRO TIP: “5” or “00:05” will be displayed depending on the model that you own
- Wait for the pre-heating cycle to be completed, which takes about 10 seconds. “ON” will be displayed during this heating process.
- PRO TIP: For the Ultra model, select “START”.
- The pressure will start to build, which takes anywhere to 5-15 minutes depending on your model. The float value pops up once the pressure has been reached. The Instant Pot beeps and then it will begin to count down on the display.
- PRO TIP: If you notice steam escaping from the valve or a plastic smell the first time you do this test, this is completely normal.
- Once the countdown is complete, the cooker will beep and switch to “KEEP WARM”.
- PRO TIP: The numbers will start to count up and there will be an “L” displayed before these numbers when it is in the keep warm mode.
- Use the Quick Release (QR) method to release pressure during this initial test by turning the steam release valve to the “VENTING” position. Once the float valve drops, unlock the lid and remove.
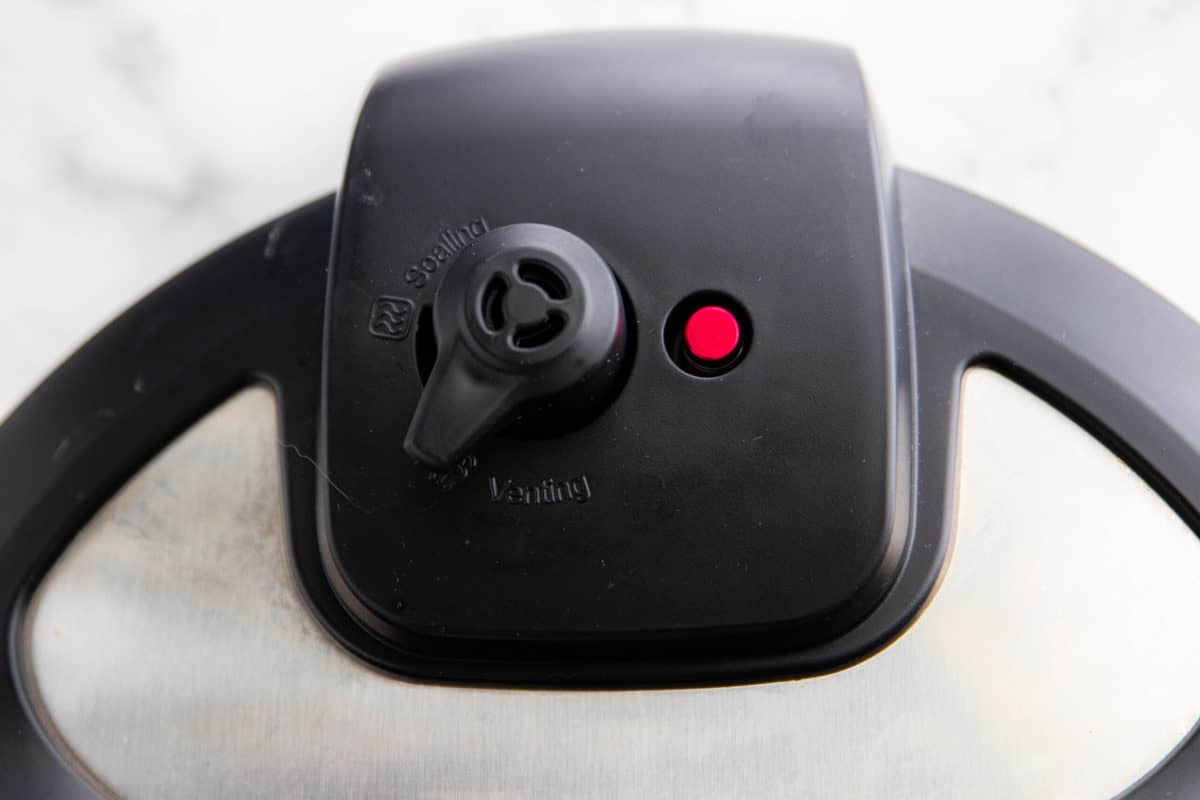
If you have any issues during this initial water test, do not hesitate to contact customer service.
After the test run, the first thing I tried was hard-boiled eggs. This is a nice and easy way to learn to use your instant pot. It also results in a delicious, healthy snack to have on hand – and instant pot hard-boiled eggs are the easiest to peel!
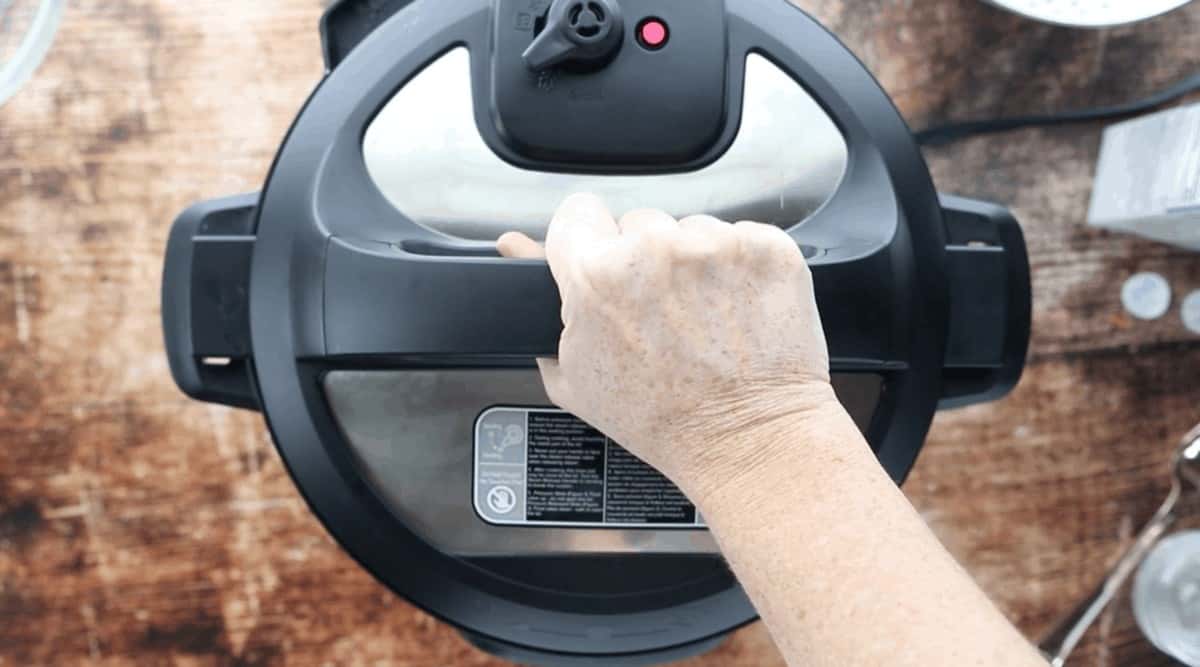
HOW TO PUT INSTANT POT LID ON
I struggled to get the lid on the first time I used it.
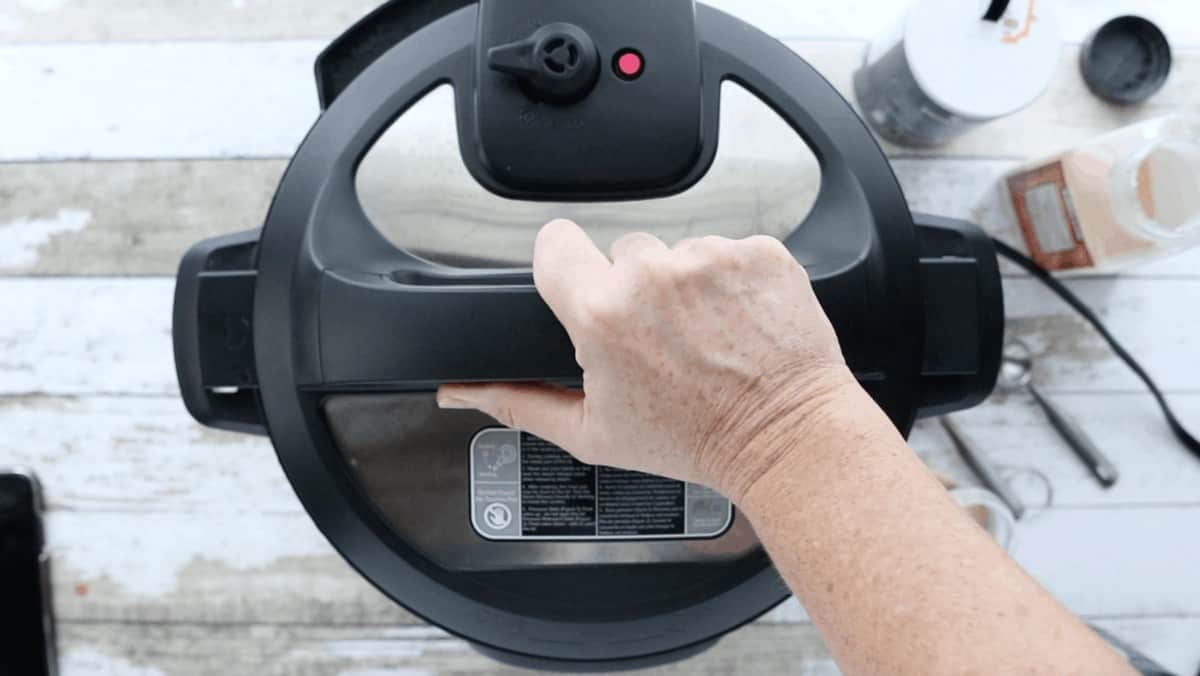
Once you figure it out, it’s a no brainer, but at first, I was clueless. To put the instant pot lid on, make sure you hold the lid with the venting valve away from you. Turn the lid about a quarter way to the left, set the lid on, then turn it the opposite way.
PRO TIP: The instant pot will make a chiming noise letting you know the lid is on.
How To Turn On Your Insta Pot
Check out these step-by-step instant pot instructions that lead you from start to finish for any IP recipe.
- First, place the stainless insert into the instant pot. After that, add the ingredients
PRO TIP: there needs to be at least 1/2 cup of water or liquid for the 3-quart pot, 1 cup of water or liquid for the 6-quart pot and 2 cups of water or liquid for the 8-quart pot.
- Next, check the lid to make sure the sealing ring is in place.
- Then, secure the lid onto the base.
- Turn the valve on the lid to “SEALING”.
- The next step will differ for each model so check your manual! I press “PRESSURE” but other models require you to press “MANUAL”.
- Press the PLUS or MINUS signs to set the cooking time.
- It should say “ON“. When the machine first turns on, it is building pressure. The time that it takes for this pressure to build does NOT count toward the cooking time. On my machine, I know the pressure is built when the silver pin on top is raised.
- Once the pressure is built, the cooking time will start counting down.
- After the cooking time is complete, release the pressure. To release the pressure, you can wait for the natural pressure release (NPR) OR release the pressure manually by turning the valve to “VENTING“.
- Lastly, take off the lid once it is unlocked.
Keep it simple if this is your first time using your machine.
Beginner Instant Pot Recipes
- How To Cook Frozen Chicken Breasts in the Instant Pot
- How To Poach Frozen Chicken Breasts in Instant Pot
- How To Shred Chicken In Kitchenaid
- Instant Pot Frozen Chicken Tenderloins
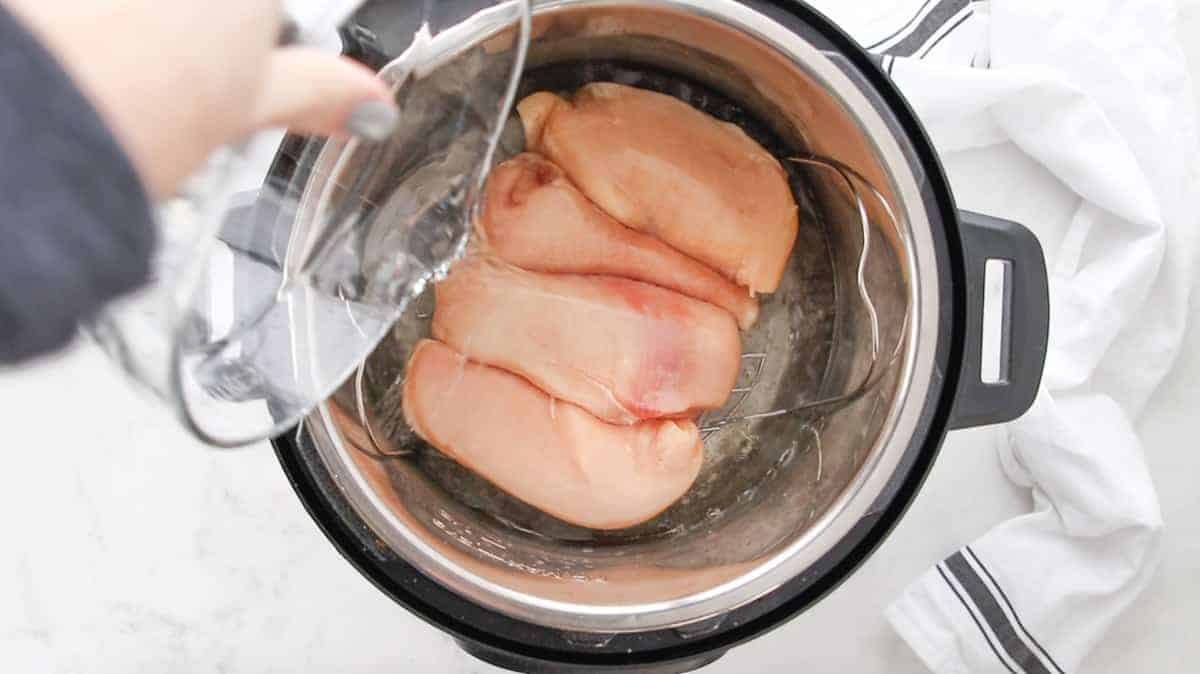
HOW TO USE QUICK RELEASE & NATURAL RELEASE:
It is important to know the difference.
Natural Pressure Release (NPR) is when you let your appliance release the pressure naturally. The pressure will release slowly & the lid will unlock when the float valve drops completely. I use NPR when I am cooking with large cuts of meat and ingredients that are likely to foam like pasta or rice.
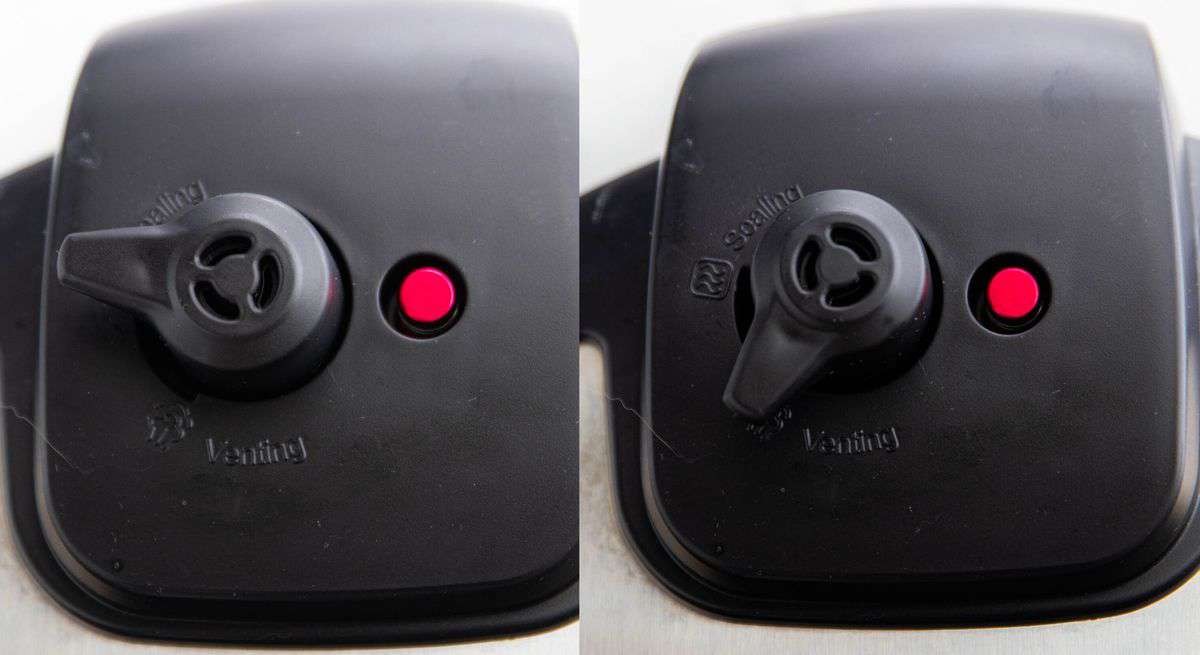
With Quick Release (QR), you manually turn the valve from “SEALING” to “VENTING”, which will let the pressure go quickly. Be cautious with QR because the steam will shoot out of the top quickly! I use the QR option when I am cooking with ingredients that I don’t want to overcook like vegetables, or when I don’t want to wait for the natural pressure to release!
PRO TIP: You know your Instant Pot has depressurized when the float valve has dropped into the lid
WHY DOES MY INSTANT POT SAY BURN?
First things first, don’t panic! The instant pot burn message is a common problem with Instant Pots. If the “burn” message appears on your Instant Pot, know that the stainless steel insert in your pot has turned off. This is a built-in preventive feature that reduces further damage to your Instant Pot.
PRO TIP: If cooking rice or pasta, don’t stir them in, rather set them on top of other ingredients and add more liquid on top. If they settle on the bottom you will likely get the burn warning.
This problem can be solved in three simple steps.
- Press the “cancel” button
- Switch the Instant Pot to “VENTING” to release the pressure
- Remove any burnt debris from your Instant Pot
The #1 reason the “burn” message appears on the Instant Pot is due to not having enough liquid inside your pot. Remember – at least 1/2 cup for the 3-quart pot, 1 cup for the 6-quart pot and 2 cups for the 8-quart pot.
PRO TIP: If you are looking to make a dish that has a creamy sauce made of cream cheese or heavy cream, stir in these ingredients after the food is done cooking. These ingredients can be too thick & cause your “burn” message to appear.

ARE INSTANT POTS SAFE? CAN AN INSTANT POT EXPLODE?
Yes, your Instant pot is safe. No, your Instant pot is not going to explode if you follow the user manual. The Instant Pot has built-in safety features.
Most Instant Pot related accidents are due to human error.
Tips for Instant Pot Use
Seal the sealing ring.
Before you lock on the lid, make sure the sealing ring is in place. If your sealing ring is damaged in any way, replace it immediately. A good rule of thumb is to replace the sealing ring every 18-24 months depending on how frequently you use your machine. Time to replace yours? Click here for authentic sealing rings.
Add enough liquid.
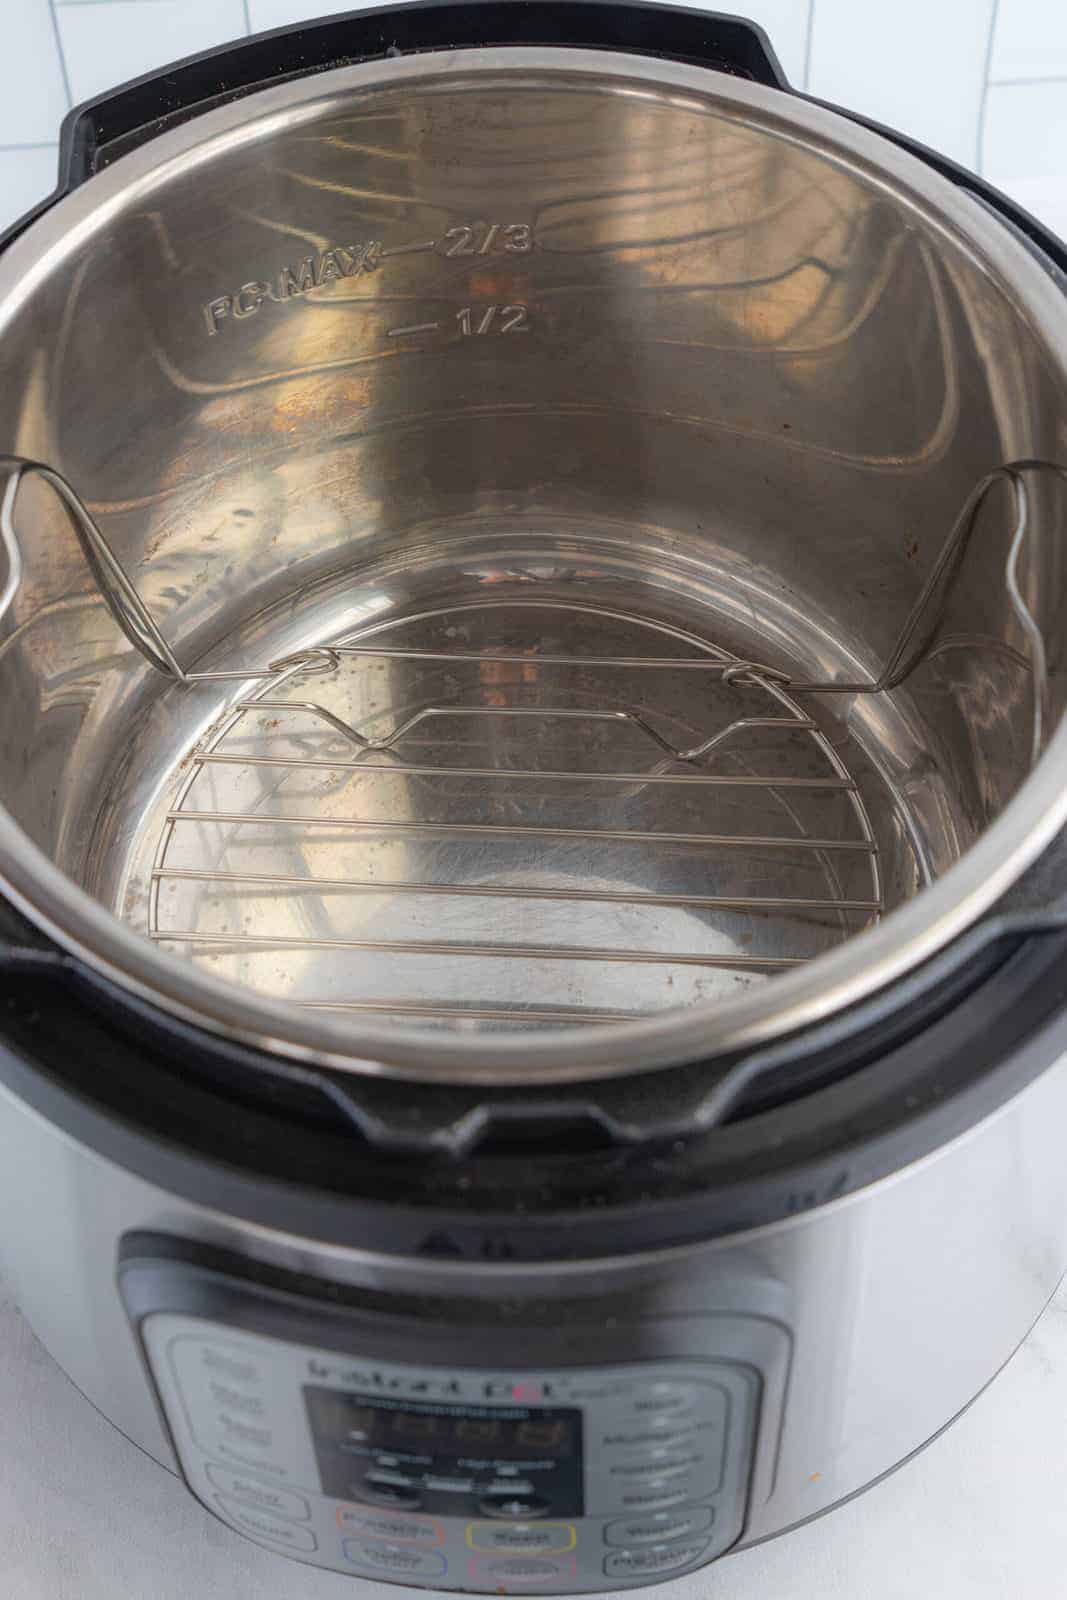
I can not stress this tip enough. Your Instant pot must have at least 1/2 cup of water for the 3-quart pot, 1 cup for the 6-quart pot, and 2 cups for the 8-quart pot. Adding enough liquid will reduce the risk of your instant pot displaying the burn warning.
Do not fill to the max line.
Fill your pot 1/2 full when cooking foods that expand during cooking (rice, pasta, beans, grains). You could fill the pot up to 2/3 full when cooking foods that do not expand during cooking (beef, poultry, fish). Keep this safety tip in mind if you choose to double or triple a recipe. If you find that you are frequently making large batches, consider upgrading to the 8-quart pot size.
Watch out for steam.
If you are nervous about keeping your hand safe from the steam when turning the sealing valve to “VENTING”, you can use the handle of a long spoon to turn the valve. Also, ensure the lid is tilted away from you when removing the lid. This will minimize your risk of being burned by steam.
Do not force the lid open.
Wait until all the internal pressure has been released. If it is difficult to open, that is an indicator that the pressure has not fully released. The float valve will drop down into the lid when all the pressure has been released. At this point, you can hold the lid handle, turn counterclockwise, and remove.
No deep frying.
The Instant Pot was not designed to deep fry. Deep frying could result in a fire or serious damage.
Read the user manual.
The manual provided with every Instant pot has all the answers. I highly recommend reading through the manual so you know how to safely operate your Instant Pot. Lost your manual? Click here for the online manuals.
HOW DO I MANUALLY SET INSTANT POT?
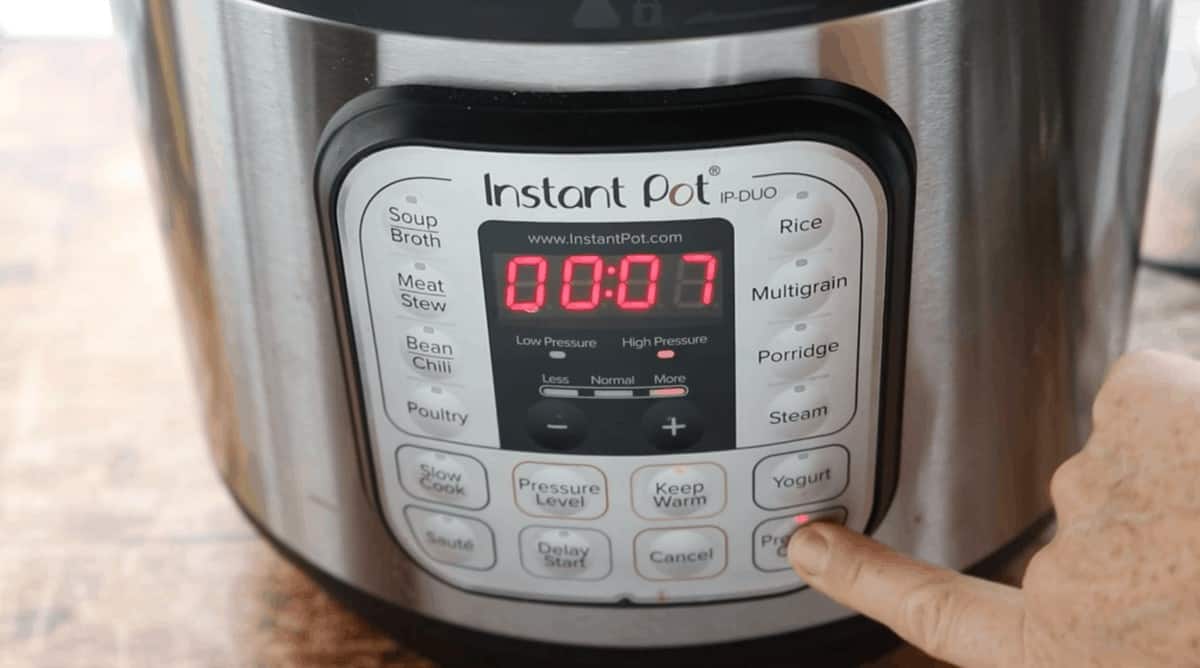
The “MANUAL” key allows for a manual setting of the cooking time for your dish.
Of all the buttons on my Instant Pot, I probably use this button the most because I can customize the time based on the recipe I am making. I especially like to use this button when I have a recipe that requires a longer cooking time like roasts or soups.
When setting time in this mode, remember that it is the pressure cooking time. You will still need to account for the time it takes for the working pressure to be reached. Once the pressure has built-in your Instant Pot, the manual time will start to count down.
TOTAL TIME VERSUS COOKING TIME
The total time will take longer than the cooking time. This is because your Instant Pot needs time to build pressure. This typically takes 10 minutes but can vary depending on your model, type/amount of food, and the temperature in the pot.
Once your Instant Pot has reached pressure, the cooking time will start. Make sure to account for the time needed to release the pressure after the cooking time is complete if using the natural release function.
MANUALLY SET INSTANT POT RECIPES
- Pulled Pork Instant Pot Recipe – 120 minutes
- Instant Pot French Dip – 90 minutes
- Minestrone Soup – 45 minutes
- Instant Pot Loaded Potato Soup – 12 minutes
PRO TIP: Keep in mind the maximum pressure cooking time is 120 minutes.
INSTANT POT SAUTE MODE
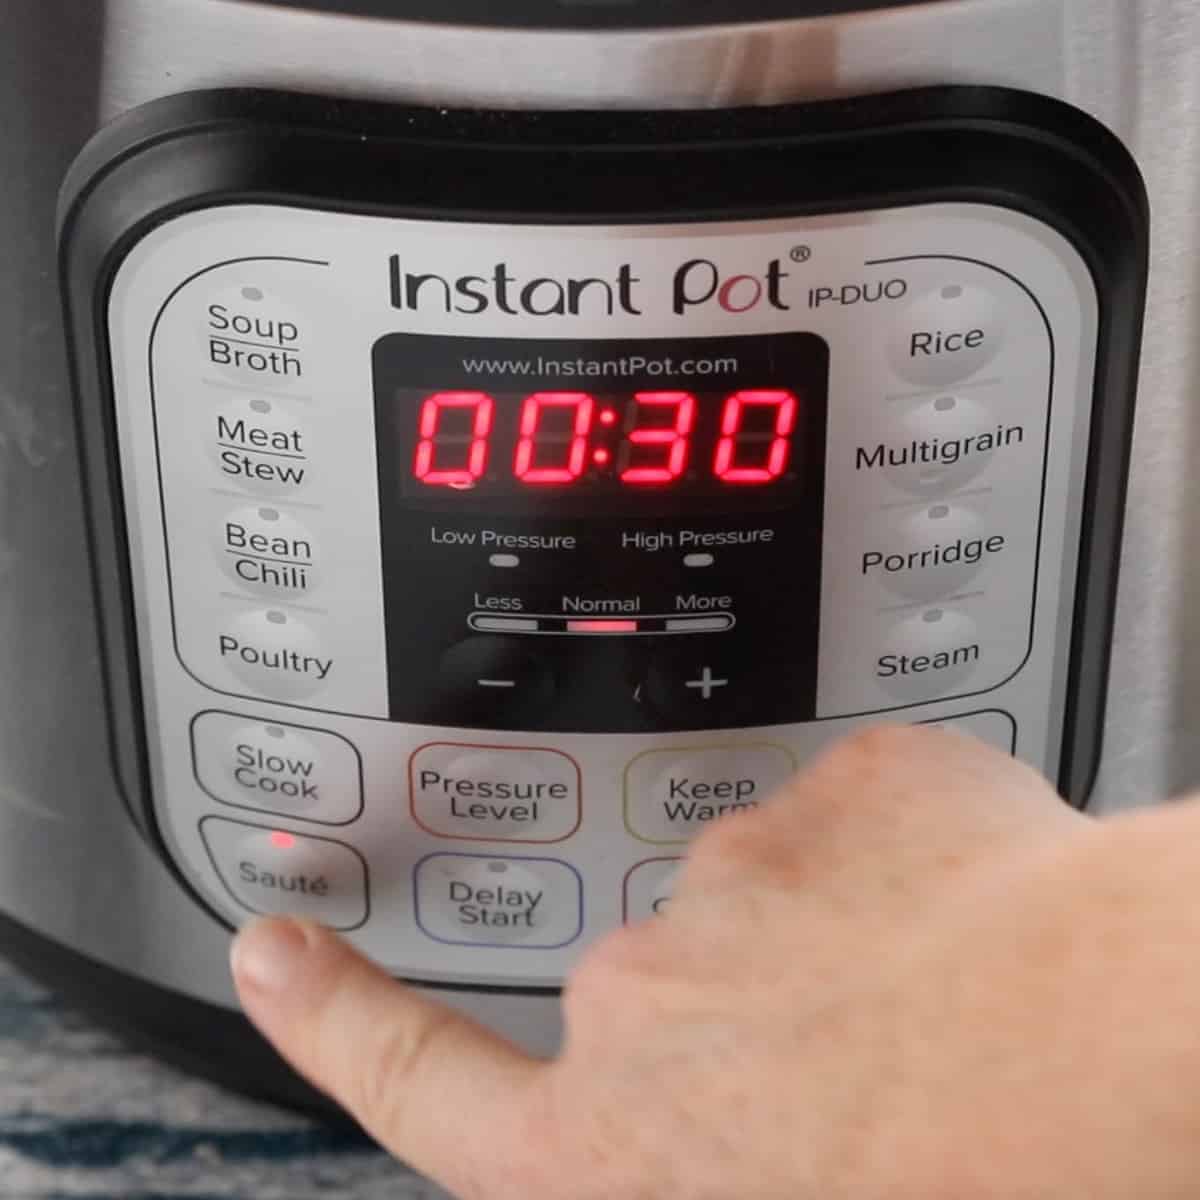
The “SAUTE MODE” is a great feature that allows you to heat the instant pot insert to saute any ingredient. You can adjust the heat using the “ADJUST” button. I will saute onions or garlic on low heat while searing meat on high heat.
*For newer models, there might not be an adjust button. If not, simply press the “saute” button to adjust the heat.
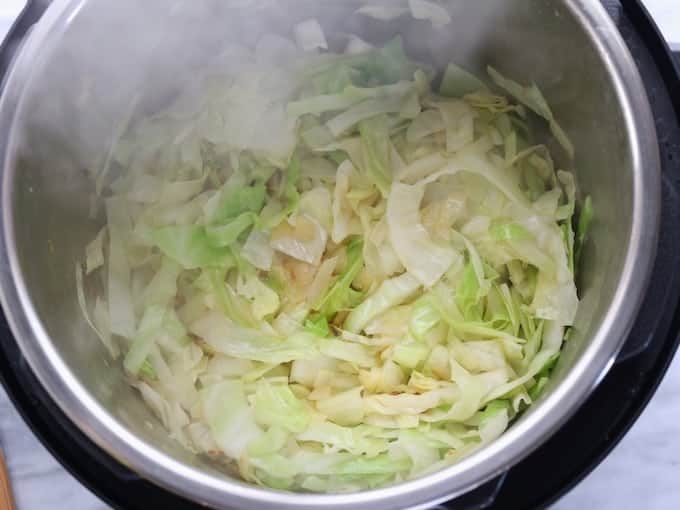
The saute mode is just like cooking on your stovetop, except you can saute and then finish pressure cooking the recipe all in one pot. No need to dirty another pan!
Check out Chinese Honey Garlic Chicken, Instant Pot Colcannon, and Instant Pot Beef and Noodles to practice your sautéing skills.
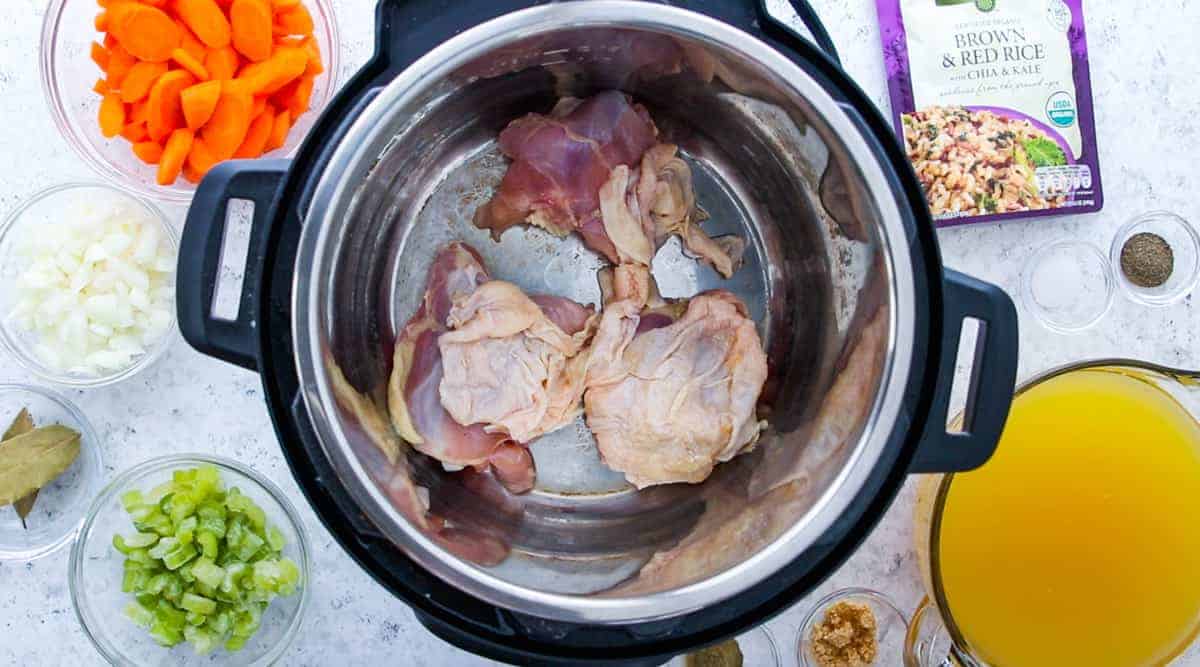
Instant Pot Settings
POULTRY SETTING:
The poultry smart program feature is built-in to help you make delicious poultry dishes. By pressing the poultry button, it will automatically set the cooking time for high pressure for 15 minutes.
You can also cook poultry by manually setting the cooking time based on your recipe.
- Instant Pot Chicken Stew
- Instant Pot Frozen Chicken Wings
- Instant Pot Chicken Spaghetti
- Instant Pot Frozen Chicken Tenderloins
- Instant Pot Chicken Tortilla Soup
- Instant Pot Frozen Chicken Thighs
- Instant Pot Bone In Chicken Thighs
- Instant Pot Shredded Chicken Tacos
RICE SETTING:
The rice smart program feature is great for cooking regular or parboiled rice. The low-pressure cooking time will adjust based on the amount of water and rice in the pot.
To cook 2 cups of rice, it takes about 10-minute pressure cooking time; for 3-5 cups of rice, it takes about 12-minute pressure cooking time; more cups will take a longer time accordingly. The “Adjust” key has no effect on this program.
PRO TIP: If I am using pre-cooked rice, mix it in when the other ingredients are finished cooking.

SLOW COOKER SETTING:
The “Slow Cook” smart program feature allows you to use your machine as a slow cooker. This is a great feature if you are trying to limit the number of appliances in your kitchen. Change the cooking duration by pressing the “+” or “-” key. Find lots of healthy crockpot recipes here.
Check out additional Instant Pot Recipes that are great for any meal!

CLEANING Your INSTANT POT
Cleaning your machine is quick and easy. As someone that hates dishes, I never dread cleaning my Instant Pot & that’s saying something…
Before cleaning, make sure the appliance is completely cool and unplugged. I recommend cleaning it after each use. Follow these instructions to ensure you properly clean your machine:
- Wipe the black inner rim and pat dry with cloth – this prevents rusting
- Remove the lid and take out the inner pot, wash them with detergent, rinse with clear water, and then wipe dry. The stainless steel inner pot is also dishwasher safe.
- Use water to clean the lid, including the sealing ring (which can be removed), exhaust valve, anti-block shield, and wipe them clean with a dry soft cloth. Do not take apart the steam release pipe assembly (see user manual if needed to identify)
- Clean the cooker body with a clean damp cloth. Do not immerse the cooker into water. Do not use a wet cloth to clean the pot while the power cord is plugged into the power outlet.
IS THE INSTANT POT LID DISHWASHER SAFE?
Simply use water and a cloth or paper towel to clean the lid. If preferred, you can wash the lid in the dishwasher on the top rack. The inner pot, sealing ring, lid, and steam rack are all dishwasher safe.
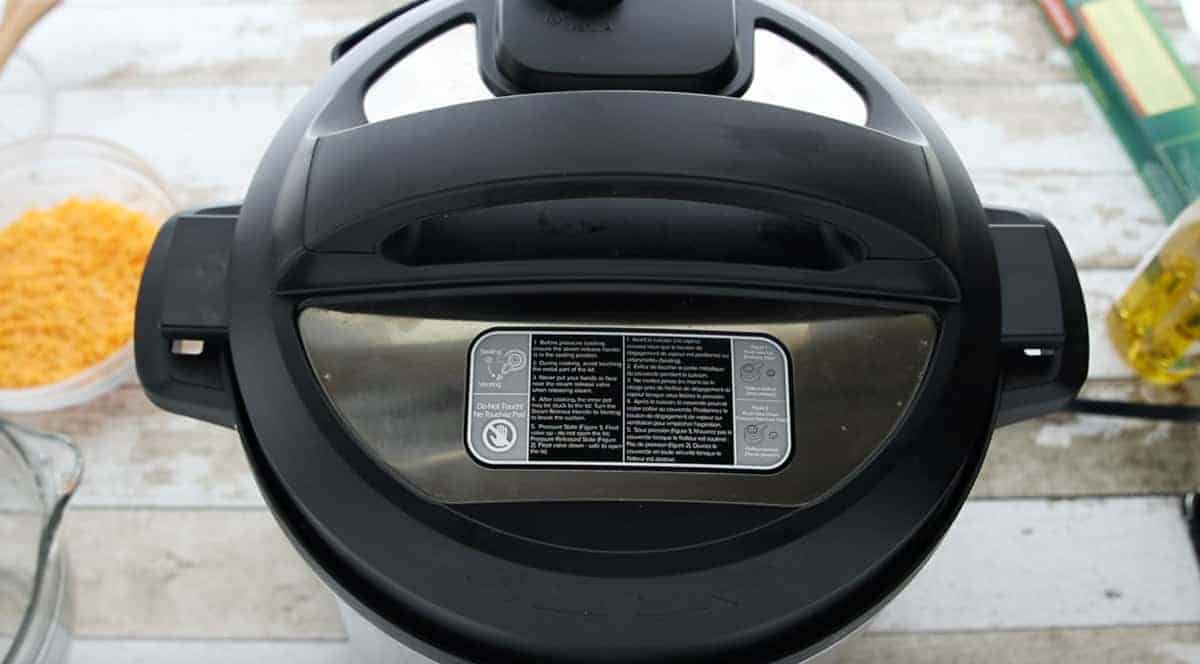
WHAT SIZE INSTANT POT?
There are many different Sizes to pick from when selecting your Instant Pot. You can now choose from wifi-enabled models to models with built-in air fryers. Here is a breakdown of the different models to help you pick the best Instant Pot for your family:
8 quart Instant Pot Duo Crisp + Air Fryer
- SIZE: 8 quart
- 11 SMART PROGRAMS: (Pressure Cooker Lid programs): pressure cook, saute, steam, slow cook, sous vide, keep warm (Air Fryer Lid programs): air fry, roast, bake, broil, dehydrate
- ACCESSORIES: none
Instant Pot Duo Evo Plus
- SIZE: 6 or 8 quart
- 9 SMART PROGRAMS: Pressure cook, Rice/Grain cook, Steam, Saute, Slow Cook, Sous Vide, Yogurt, Bake
- ACCESSORIES: extra sealing ring, steam rack with handles
Instant Pot Duo Nova
- SIZE: 3,6,8,10 quart
- 11-13 SMART PROGRAMS: Soup, Meat/Stew, Bean/Chili, Poultry, Saute/Simmer, Rice, Multigrain, Porridge, Steam, Slow Cook, Keep Warm, Yogurt, Manual, Pressure Cook
- ACCESSORIES: 2 silicone sealing rings, trivet/steam rack
Instant Pot Duo SV
- SIZE: 6 quart
- 14 SMART PROGRAMS: Pressure Cook, Meat/Stew, Bean/Chili, Soup/Broth, Slow Cook, Saute, Rice, Multigrain, Porridge, Steam, Sous Vide, Yogurt, Keep Warm
- ACCESSORIES: steam rack, rice paddle, soup ladle, condensation collector, rice measuring cup, user manual
Instant Pot Max
- SIZE: 6 quart
- 8 SMART PROGRAMS: Pressure Cook, Canning, Sous Vide, Slow Cook, Rice, Saute, Yogurt, Soup/Broth
- ACCESSORIES: 2 silicone sealing rings, trivet/steam rack
Instant Pot Smart Wifi
- SIZE: 6 quart
- 14 SMART PROGRAMS: Soup, Meat/Stew, Bean/Chili, Poultry, Saute/Simmer, Rice, Multigrain, Porridge, Steam, Slow Cook, Keep Warm, Yogurt, Manual, Pressure Cook
- ACCESSORIES: steam rack with handles, serving spoon, soup spoon, measure cup, red mini mitts
*Pair this model with your mobile device to control, check progress and get notifications while you are at work, kids’ activities or running errands.
Instant Pot Ultra
- SIZE: 3,6,8 quart
- 14-16 SMART PROGRAMS: Soup/Broth, Meat/Stew, Bean/Chili, Cake, Egg, Slow Cook, Saute/Searing, Rice, Multigrain, Porridge, Steam, Sterilize, Yogurt, Warm, Pressure Cooker, and Ultra
- ACCESSORIES: stainless steel steam rack with handles, condensation collector, rice paddle, soup spoon and measuring cup
*The “Ultra” smart program speeds up cooking by 2-6x normal cooking time.
Instant Pot Duo Plus
- SIZE: 3,6,8 quart
- 13-15 SMART PROGRAMS: Soup/Broth, Meat/Stew, Saute, Rice, Porridge/Oatmeal, Steam, Slow Cook, Yogurt, Keep Warm, Sterilizer, Egg, Pressure Cook, Sous Vide, Cake and Bean/Grain
- ACCESSORIES: steam rack with handles
Instant Pot Viva
- SIZE: 6,8 quart
- 14 SMART PROGRAMS: Soup, Meat/Stew, Bean/Chili, Poultry, Saute/Simmer, Rice, Multigrain, Porridge, Steam, Slow Cook, Keep Warm, Yogurt, Manual, Pressure Cook
- ACCESSORIES: 2 silicone sealing rings, trivet/steam rack
Instant Pot Duo
- SIZE: 3,6,8 quart
- 14 SMART PROGRAMS: Soup/Broth, Meat/Stew, Bean/Chili, Poultry, Slow Cook, Saute/Searing, Rice, Porridge, Steam, Yogurt, Keep Warm, Pressure Cook
- ACCESSORIES: steam rack with handles, recipe booklet, serving spoon, soup spoon, measuring cup
Instant Pot Lux
- SIZE: 3,6,8 quart
- 10-12 SMART PROGRAMS: Soup/Broth, Meat/Stew, Egg, Saute, Rice, Multigrain, Cake, Porridge, Steam, Pressure Cook, Keep Warm, Slow Cook
- ACCESSORIES: stainless steel steam rack without handles, rice paddle, soup spoon, measuring cup, recipe booklet

Enjoy each and every recipe that you create. It truly is one of the BEST tools you can have in your kitchen.
If you enjoyed this post or made any of the recipes, make sure to leave a comment below! Then follow me on social media and tag #createkidsclub. I love seeing what you come up with!


