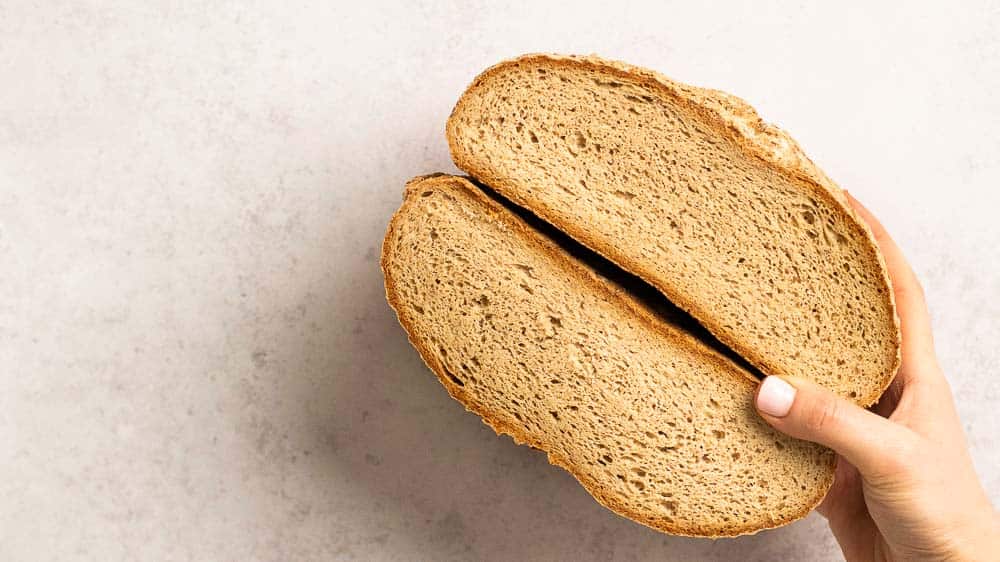
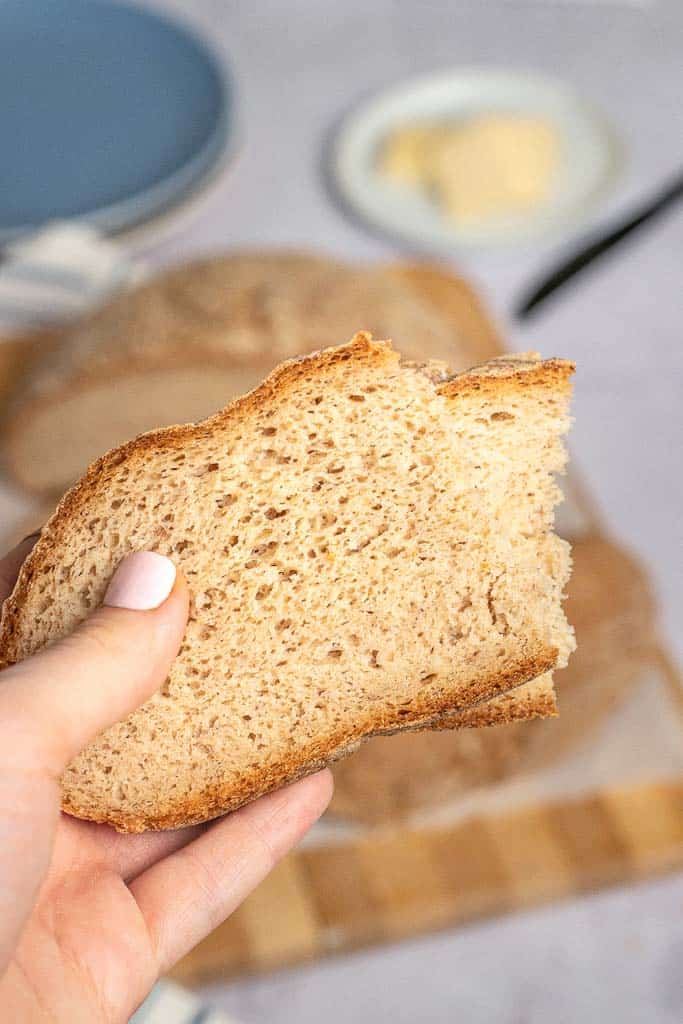
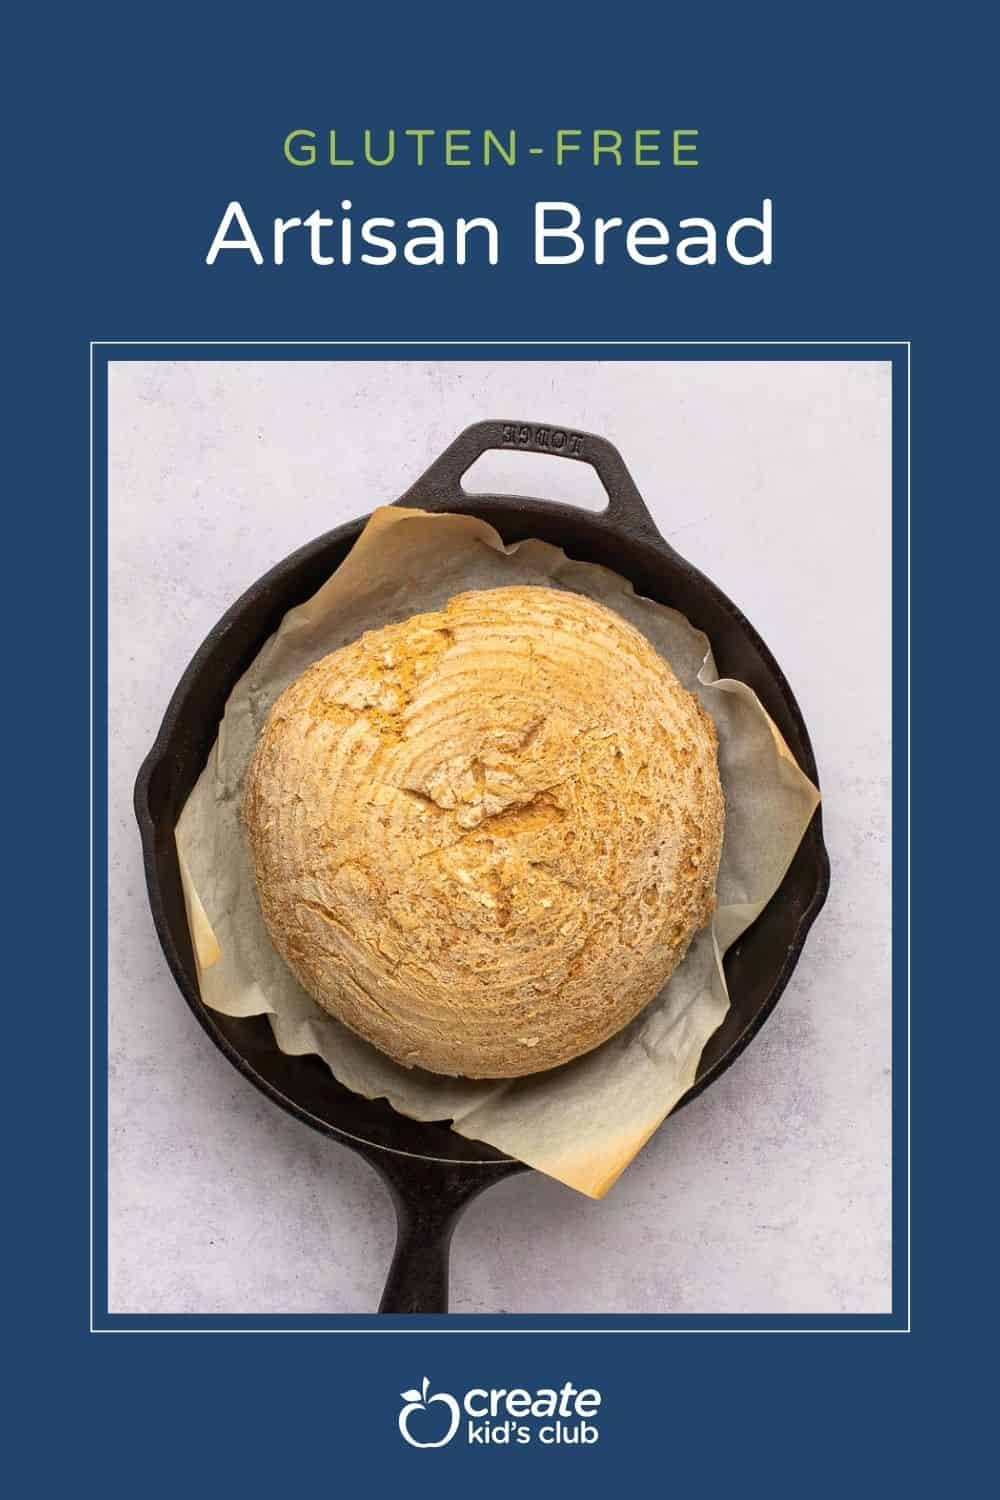
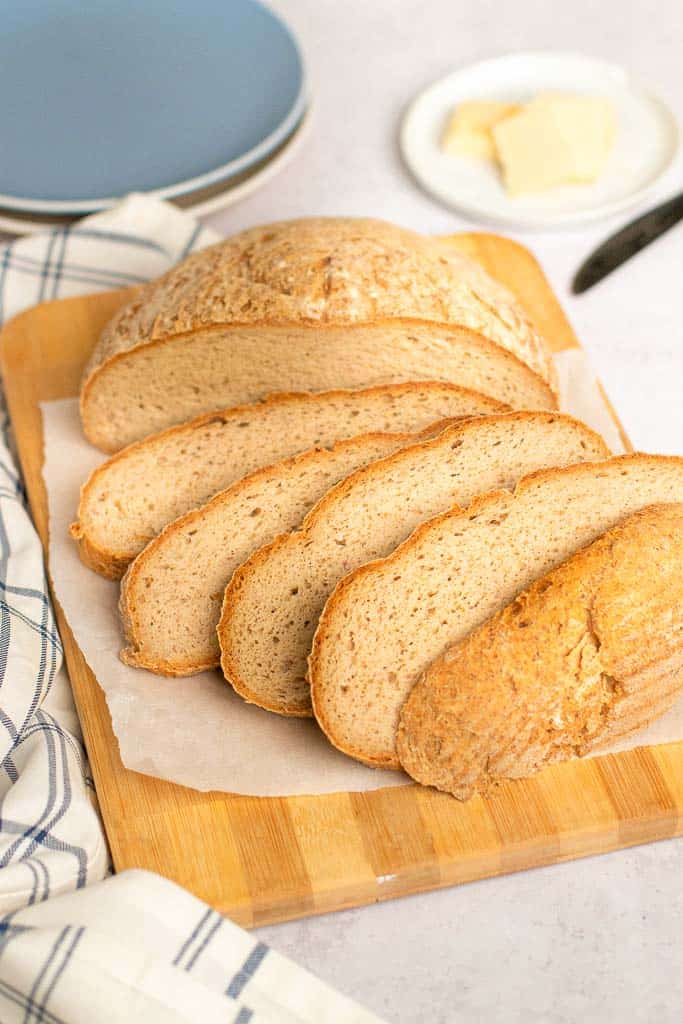
Our gluten-free artisan bread recipe is the best around. You won’t even believe it’s gluten-free! We’ve nailed the secret to making a super crusty and oh-so-tasty gluten-free bread. Say goodbye to those days of dry, crumbly bread and say hello to this soft, chewy delight in your kitchen. It’s seriously one of the best gluten-free bread recipes out there and tastes just like any other artisan bread.
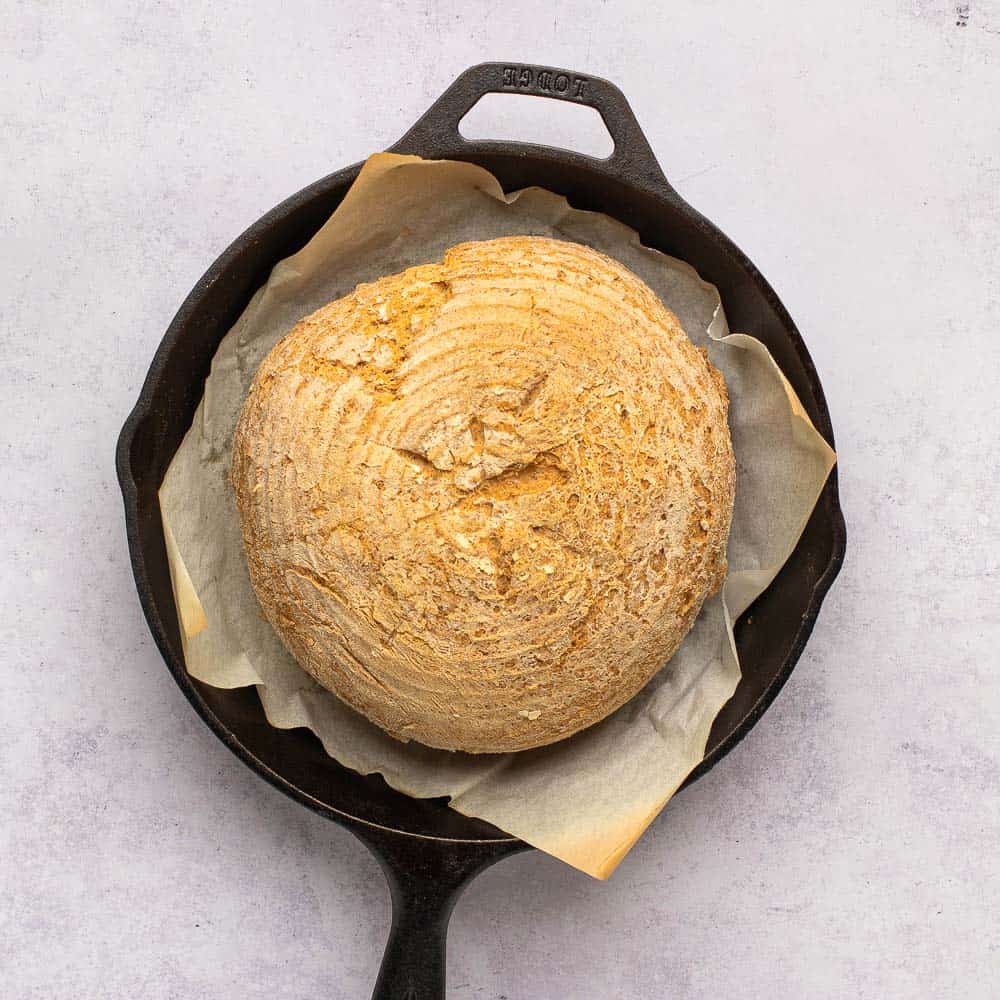
Your taste buds are in for a treat when you take a bite. And the best part is, you can shape this bread any way you like. That’s the beauty of artisan bread – it’s not tied down to a specific shape. Make it round, long like a baguette, or even cute little artisan rolls. It’s all up to you.
We hope you and your crew have a blast making this bread.
For more outstanding gluten-free recipes, you have to try our Gluten Free Snickerdoodles, Gluten Free Lasagna and Gluten Free Alfredo.
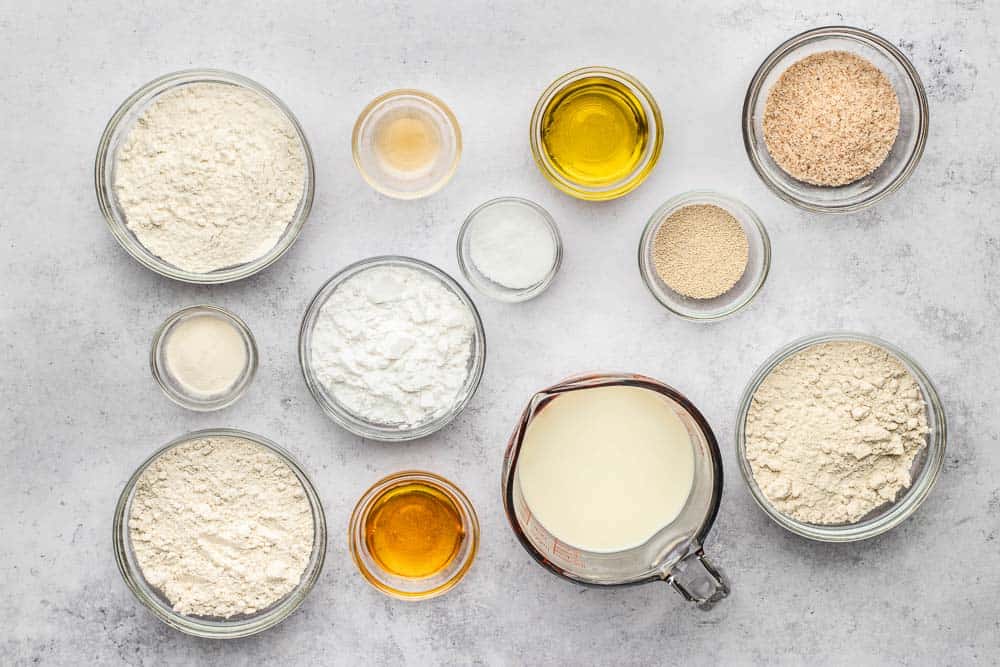
Table of Contents
Ingredients
- 1 cup water, warm (110°F-115°F)
- 1 1⁄2 tablespoons active dry yeast ✅
- 2 tablespoons honey
- 2 tablespoons olive oil
- 1 teaspoon apple cider vinegar ✅
- 1/4 cup psyllium husk whole flakes ✅
- 1 1/2 cups 2% milk, room temperature
- 1 cup brown rice flour, spooned and leveled, extra for dusting ✅
- 1 cup sorghum flour, spooned and leveled ✅
- 1 cup certified gluten-free oat flour, spooned and leveled
- 1/2 cup tapioca starch/flour, spooned and leveled ✅
- 2 teaspoons xanthan gum
- 2 teaspoons fine sea salt
Gluten-Free Guide: If you’re new to eating gluten-free we understand it’s overwhelming trying to figure out which foods may contain gluten and which ones don’t. All of our gluten-free recipes marked with this symbol ✅ represent foods that need to be checked for gluten.


How To Make Gluten-Free Bread
In a bowl of an electric stand mixer (or large mixing bowl), whisk together the warm water, yeast, and honey. Allow it to stand for 8-10 minutes until the yeast is foamy.


Blend the liquid ingredients
Using the whisk attachment (or handheld whisk), mix in the olive oil and apple cider vinegar.
Add the psyllium husk, whisk and allow to sit for 3 minutes or until it has turned into a gel consistency.
Whisk in the milk on medium-low speed until mostly combined.
Blend the dry ingredients
In a separate medium bowl, whisk together the brown rice flour, sorghum flour, oat flour, tapioca starch, xanthan gum and salt.


Blend the wet and dry ingredients together and let rise
Add the dry ingredients to the liquid ingredients in the stand mixer and beat, on medium-high speed, using a paddle attachment for 2-3 minutes.
Scrape down the tacky dough from the sides of the bowl so it is all in the center of the bowl.
Cover with plastic wrap or a towel and place in a warm area to rise for 1 1⁄2 hours, or until the dough is doubled in size.


Knead the dough
Sprinkle a bit of brown rice flour onto your work surface and turn the risen dough onto it.
Punch down and knead for 2 minutes, adding a bit more rice flour as needed (it’s ok if the dough is still a bit sticky though), and reshape into a ball.


Let rise again
Grease your large rising bowl with a bit of oil and dust well with brown rice flour and place dough into the bowl, seam side facing up. Cover to rise for 1 hour.


Preheat the oven and place the dough into the skillet
Preheat the oven to 450°F. Place a cast iron skillet into the oven while it preheats.
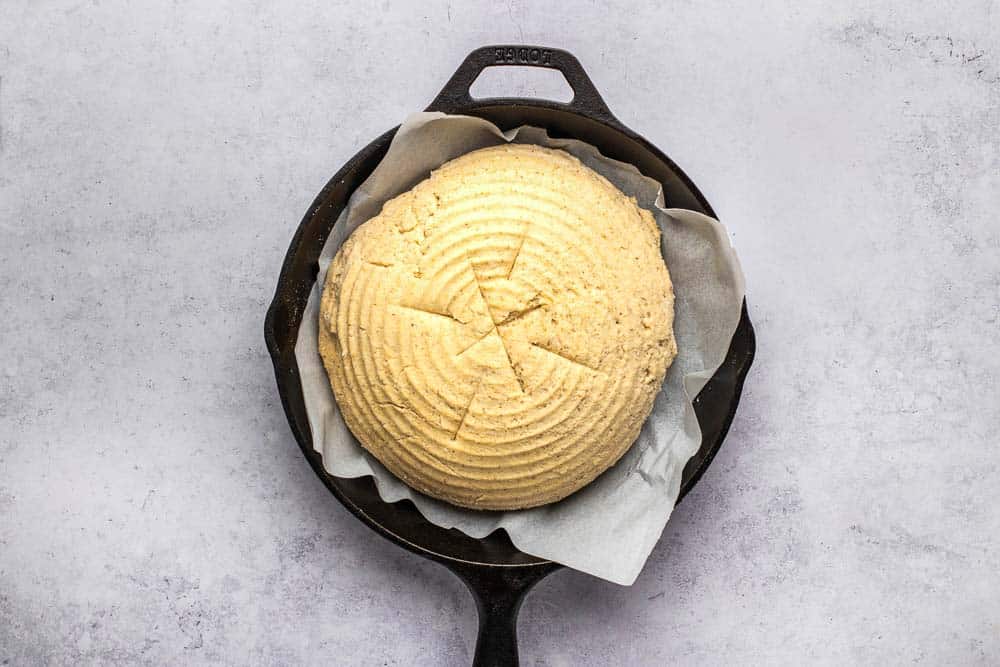
Carefully remove the cast iron pan from the oven once the dough has finished rising and place a large square of parchment paper inside. Carefully flip the dough from the rising bowl over the parchment paper.
Use a sharp knife to make a few shallow cuts in the top of the bread.
Spray with water (optional)
Use a spray bottle of water and spray the dough a few times. This will help create steam in the oven.
Bake
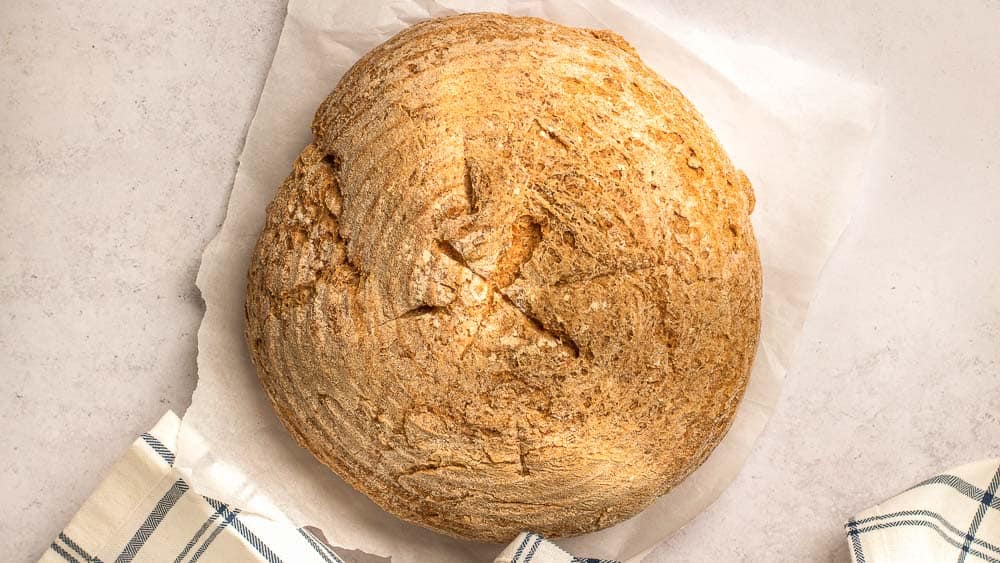
Bake for 20 minutes. Reduce the heat to 425°F and bake for an additional 30 minutes, until the loaf is a golden brown color and is crisp and firm when you touch it.
Let cool
For best results, once baked, transfer the bread loaf to a wire rack and let it cool for at least 1 hour before slicing. Allow the bread to cool for 2-3 hours before storing for optimal texture.
How To Serve this Artisan Bread?
Where do we start? Artisan bread makes a delicious side for a variety of recipes. From breakfast to dinner, you can feature a slice (or two) with your favorite dishes.
Pair with soup such as Cheesy Broccoli Cauliflower Soup, Instant Pot Minestrone Soup, Slow Cooker Chunky Vegetable Soup or Gluten Free Chicken Noodle Soup.
Add to a bowl alongside Ground Chicken Pasta, Baked Chicken Ziti, Healthy Chicken Alfredo with Broccoli, Gluten-Free Baked Ziti or Gluten Free Butternut Squash Ravioli.
Turn into avocado toast or top with Toast Toppings for breakfast.
Slice to serve with Gluten Free Chicken Meatballs, Gluten Free Meatballs, or Easy Swedish Meatballs with Frozen Meatballs.
Last but definitely not least, this artisan bread recipe makes a delicious addition to any Charcuterie Board.
Frequently Asked Questions
Yes, baker’s yeast (active dry yeast and instant yeast) is gluten-free and safe to consume as part of a gluten-free diet. However, always check your labels to verify.
You can turn this bread dairy free by swapping the 2% milk with full fat oat milk.
Gluten free oat flour can be swapped with buckwheat flour. The bread will be a bit less tender and will be a darker brown color with this swap but both work great.
While we have not tried, you could experiment blending rosemary, oregano, Italian seasoning or your preferred flavor with the dry ingredients. Another option would be to make a flavor infused butter such as Compound Butter to spread on each slice.
If this is a new ingredient for you, you’ll find it is an amazing ingredient when baking bread. When combined with water, it turns into a gel to provide elasticity (just like gluten would in wheat containing bread). It allows the dough to hold a shape after being kneaded.
How To Measure Gluten Free Flour
Use the spoon and sweep method when measuring gluten free flours.
Instead of scooping the measuring cup into the bag, use a spoon to scoop flour into the measuring cup and then a knife to level out the top of the measuring cup once full.
This will provide an accurate amount of flour for any given recipe.
Storage Instructions
Artisan bread can be stored at room temperature, in the fridge or in the freezer.
The loaf will last 2-4 days at room temperature, up to a week in the fridge or up to 3 months in the freezer when stored in a covered container or Ziplock bag.
If freezing, wrap the bread in plastic wrap to extend the shelf life and prevent freezer burn. Slicing prior to freezing makes it super easy to grab from the freezer and serve.
The bread can be thawed overnight or reheated in the microwave straight from the freezer. Toast or broil prior to serving if crispy bread is desired.
Kids In The Kitchen
Cooking tips and suggestions for kids making this recipe.
- Use a kitchen thermometer to test the temperature of the water (should be between 110°F-115°F) before adding the yeast. Liquid that is too hot or too cold will not activate the yeast.
- If shaping the dough into a skinny baguette or individual rolls, you will need to reduce the total cooking time to prevent burning the bread. Bake until the top is golden and crispy.
- Use a kitchen timer for each step of the recipe. Baking is a science and following the instructions is very important to successfully baking bread.
More Gluten Free Bread Recipes
- Gluten-Free Bread
- Gluten Free Corn Bread Muffins
- Gluten Free Monkey Bread
- Gluten Free Dairy Free Zucchini Bread
- Gluten Free Cornbread Dressing
- Banana Bread with Applesauce and Yogurt
- Gluten Free Banana Muffins
- Simple Buckwheat Bread Recipe
- Gluten Free Blueberry Muffins
- Gluten Free Chocolate Chip Banana Muffins
- Apple Bread Recipe
CKC Features both Gluten-Free Guidance and Kids Cooking Instructions: If you’re new to eating gluten-free we understand it’s overwhelming trying to figure out which foods may contain gluten and which ones don’t. All of our gluten-free recipes marked with this symbol ✅ represent foods that need to be checked for gluten or cross-contamination.
The ⭐️ symbol in the recipe below denotes the steps in which kid cooks may need a helper (depending on age). If there is no ⭐️ symbol, that step (or recipe) doesn’t require a helper.
Gluten Free Artisan Bread Recipe
Equipment
- 9” or 10” Cast Iron Skillet or round 8” or 10” baking pan
Ingredients
- 1 cup water, warm (110°F-115°F)
- 1 1⁄2 tablespoons active dry yeast ✅
- 2 tablespoons honey
- 2 tablespoons olive oil
- 1 teaspoon apple cider vinegar ✅
- 1/4 cup psyllium husk whole flakes ✅
- 1 1/2 cups 2% milk, room temperature
- 1 cup brown rice flour, spooned and leveled, extra for dusting ✅
- 1 cup sorghum flour, spooned and leveled ✅
- 1 cup certified gluten-free oat flour, spooned and leveled
- 1/2 cup tapioca starch/flour, spooned and leveled ✅
- 2 teaspoons xanthan gum
- 2 teaspoons fine sea salt
Instructions
- Activate the yeast. In a bowl of an electric stand mixer (or large mixing bowl), whisk together the warm water, yeast, and honey. Allow it to stand for 8-10 minutes until the yeast is foamy.1 cup water, warm (110°F-115°F), 1 1⁄2 tablespoons active dry yeast, 2 tablespoons honey
- Blend the liquid ingredients. Using the whisk attachment (or handheld whisk), mix in the olive oil and apple cider vinegar. Add the psyllium husk, whisk and allow to sit for 3 minutes or until it has turned into a gel consistency. Whisk in the milk on medium-low speed until mostly combined.2 tablespoons olive oil, 1 teaspoon apple cider vinegar, 1/4 cup psyllium husk whole flakes, 1 1/2 cups 2% milk, room temperature
- Blend the dry ingredients. In a separate medium bowl, whisk together the brown rice flour, sorghum flour, oat flour, tapioca starch, xanthan gum and salt.1 cup brown rice flour, spooned and leveled, extra for dusting, 1 cup sorghum flour, spooned and leveled, 1 cup certified gluten-free oat flour, spooned and leveled, 1/2 cup tapioca starch/flour, spooned and leveled, 2 teaspoons xanthan gum, 2 teaspoons fine sea salt
- Blend the wet and dry ingredients together and let rise. Add the dry ingredients to the liquid ingredients in the stand mixer and beat, on medium-high speed, using a paddle attachment for 2-3 minutes. Scrape down the tacky dough from the sides of the bowl so it is all in the center of the bowl. Cover with plastic wrap or a towel and place in a warm area to rise for 1 1⁄2 hours, or until the dough is doubled in size.
- Knead the dough. Sprinkle a bit of brown rice flour onto your work surface and turn the risen dough onto it. Punch down and knead for 2 minutes, adding a bit more rice flour as needed (it’s ok if the dough is still a bit sticky though), and reshape into a ball.
- Let rise again. Grease your large rising bowl with a bit of oil and dust well with brown rice flour and place dough into the bowl, seam side facing up. Cover to rise for 1 hour.
- ⭐️Preheat the oven and place the dough into the skillet. Preheat the oven to 450°F. Place a cast iron skillet into the oven while it preheats. Carefully remove the cast iron pan from the oven once the dough has finished rising and place a large square of parchment paper inside. Carefully flip the dough from the rising bowl over the parchment paper. Use a sharp knife to make a few shallow cuts in the top of the bread.
- Spray with water (optional). Use a spray bottle of water and spray the dough a few times. This will help create steam in the oven.
- ⭐️Bake. Bake for 20 minutes. Reduce the heat to 425°F and bake for an additional 30 minutes, until the loaf is a golden brown color and is crisp and firm when you touch it.
- ⭐️Let cool. For best results, once baked, transfer the bread loaf to a wire rack and let it cool for at least 1 hour before slicing. Allow the bread to cool for 2-3 hours before storing for optimal texture.
Notes
Alternatives
- Full-fat oat milk works great in this recipe. Alternatively, you can use 2% or whole milk for a dairy version.
- Gluten-Free Oat Flour can be swapped with Buckwheat Flour. The bread will be a bit less tender and will be a darker brown color with this swap but both work great.
- While we have not tried, you could experiment blending rosemary, oregano, Italian seasoning or your preferred flavor with the dry ingredients. Another option would be to make a flavor infused butter such as Compound Butter to spread on each slice.
Storage
- Store bread on the counter for 2-4 days in a ziplock bag.
- Freeze the bread in a sealed freezer ziplock for up to 3 months.
- Wrap bread in plastic wrap if freezing to prevent freezer burn.
Measuring Gluten-Free Flour
Use the spoon and sweep method when measuring gluten free flours. Instead of scooping the measuring cup into the bag, use a spoon to scoop flour into the measuring cup and then a knife to level out the top of the measuring cup once full. This will provide an accurate amount of flour for any given recipe. CKC Features both Gluten-Free Guidance and Kids Cooking Instructions: If you’re new to eating gluten-free we understand it’s overwhelming trying to figure out which foods may contain gluten and which ones don’t. All of our gluten-free recipes marked with this symbol ✅ represent foods that need to be checked for gluten or cross-contamination. The ⭐️ symbol in the recipe below denotes the steps in which kid cooks may need a helper (depending on age). If there is no ⭐️ symbol, that step (or recipe) doesn’t require a helper.Nutrition
If you enjoyed these recipes make sure to leave a comment and a star rating below!
Then follow us on social media and tag #createkidsclub if you make the recipe. We love seeing what you come up with!




Amber says
I am GF so I love seeing GF recipes linked up at the AAH link party! I am happy to feature you this week. Thanks for stopping by!