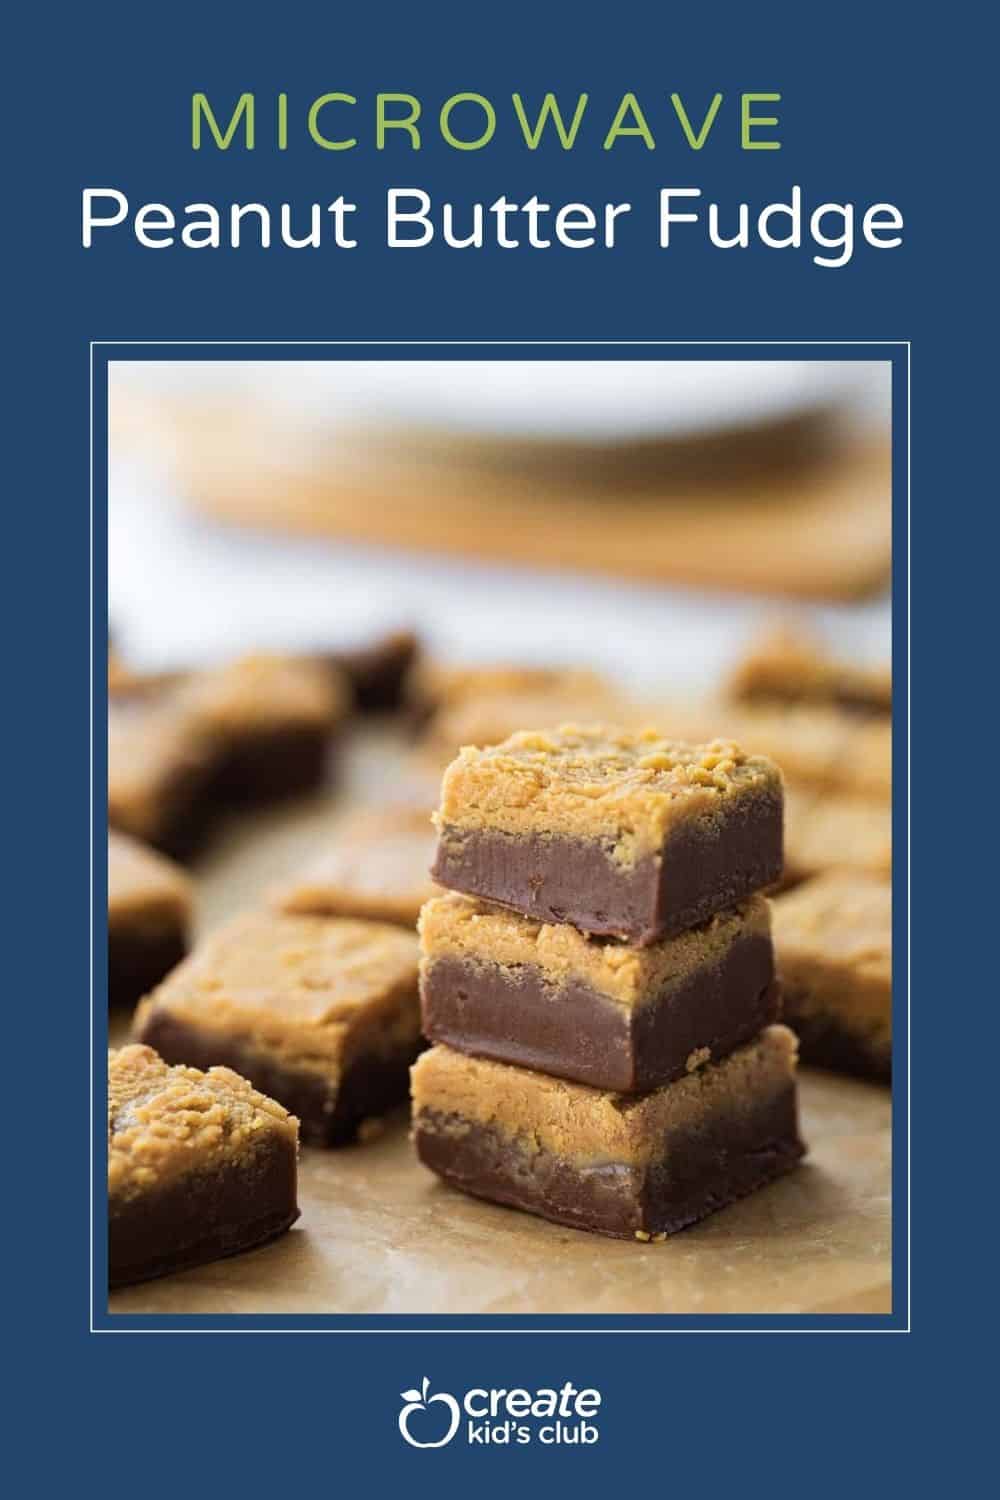
Peanut butter fudge with condensed milk is perfect for those who want to make a tasty dessert without the fuss. With only four ingredients and no baking required, this gluten-free fudge can be made in just five minutes.
It’s an ideal recipe for novice candy makers, children, and even those living in dorm rooms, as all you need is a microwave to create this delectable treat. Make this peanut butter fudge a part of your holiday traditions, and impress your loved ones with your candy-making skills!
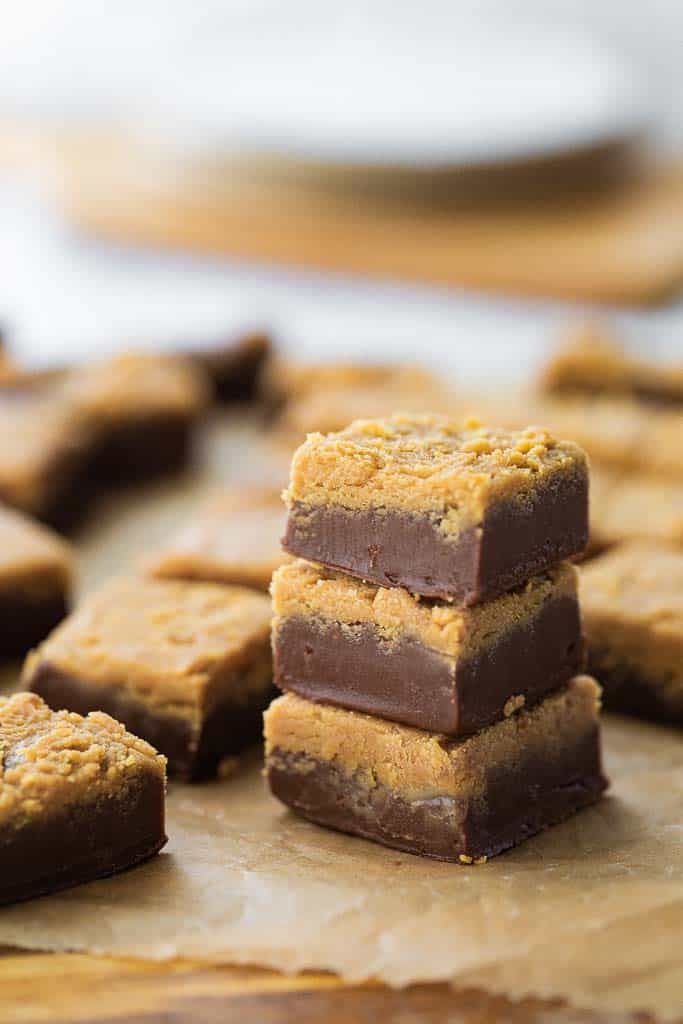
You will be impressed with this easy microwave fudge recipe. It uses minimal ingredients that you likely have on hand or can easily find at the store.
Best of all, it is a combination of peanut butter and chocolate flavors. The second you sink your teeth into a fudge square, you will be reminded that combo never disappoints.
Our recipe turns out smooth and creamy every time with the richness that everyone expects from a piece of fudge.
For even more creamy fudge recipes, check out Old Fashioned Fudge, Christmas Fudge Recipe, and Marshmallow Cream Fudge.
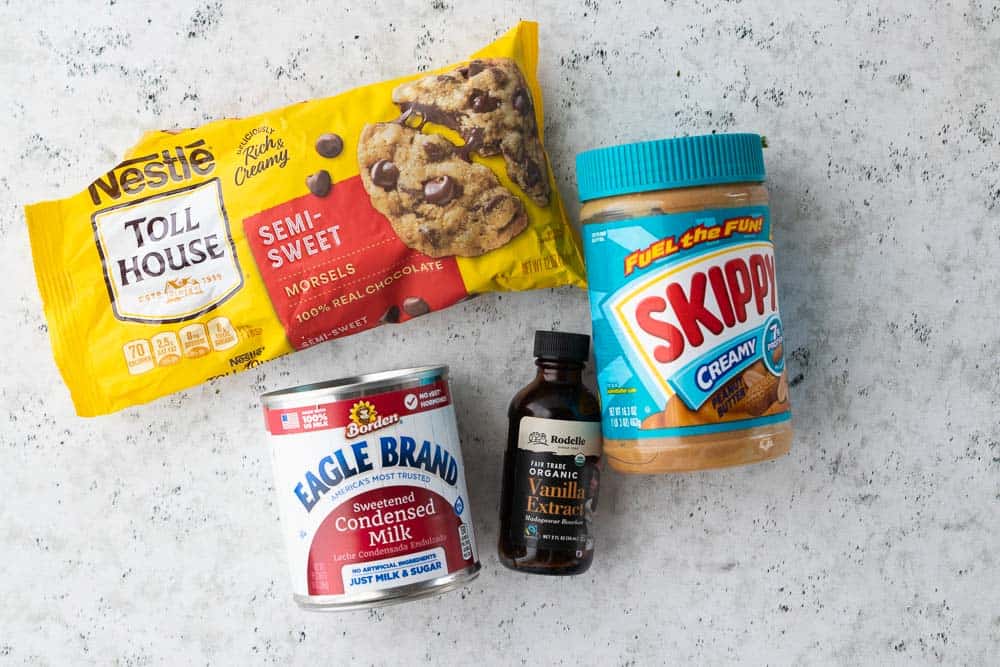
Table of Contents
Ingredients
- 10 ounces milk chocolate ✅ (chocolate chips or brick chocolate)
- 14 ounces sweetened condensed milk, divided ✅
- 1/3 cup peanut butter
- 1 teaspoon vanilla ✅
Gluten-Free Guide: If you’re new to eating gluten-free we understand it’s overwhelming trying to figure out which foods may contain gluten and which ones don’t. All of our gluten-free recipes marked with this symbol ✅ represent foods that need to be checked for gluten.


How To Make
Prepare a 9 x 9-inch pan by lining it with wax paper for easy removal. You have the choice to line either the bottom only or the entire pan for easy removal later.
Begin by setting aside the condensed milk for later use. Measure out 4 tablespoons of condensed milk and place it into a mixing bowl.
Start the fudge base by blending the chocolate. Place the chocolate in a medium-sized microwave-safe bowl and combine it with the remaining sweetened condensed milk and a touch of vanilla extract for flavor.
Heat this chocolate mixture in the microwave for about 60 seconds, then stir thoroughly. Continue to heat in 30-second intervals, stirring each time until the mixture is smooth and thoroughly melted. It’s important not to overheat the chocolate.
Next, pour the smooth chocolate mixture into the prepared wax paper-lined 9×9-inch pan. Spread it evenly using a spatula to ensure a level surface.
Now, move on to the peanut butter layer. Combine the peanut butter with the remaining condensed milk in the mixing bowl. Blend them together until the mixture achieves a smooth and consistent texture.
Quickly add this peanut butter blend on top of the chocolate fudge layer. Gently spread it using a spatula immediately after combining it. It’s crucial to work swiftly as the peanut butter mixture can start to harden if left to sit. Ensuring an even spread will result in the layering of flavors.


Refrigerate the peanut butter fudge, allowing it to chill for a minimum of 30 minutes to an hour. This cooling process helps the fudge set and attain a firm texture.
When ready to serve, remove the chilled fudge. Lift the wax paper from the pan gently or, for an alternative method, turn the pan upside down onto a clean cutting board to release the fudge. Using a chef’s knife or a pizza cutter, slice the fudge into your desired portions.


Recipe Tips and Tricks
- Get started by lining a 9×9 inch pan with wax paper. You don’t have to do this step, but it makes it really easy to remove and cut the fudge once it hardens.
- It can be tricky to get the wax paper to stay in the pan. Crease around the bottom edges, folding the paper to help, then place 2 cans into the dish to weigh it down while you make the recipe.
- This fudge is much easier to make and you have a lesser chance of it not working. Check out this post for tips on how to fix fudge that hasn’t set, but by using sweetened condensed milk, you should not have this problem.
- I use Jiffy or Skippy, but you could use natural peanut butter, allergy-free butter, or even Nutella for a different version.
- Swap the vanilla extract with almond or simply leave it out if you don’t have it on hand.
- Do not overcook or the chocolate will seize up.
- You can use chocolate chips for an even faster version or buy brick chocolate to save a little money. Carefully use the tip of a knife to break apart the brick.
- Sprinkle shredded coconut or chopped nuts on top of the peanut butter layer before it hardens for a new flavor or crunch.
Frequently Asked Questions
After cooking fudge made with sweetened condensed milk, it does not need to be refrigerated.
Large sugar crystals in fudge typically cause it to be grainy. It can be due to over-stirring and overheating the fudge. Once the chocolate mixture is blended and smooth, let the fudge cool and don’t over-stir.
This easy homemade fudge will last up to 3 weeks in the fridge or up to 1 week at room temp. To extend the shelf life, store in the freezer for up to 3 months.
You bet! Use leftover peanut butter to make No Bake Peanut Butter Bars, No Bake Peanut Butter Balls, Peanut Butter Pie (No Bake), Gluten Free Peanut Butter Cookies, Gluten Free Peanut Butter Blossoms and Peanut Butter Overnight Oats.
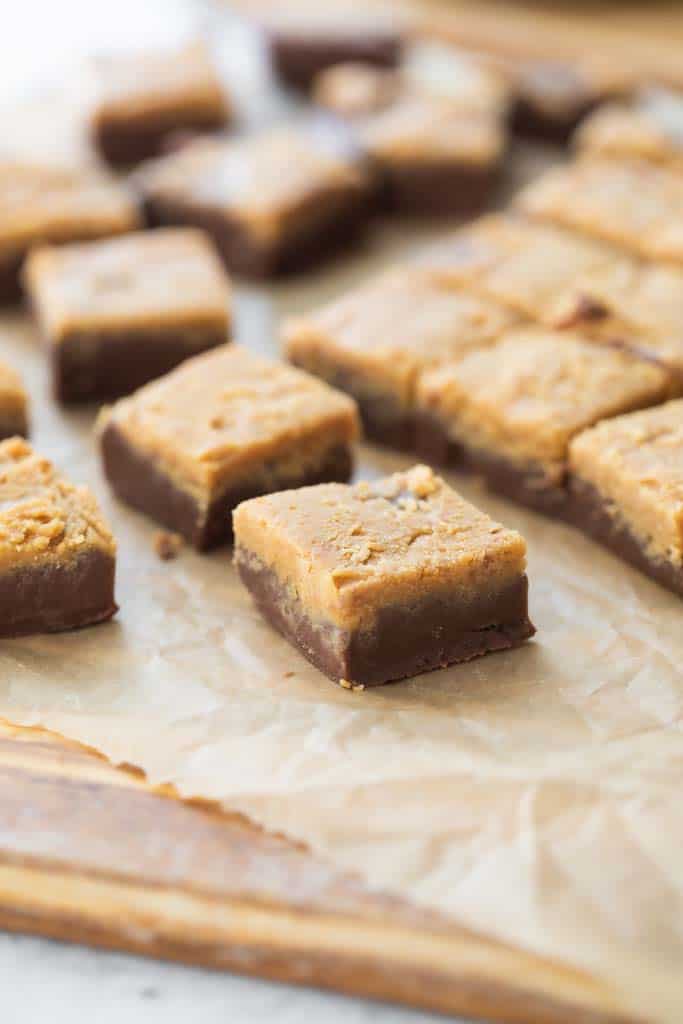
How To Store No Bake Peanut Butter Fudge
In the fridge: Add fudge to a covered container and place in the fridge for 2-3 weeks.
At room temperature: Store in a covered container for 1 week on the counter.
Can You Freeze Peanut Butter Fudge Made With Sweetened Condensed Milk?
Yes, you can! Store in an airtight container or wrap with wax paper and seal in a ziplock bag. Follow these tips for the best results:
- Make sure the fudge is properly cooled before freezing.
- Don’t store it in the door portion of the freezer as it’s the warmer spot.
- Prevent ice crystals and freezer burn by using an air-tight container and wrapping with parchment paper or wax paper.
- If storing fudge in layers, place a piece of wax paper between the layers.
Kids In The Kitchen
Cooking tips and suggestions for kids making this recipe.
- Lining the pan with wax or parchment paper makes it much easier to remove the fudge once cooled.
- Use oven mitts to remove the bowl from the microwave to stir when heating the chocolate.
- Spray the measuring cup with nonstick spray to measure out peanut butter. This makes it much easier to scoop into the mixing bowl.
- Did you know you can cut fudge with a pizza cutter? It is a safe way to easily cut without needing to use a large knife.
More Holiday Recipes
- Gluten Free Impossible Pumpkin Pie
- Christmas Wreath Bundt Cake
- Christmas Story Fudge
- Whole Beef Tenderloin
- Make-ahead homemade whipped cream
- Gluten Free Gingerbread Cookies
- Dairy Free Sugar Cookies Recipe
CKC Features both Gluten-Free Guidance and Kids Cooking Instructions: If you’re new to eating gluten-free we understand it’s overwhelming trying to figure out which foods may contain gluten and which ones don’t. All of our gluten-free recipes marked with this symbol ✅ represent foods that need to be checked for gluten or cross-contamination.
The ⭐️ symbol in the recipe below denotes the steps in which kid cooks may need a helper (depending on age). If there is no ⭐️ symbol, that step (or recipe) doesn’t require a helper.
Peanut Butter Fudge Recipe
Equipment
- 2 mixing bowl microwave safe
Ingredients
- 10 ounces milk chocolate ✅ (chocolate chips or brick chocolate)
- 14 ounces sweetened condensed milk, divided ✅
- 1/3 cup peanut butter
- 1 teaspoon vanilla ✅
Instructions
- Prepare the pan. Prepare a 9 x 9-inch pan lined with wax paper. You can line just the bottom or the whole pan.
- Set aside condensed milk. Measure 4 tablespoons of condensed milk and place it into a mixing bowl.14 ounces sweetened condensed milk, divided
- Blend the chocolate. Add chocolate to a medium-sized microwave-safe bowl. Add the remaining sweetened condensed milk and vanilla.10 ounces milk chocolate, 14 ounces sweetened condensed milk, divided, 1 teaspoon vanilla
- ⭐️Heat. Microwave the chocolate for 60 seconds then stir. Continue heating in 30-second increments until smooth. Do not overheat. Pour the chocolate mixture into the wax paper-lined 9×9-inch pan.
- Combine the peanut butter with some condensed milk. Add the peanut butter to the sweetened condensed milk in the mixing bowl. Combine until smooth. Add on top of the chocolate fudge and gently spread. Don't let the peanut butter mixture sit, it will start to harden. Spread it right away.1/3 cup peanut butter, 14 ounces sweetened condensed milk, divided
- Chill. Place the peanut butter fudge into the refrigerator and let chill for at least 30 minutes to 1 hour.
- Serve. Lift wax paper from the pan or turn the pan upside down to remove the fudge onto a cutting board. Use a chef's knife or pizza cutter to slice.
Video
Notes
- Get started by lining a 9×9 inch pan with wax paper. You don’t have to do this step, but it makes it really easy to remove and cut the fudge once it hardens.
- It can be tricky to get the wax paper to stay in the pan. Crease around the bottom edges, folding the paper to help, then place 2 cans into the dish to weigh it down while you make the recipe.
- This fudge is much easier to make and you have a lesser chance of it not working. Check out this post for tips on how to fix fudge that hasn’t set, but by using sweetened condensed milk, you should not have this problem.
- I use Jiffy or Skippy, but you could use natural peanut butter, allergy-free butter, or even Nutella for a different version.
- Swap the vanilla extract with almond or simply leave it out if you don’t have it on hand.
- Do not overcook or the chocolate will seize up.
- You can use chocolate chips for an even faster version or buy brick chocolate to save a little money. Carefully use the tip of a knife to break apart the brick.
Nutrition
If you enjoyed these recipes make sure to leave a comment and a star rating below!
Then follow us on social media and tag #createkidsclub if you make the recipe. We love seeing what you come up with!




Sue says
I made this over the weekend and Oh my goodness, it was the best fudge we’ve ever had! Thank you for the recipe!!
Janice says
How long would this be good in the fridge for? It’s so good but I forgot to get it to the freezer.
Create Kids Club says
Hi Janice! The fudge should keep well in the fridge for 2-3 weeks. If you are closer to a week you could still put it into the freezer. I hope you enjoyed the recipe! It’s one of my favorites 🙂
Melinda says
I look forward to making this. I wanted to let you know when I click “Print Recipe” it just opens the exact same page in another window… a printer friendly version does not come up.
Jodi Danen, RDN says
Hi Melinda! Thank you for letting me know. I cannot recreate this, however. I get the print screen. Are you trying on your phone or desktop? What browser are you using? I’d like to get that fixed for you!
John Rhoe says
It should work. I see no reason why not! Over 50 years of experience tells it will.
PAT says
CAN YOU USE FAT FREE SWEETENED CONDENSED MILK WITH THIS RECIPE
Jodi Danen, RDN says
I have not tested it that way so I’m not sure of the results.
Ronette says
My peanut butter separated when I added the sweetened condensed milk. Didn’t help to add more. Not smooth & creamy at all. Still tasted good, so went with it.
Jodi Danen, RDN says
Hi Ronette! I’m sorry to hear you had trouble with the recipe. It does requires a bit of stirring to get the two to blend together. You could also use a handheld mixer to make it easier!
Beth says
My mother and I used to make these when I was a child and I am 62 years old
Ruth says
The peanut butter and condensed milk mixture was smooth and by the time the other mixture was microwaved , the peanut butter mix was too hard to spread on chocolate mix. Not sure what I did wrong.
Jodi Danen, RDN says
Hi Ruth! You could add a bit more condensed milk to the peanut butter and reheat next time to get it soft again to spread.