
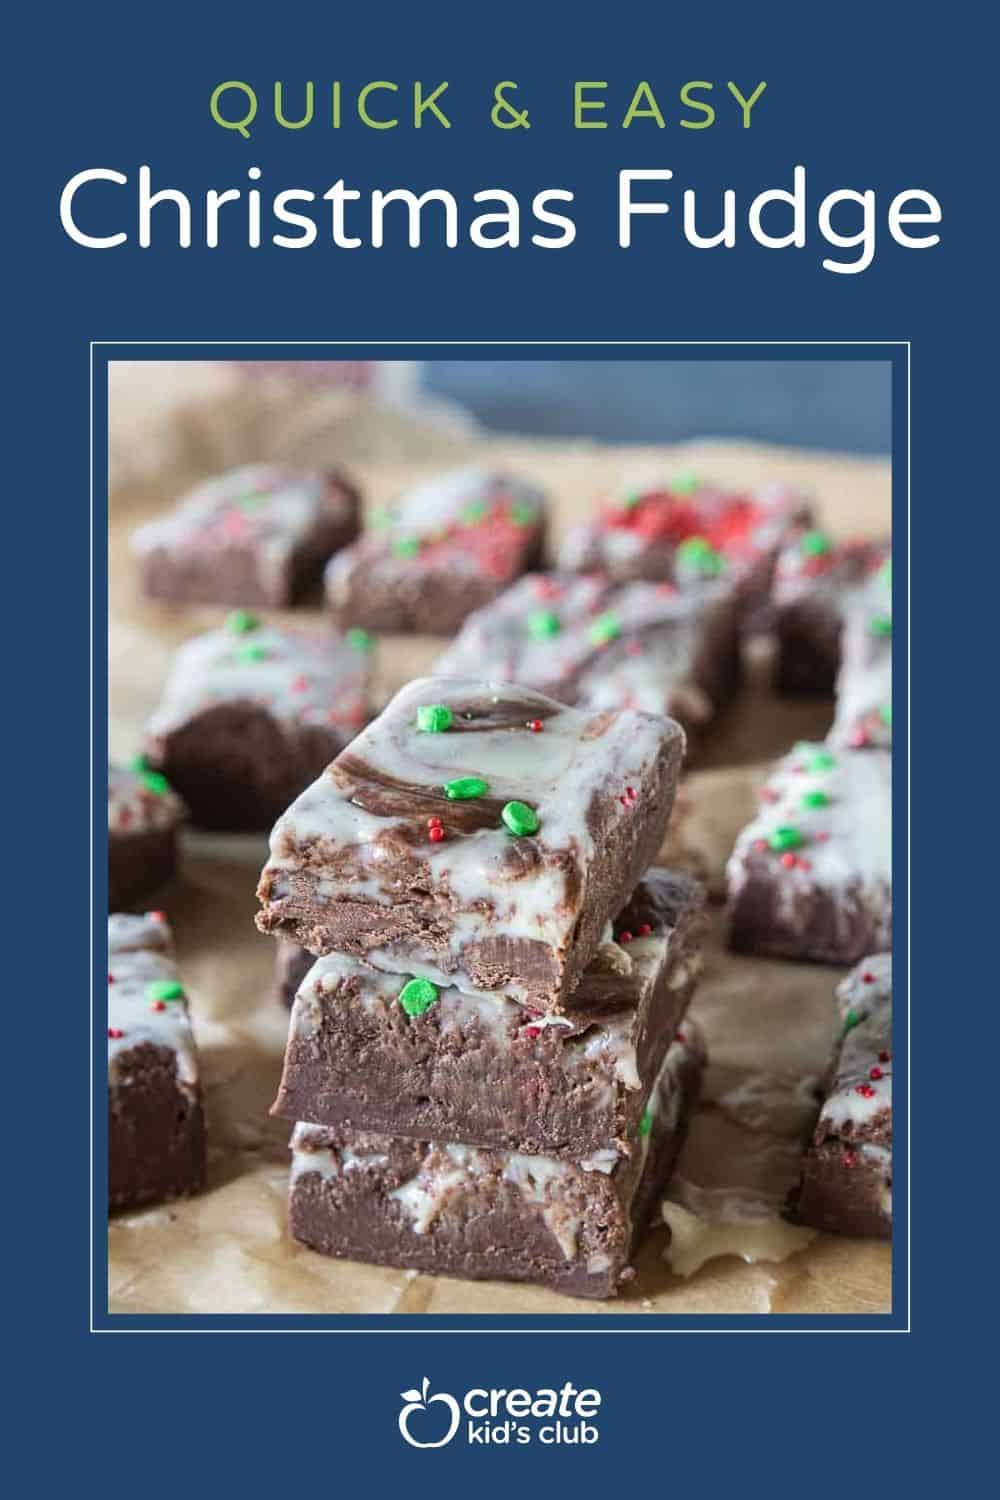
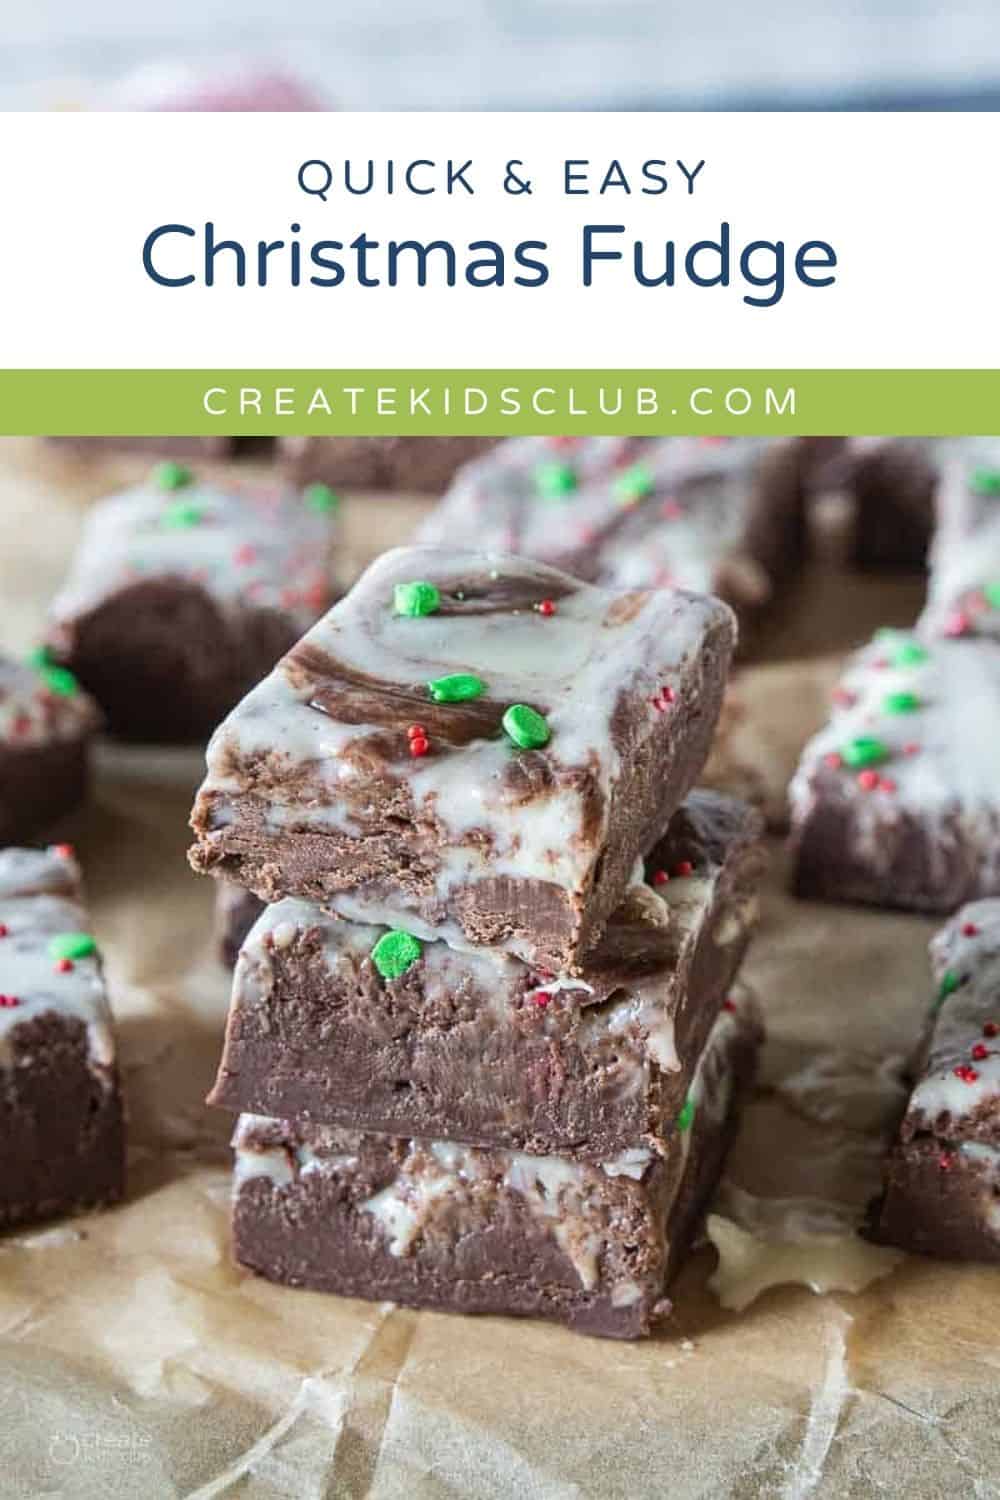
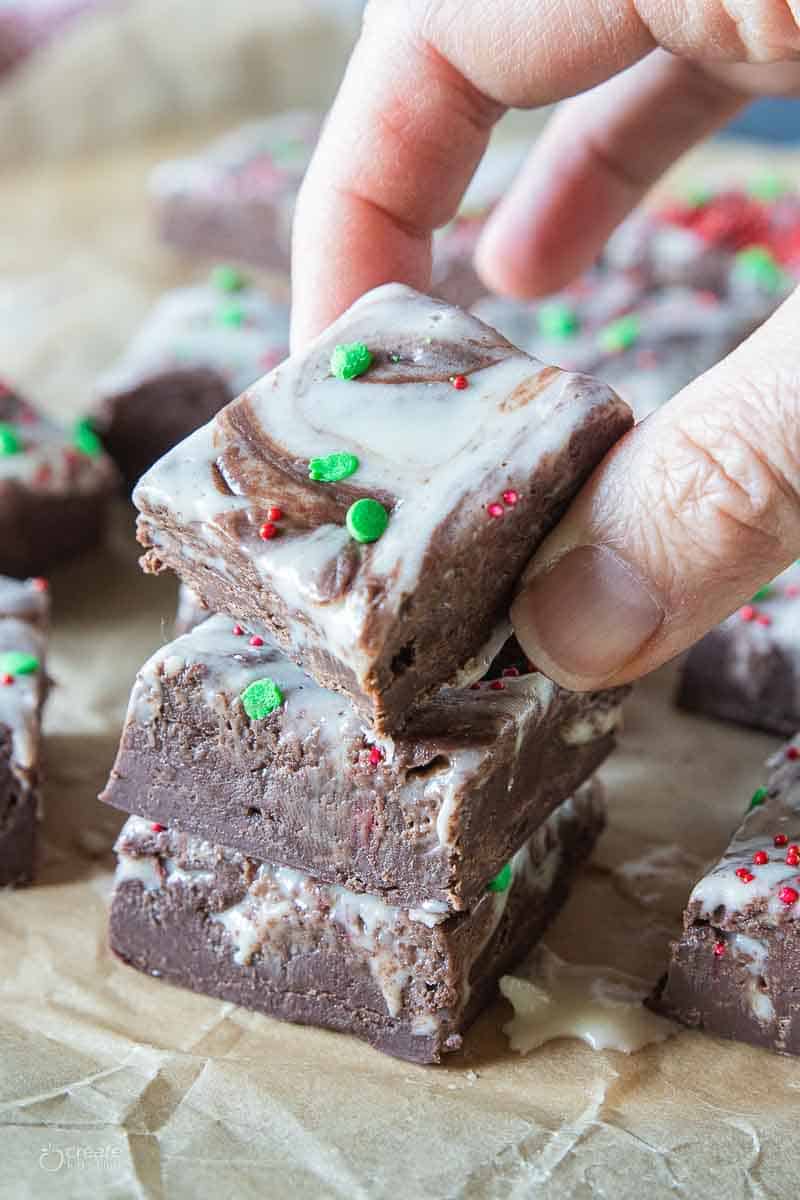
Our Christmas fudge recipe is made quickly in the microwave. Made with both semi-sweet chocolate chips and white chocolate chips along with marshmallows and sweetened condensed milk blend together into a simple and delicious holiday treat.
While this gluten-free dessert is easy enough for kids to make all on their own, it is the perfect recipe to make as a family this holiday season.
Creating this fudge recipe is such a fun way to kick off the holiday season. Craving other decadent desserts? No Bake Marshmallow Fudge, Easy Peanut Butter Fudge Recipe, and Easy Christmas Cookies for Kids are all kid approved!
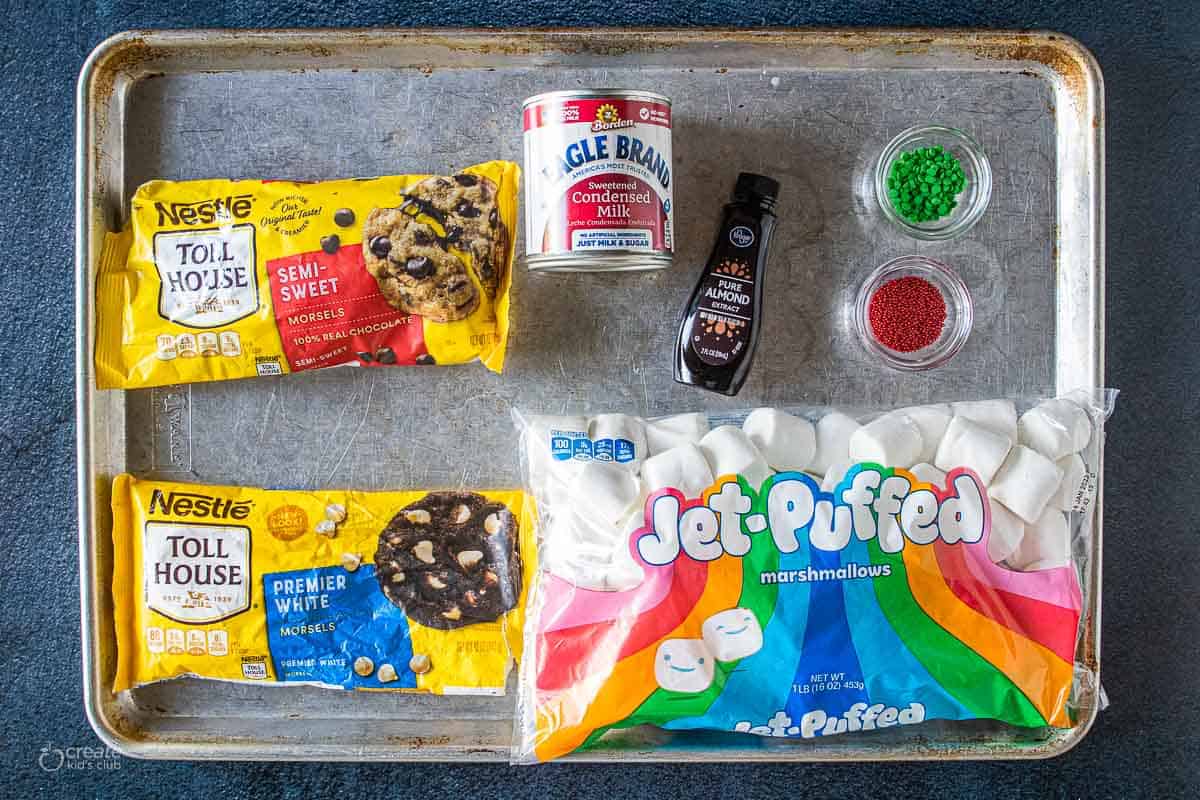
Table of Contents
Ingredients
- 12 ounce bag of semi-sweet chocolate chips
- 1/2 teaspoon almond or vanilla extract
- 14 ounce sweetened condensed milk
- 1/3 cup white chocolate chips
- 8 large marshmallows
- red and green sprinkles optional


How To Make
First step is preparing the baking pan by placing parchment paper into the baking pan. Then, set aside.
Melt the semi-sweet chocolate layer
Add semi-sweet chocolate chips, almond or vanilla extract, and 3/4 of the can of sweetened condensed milk in a medium sized bowl. Microwave for 60 seconds, then stir. Continue to heat in 30 second intervals if needed until the chocolate is just melted. Be careful not to over cook the chocolate. Pour into the prepared baking pan.


Melt the white chocolate chip layer
In a separate mixing bowl, add white chocolate chips, marshmallows and the remaining sweetened condensed milk. Heat for 60 seconds, stir. Continue to heat in 30-second intervals if needed until the chocolate is just melted. As a reminder, don’t over cook. Pour the white chocolate layer on top of the chocolate layer in the baking pan.


Combine the layers
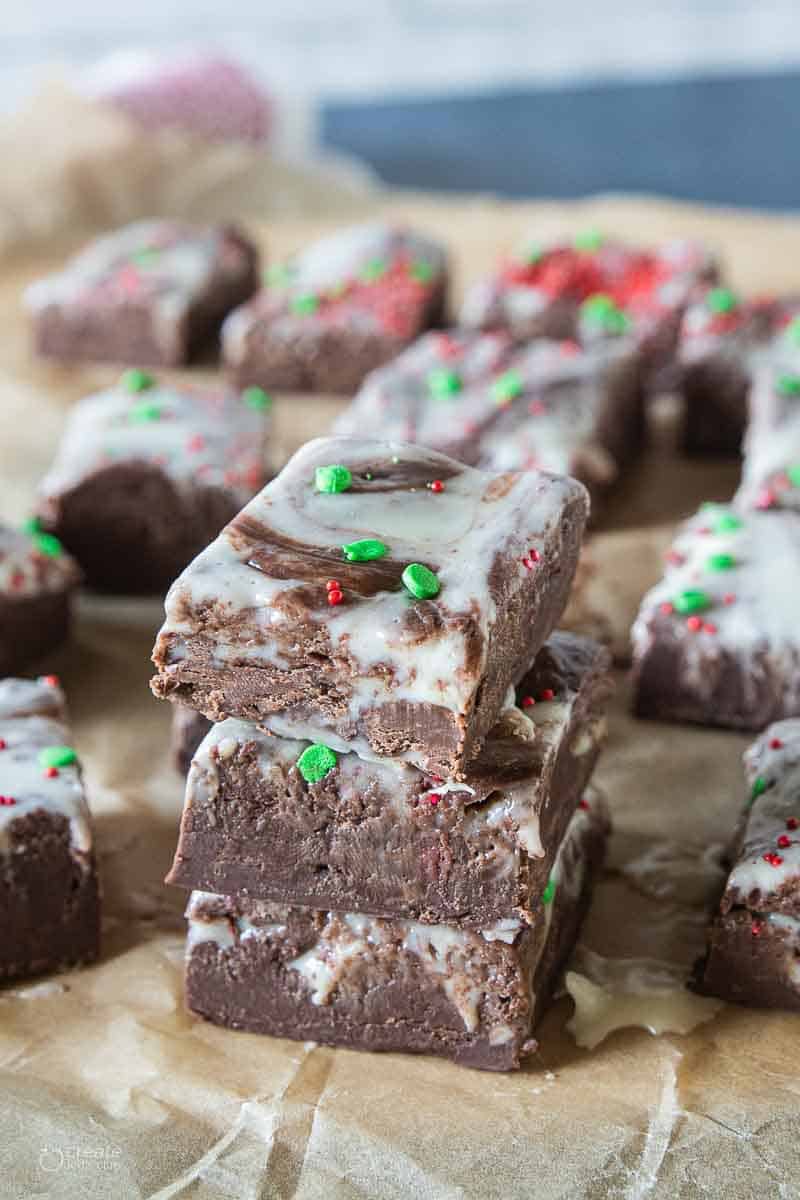
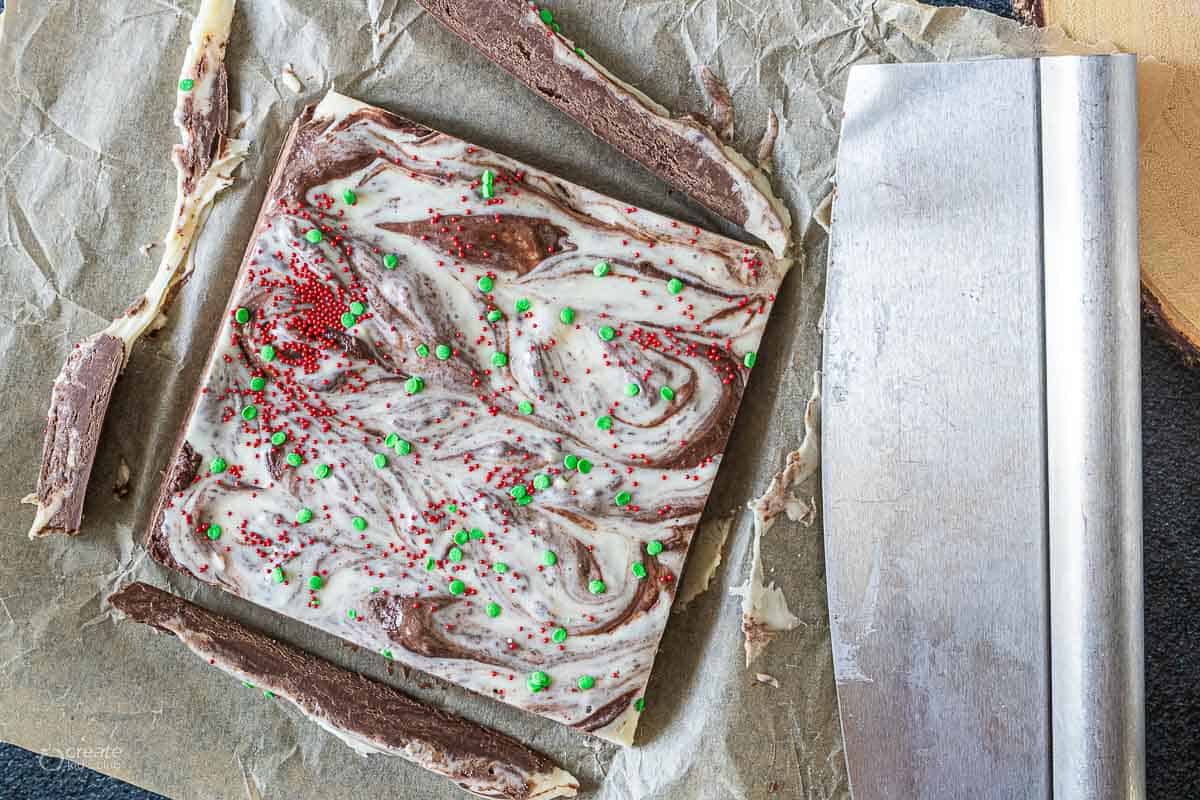
Using a butter knife, make swirls in both layers, combining them together. Add sprinkles if desired.
Fun Fact: A red bar of Lifebuoy soap was used in the movie. Add red sprinkles to the fudge as a fun (and tasty) way to represent the soap!
Let sit for 90 minutes to 2 hours before slicing. Enjoy!
Expert Tips
- Choose High-Quality Ingredients: Using good quality chocolate chips and extracts can make a significant difference in the flavor and texture of your bars. Opt for reputable brands for the best results.
- Prep Your Pan Properly: Line your baking pan with parchment paper, leaving an overhang on the sides. This will help you lift the bars out easily once they are set.
- Microwave Carefully: When melting the chocolate, use a microwave-safe bowl and heat in short intervals to prevent overheating. Stir between each interval to distribute the heat evenly. Be cautious not to overcook, as chocolate can become grainy if overheated.
- Stir Smoothly: While melting the chocolate, stir gently but thoroughly to ensure a smooth and even texture. Use a rubber spatula or wooden spoon to avoid introducing air bubbles.
- Layering White Chocolate: When pouring the white chocolate layer over the semi-sweet chocolate layer, do so gently and evenly. You can use the back of a spatula to spread it evenly without disturbing the layer beneath.
- Melting Marshmallows: Marshmallows can expand rapidly when heated, so keep an eye on them while melting. If they start to puff up too much, pause and stir before continuing to heat.
- Creating Swirls: To achieve a marbled effect, use a butter knife to gently swirl the two layers together. Don’t overdo it, as you want to maintain distinct layers with swirls of color.
- Adding Sprinkles: If you’re adding sprinkles on top, do so immediately after swirling the layers together, while the mixture is still slightly tacky. This will help the sprinkles adhere and give a festive appearance.
- Allow Proper Setting Time: Patience is key. Allow the bars to set for the recommended time (90 minutes to 2 hours) before slicing. This will ensure clean and neat slices.
- Uniform Slicing: When you’re ready to cut the bars, use a sharp knife dipped in hot water and wiped dry between cuts. This will help you achieve clean slices without the layers sticking to the knife.
FAQ
Absolutely! While the recipe calls for semi-sweet and white chocolate, you can experiment with other chocolate varieties like dark chocolate or milk chocolate for different flavor combinations.
Certainly! While almond and vanilla extracts are commonly used, you can get creative with flavors like mint, orange, or even coconut extract to add unique twists to your bars.
Overheated chocolate can seize and become grainy. To salvage it, try adding a small amount of vegetable oil or cocoa butter and gently stir until the texture becomes smoother.
Yes, you can omit the marshmallows if you prefer. They add a chewy texture and sweetness, but you can adjust the recipe to your taste.
Allowing the bars to set for the recommended time before slicing helps the layers firm up and adhere together. Using a sharp, heated knife and making swift cuts can also help prevent separation.
Storage and Freezing Instructions
Once the bars are completely set and cooled, place them in an airtight container, ensuring they are separated by parchment paper layers to prevent sticking. If you reside in a warmer environment or during the summer months, storing the bars in the refrigerator can help retain their freshness for a longer period, although it’s recommended to let them come to room temperature for a few minutes before serving to restore their ideal texture.
To freeze, wrap the bars tightly in plastic wrap and place them in a freezer-safe container or resealable plastic bag. When freezing, it’s advisable to label the container with the date to keep track of their freshness. When you’re ready to use them, allow the bars to thaw in the refrigerator for several hours or at room temperature for a shorter duration. Freezing might alter the texture slightly, but the flavor should remain intact.
More Gluten-Free Recipes
Looking for more gluten-free recipes to make this season and beyond? Check out each of these popular picks!
- Homemade Gluten-Free Granola Bar
- Gluten-Free Apple Cake
- Air Fryer Baked Apples (Gluten-Free)
- Gluten-Free Apple Cider Donuts
- Gluten-Free Pumpkin Muffins
- Homemade Low-Sodium Ramen Noodles
- Gluten-Free Baked Ziti with Sausage
- Christmas Oreos
- Old Fashioned Fudge
CKC Features both Gluten-Free Guidance and Kids Cooking Instructions: If you’re new to eating gluten-free we understand it’s overwhelming trying to figure out which foods may contain gluten and which ones don’t. All of our gluten-free recipes marked with this symbol ✅ represent foods that need to be checked for gluten or cross-contamination.
The ⭐️ symbol in the recipe below denotes the steps in which kid cooks may need a helper (depending on age). If there is no ⭐️ symbol, that step (or recipe) doesn’t require a helper.
Christmas Fudge Recipe
Equipment
- 2 medium sized microwave safe bowls
- 2 spatulas
- butter knife
Ingredients
- 12 ounce bag semi-sweet chocolate chips ✅
- 1/2 teaspoon almond or vanilla extract ✅
- 14 ounce sweetened condensed milk ✅
- 1/3 cup white chocolate chips ✅
- 8 large marshmallows ✅
- red and green sprinkles optional – ✅
Instructions
- Prepare the baking pan. Place parchement paper into the baking pan. Set aside.
- ⭐️Melt the semi-sweet chocolate layer. Add semi-sweet chocolate chips, almond or vanilla extract, and 3/4 of the can of sweetened condensed milk in a medium-sized bowl. Microwave for 60 seconds, and stir. Continue to heat in 30-second intervals if needed until the chocolate is just melted. Don't overcook. Pour into the prepared baking pan.12 ounce bag semi-sweet chocolate chips, 1/2 teaspoon almond or vanilla extract, 14 ounce sweetened condensed milk
- ⭐️Melt the white chocolate chip layer. Add white chocolate chips, marshmallows, and the remaining sweetened condensed milk. Heat for 60 seconds, stir. Continue to heat in 30-second intervals if needed until the chocolate is just melted. Don't overcook. Pour on top of the chocolate layer.1/3 cup white chocolate chips, 8 large marshmallows, 14 ounce sweetened condensed milk
- ⭐️Combine the layers. Using a butter knife make swirls in both layers, combining them together. Add sprinkles if desired. Let sit for 90 minutes to 2 hours before slicing.red and green sprinkles
Notes
Tips
- Additional toppings include coconut shreds, chopped walnuts or toasted pecans
- Store leftover fudge in an air-tight container in the fridge
- Make and give the fudge as a gift to friends, family or teachers this holiday season
Nutrition
If you enjoyed these recipes make sure to leave a comment and a star rating below!
Then follow us on social media and tag #createkidsclub if you make the recipe. We love seeing what you come up with!


Shirley says
Haven’t tried it yet but it seems easy to make and also delish to eat . Will make it for Christmas