Camping tacos are simple to make and easier to clean up! Made as a taco in a bag recipe or as a taco salad, it’s a great camping recipe for large groups.
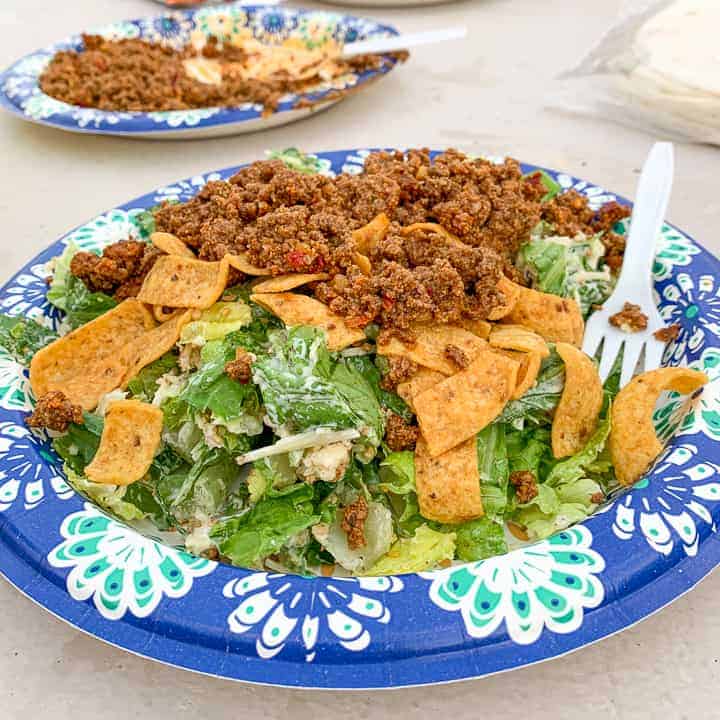
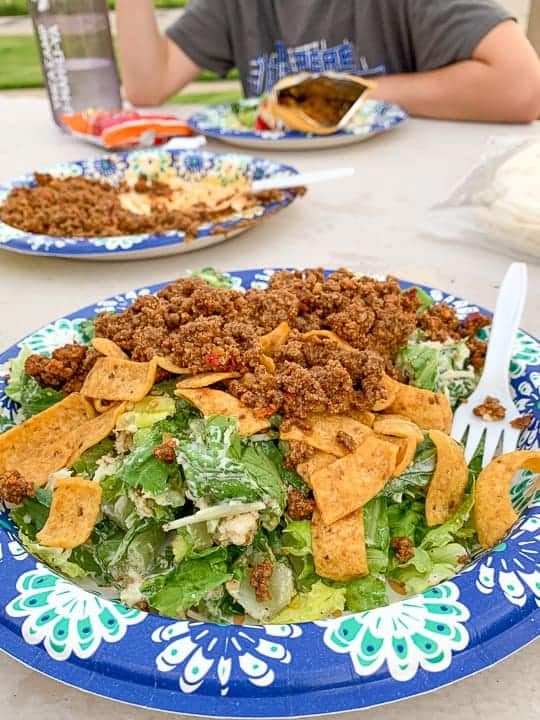
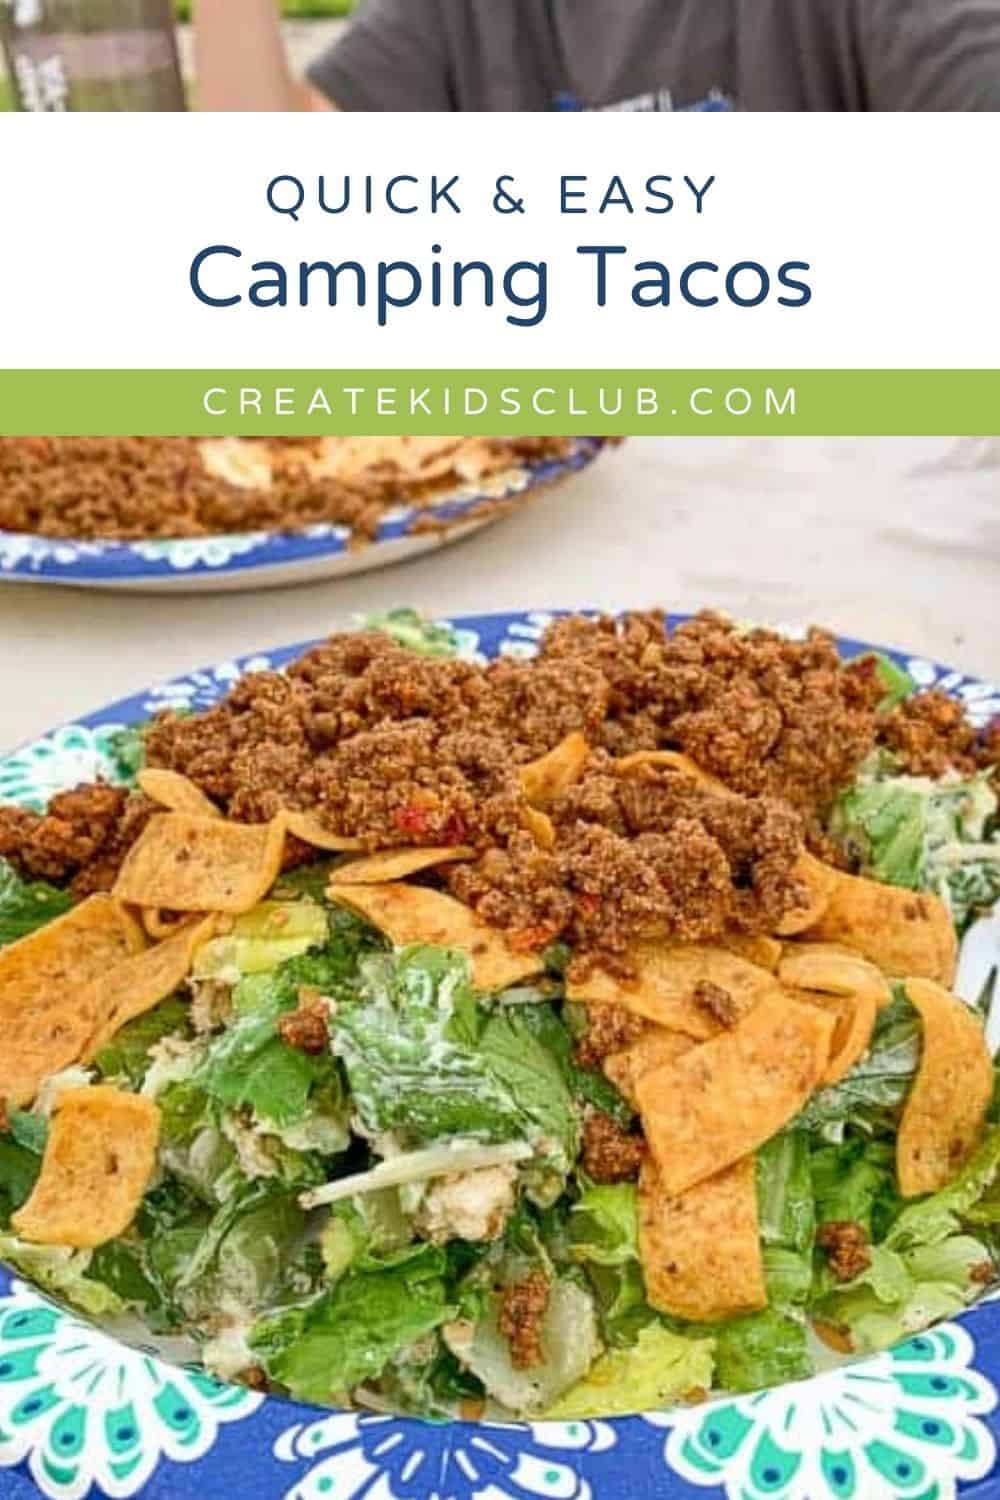
The best part is that everyone can customize to their liking, and these toppings make for an amazing taco salad for those wanting to skip the chips.
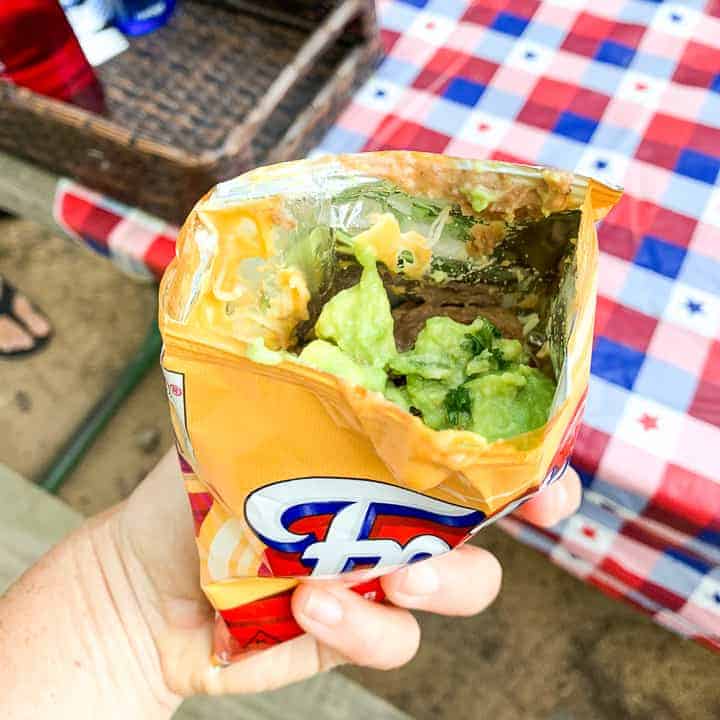
One convenient method for preparing walking tacos is to pre-cook the taco meat at home and then freeze it. Freezing serves a dual purpose—it helps keep your cooler at a low temperature, ensuring food safety, and conveniently defrosts by the time you’re ready to use it.
For those traveling in an RV, maintaining the meat in a frozen state saves valuable fridge space, and it can be defrosted using a microwave or placed in the refrigerator the day before use.
If you’re camping with a larger group, consider delegating the taco meat duty by having each family contribute a pound of their preferred protein, whether it’s ground beef, shredded chicken, pulled pork, or carnitas. This adds variety to the flavor options, and you can also assign different families to bring a range of toppings to avoid duplicates and enhance the overall camping taco experience.
Table of Contents
Ingredients
- 1 lb. taco seasoned ground beef or turkey
- small individual bags of Fritos
- shredded lettuce
- shredded cheese
- salsa
- tomatoes
- sour cream
How To Make
The first step is to reheat the taco meat. Whether you have opted for ground beef or turkey seasoned with those classic taco spices, you’re in for a flavorful treat. Here’s how to go about it:
Reheat the Taco Meat:
- Start by placing a skillet or a pan on a portable stovetop or open campfire.
- Add the pre-cooked taco meat to the pan and apply gentle heat. If you’re working with leftover taco meat, this step is essential to get it nice and warm.
- Stir occasionally until the meat is thoroughly heated and sizzling.
Assemble the Tacos:
Gather Your Supplies:
- 6 small individual bags of Fritos
- 1 cup of shredded lettuce
- 1/2 cup of shredded cheese
- 1/2 cup of salsa
- 1 tomato, diced
- Sour cream (optional)
Open the Frito Bags:
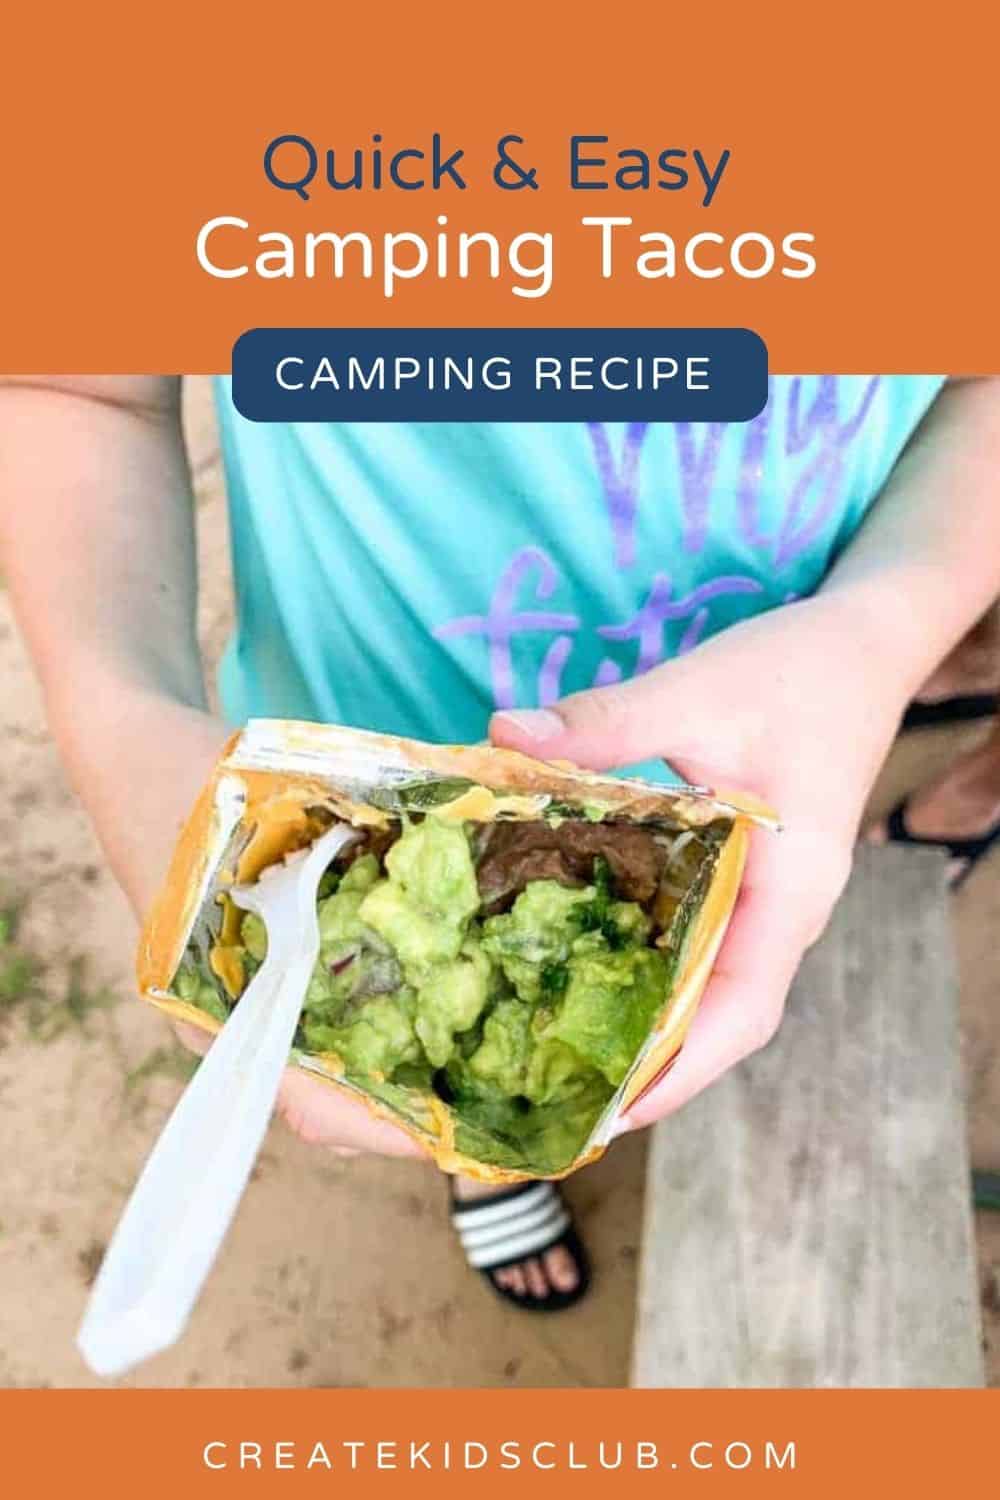
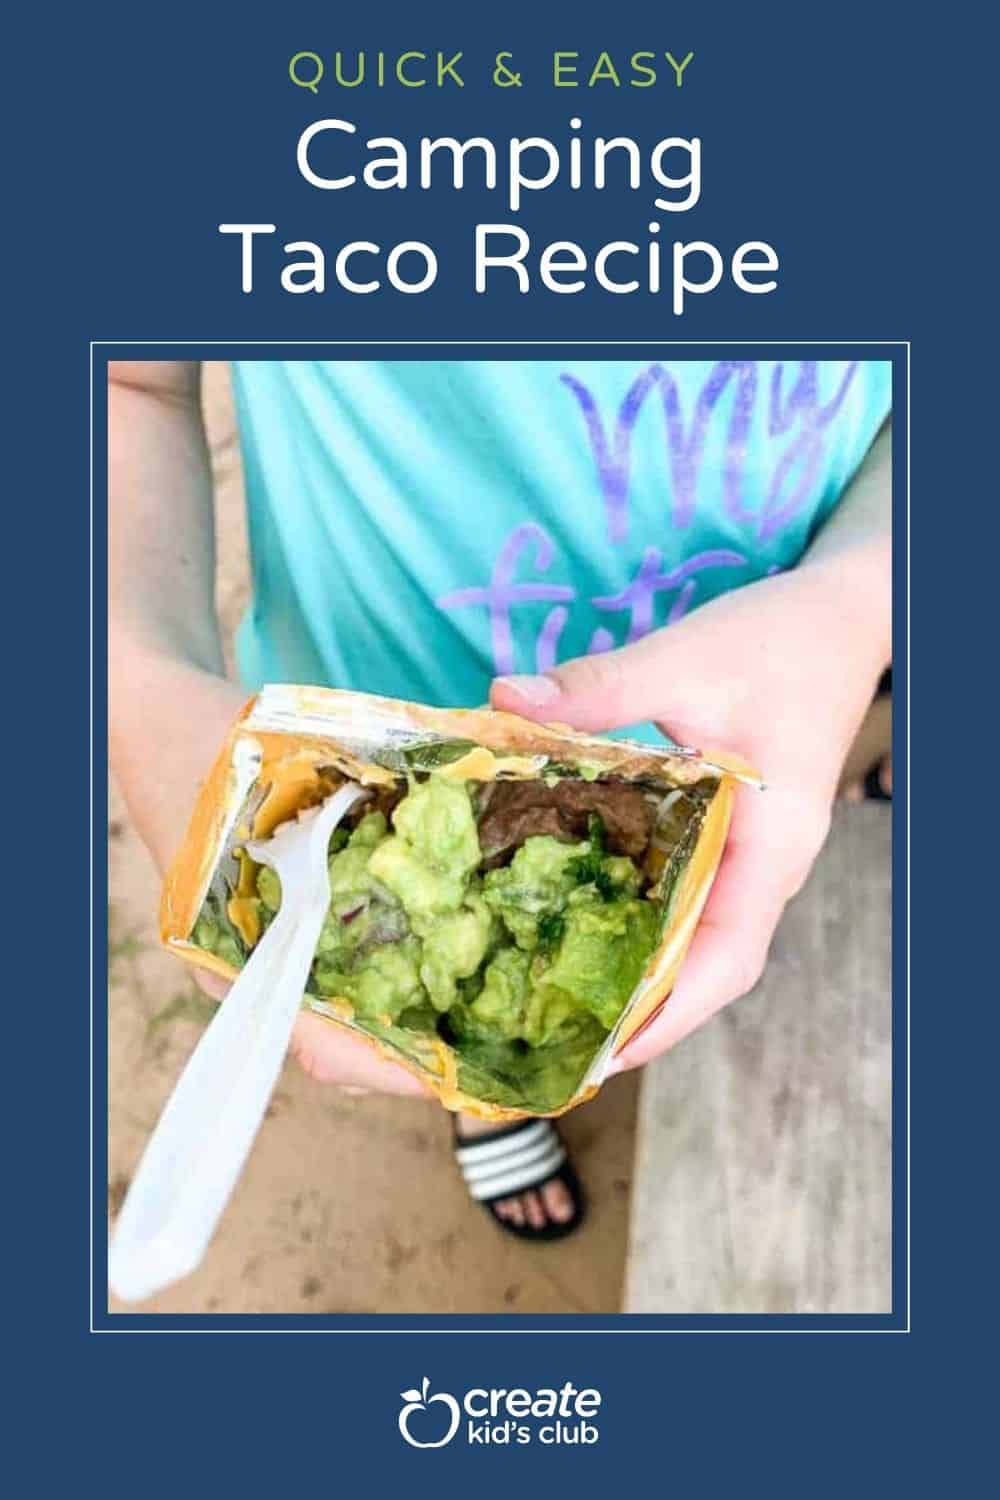
Lay out the individual bags of Fritos on your picnic table or picnic blanket. Each bag will serve as its taco shell, and it’s a fun, no-fuss way to enjoy your meal.
Layer the Toppings:
Begin assembling your camping tacos by scooping a generous spoonful of the hot taco meat directly into each Frito bag. The corn chips will provide a satisfying crunch and savory base.
Topping Ideas
- Onions
- Black Olives
- Jalapenos
- Nacho Sauce
- Cilantro
- Taco sauce
- Chopped Romaine for taco salad or a prepackaged Ceasar salad mix
Add Freshness:
Next, layer on the toppings. Start with shredded lettuce to add a crisp, cool contrast to the warm meat. Sprinkle a bit of shredded cheese on top for that creamy, cheesy goodness.
Zesty Flavors:
Spoon some salsa over the cheese and let the flavors meld together. If you love that zing of fresh tomato, toss some diced tomato on top for that extra kick.
Optional Creaminess:
If you’re a fan of creamy, tangy goodness, dollop some sour cream on your taco. This step is optional but highly recommended if you want to take your picnic tacos to the next level.
Enjoy:
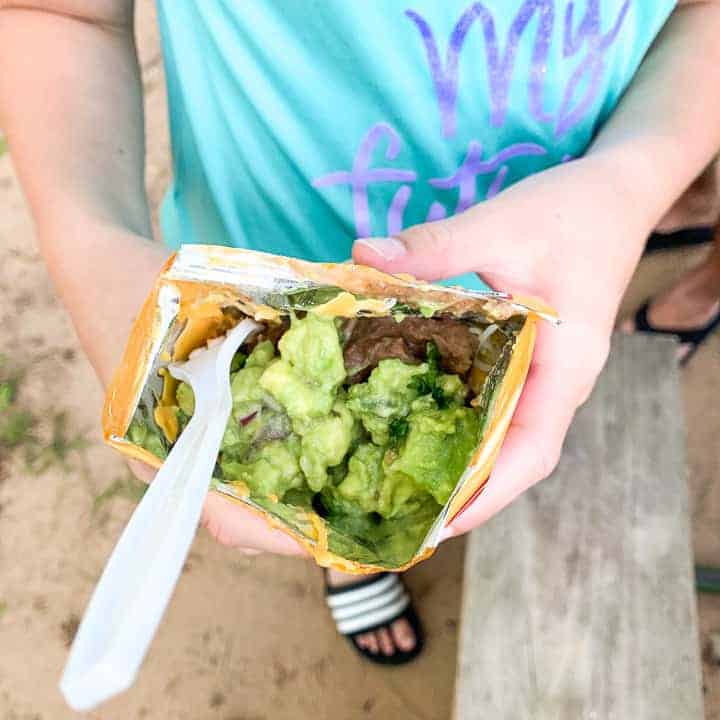
The best part of this picnic taco adventure is that you can eat with a fork straight from the Frito bag. It’s a hands-on, interactive way to savor your meal without the need for plates or utensils.
As you sit around the picnic table, soaking in the fresh air and the joy of a meal prepared outdoors, you’ll relish the unique experience of building and devouring your walking taco, all within the confines of a crunchy Frito bag. It’s a simple, delightful twist on a classic dish, perfect for enjoying the great outdoors with friends and family.
Recipe Tips and Tricks
Prepping in Advance: Prepare the taco meat, shred the cheese, and dice the tomato ahead of your picnic. This will save time and make the picnic setup easier.
Heat Source: If you’re having a picnic in a location with no cooking facilities, consider preheating the taco meat at home and using a thermos to keep it warm until you assemble the tacos.
Keep Ingredients Cool: For ingredients like lettuce, cheese, and salsa, keep them cool in a cooler or insulated bag until it’s time to assemble the tacos. This ensures they remain fresh and safe to eat.
Customize Toppings: Offer a variety of toppings to cater to different tastes. Some people might prefer a spicy salsa, while others may enjoy a milder version. Let guests personalize their tacos.
Disposable Utensils: While the idea is to eat straight from the Frito bag, you might want to have disposable forks and napkins on hand for those who prefer a cleaner eating experience or for handling the toppings.
FAQ
Absolutely! You can use ground beef, ground turkey, ground chicken, or even a meat substitute like plant-based crumbles, depending on your dietary preferences.
Complement your picnic with sides like guacamole, corn on the cob, a fruit salad, or chips. These pair well with the picnic taco experience.
Simply scale up the quantities of ingredients based on the number of guests. You may want to consider setting up a topping bar so that everyone can assemble their own tacos.
Camping Storage Instructions
When camping and planning to enjoy the picnic taco recipe, it’s crucial to handle food storage with care. Precook and cool the taco meat at home, then place it in a sealed container within your cooler, surrounded by ice packs to maintain a safe temperature. Toppings like lettuce, cheese, salsa, and diced tomatoes should be stored in airtight containers within the same cooler. For sour cream, opt for individual, portable servings and keep them cool until use.
Frito bags, being shelf-stable, can be stored in a dry, convenient spot. Non-perishable items, including spices, utensils, and napkins, can be organized in a separate container for easy access. Proper cooler organization is vital to prevent cross-contamination, with raw meat at the bottom and perishables on top. Regularly monitor the cooler’s temperature and minimize opening it to keep everything fresh and safe.
CKC Features both Gluten-Free Guidance and Kids Cooking Instructions: If you’re new to eating gluten-free we understand it’s overwhelming trying to figure out which foods may contain gluten and which ones don’t. All of our gluten-free recipes marked with this symbol ✅ represent foods that need to be checked for gluten or cross-contamination.
The ⭐️ symbol in the recipe below denotes the steps in which kid cooks may need a helper (depending on age). If there is no ⭐️ symbol, that step (or recipe) doesn’t require a helper.
Camping Taco Recipe
Ingredients
- 1 pound taco seasoned ground beef or turkey ✅
- 6 small individual bags of Fritos
- 1 cup shredded lettuce
- 1/2 cup shredded cheese ✅
- 1/2 cup salsa ✅
- 1 tomato, diced
- sour cream, optional ✅
Instructions
- ⭐️Reheat the taco meat. Heat taco meat and spread topping out on the picnic table.1 pound taco seasoned ground beef or turkey
- Assemble the tacos. Place taco meat directly into individual Frito then add toppings of choice.6 small individual bags of Fritos, 1 cup shredded lettuce, 1/2 cup shredded cheese, 1/2 cup salsa, 1 tomato, diced, sour cream, optional
- Serve. Eat with a fork straight from the bag!
Notes
The ⭐️ symbol in the recipe below denotes the steps in which kid cooks may need a helper (depending on age). If there is no ⭐️ symbol, that step (or recipe) doesn’t require a helper.
Nutrition
If you enjoyed these recipes make sure to leave a comment and a star rating below!
Then follow us on social media and tag #createkidsclub if you make the recipe. We love seeing what you come up with!



Kari says
I had forgotten all about these until I saw this. Making them this summer for sure!