Get ready to take your desserts up a notch with our delicious boiled icing recipe! It’s a game-changer for anyone looking to add that extra oomph to their cakes and sweet treats. We’ll show you the ropes in a laid-back, easy-to-follow style, as we whip up this classic boiled frosting. With just the right amount of creaminess and firmness, it’s perfect for both beginners and bakers.
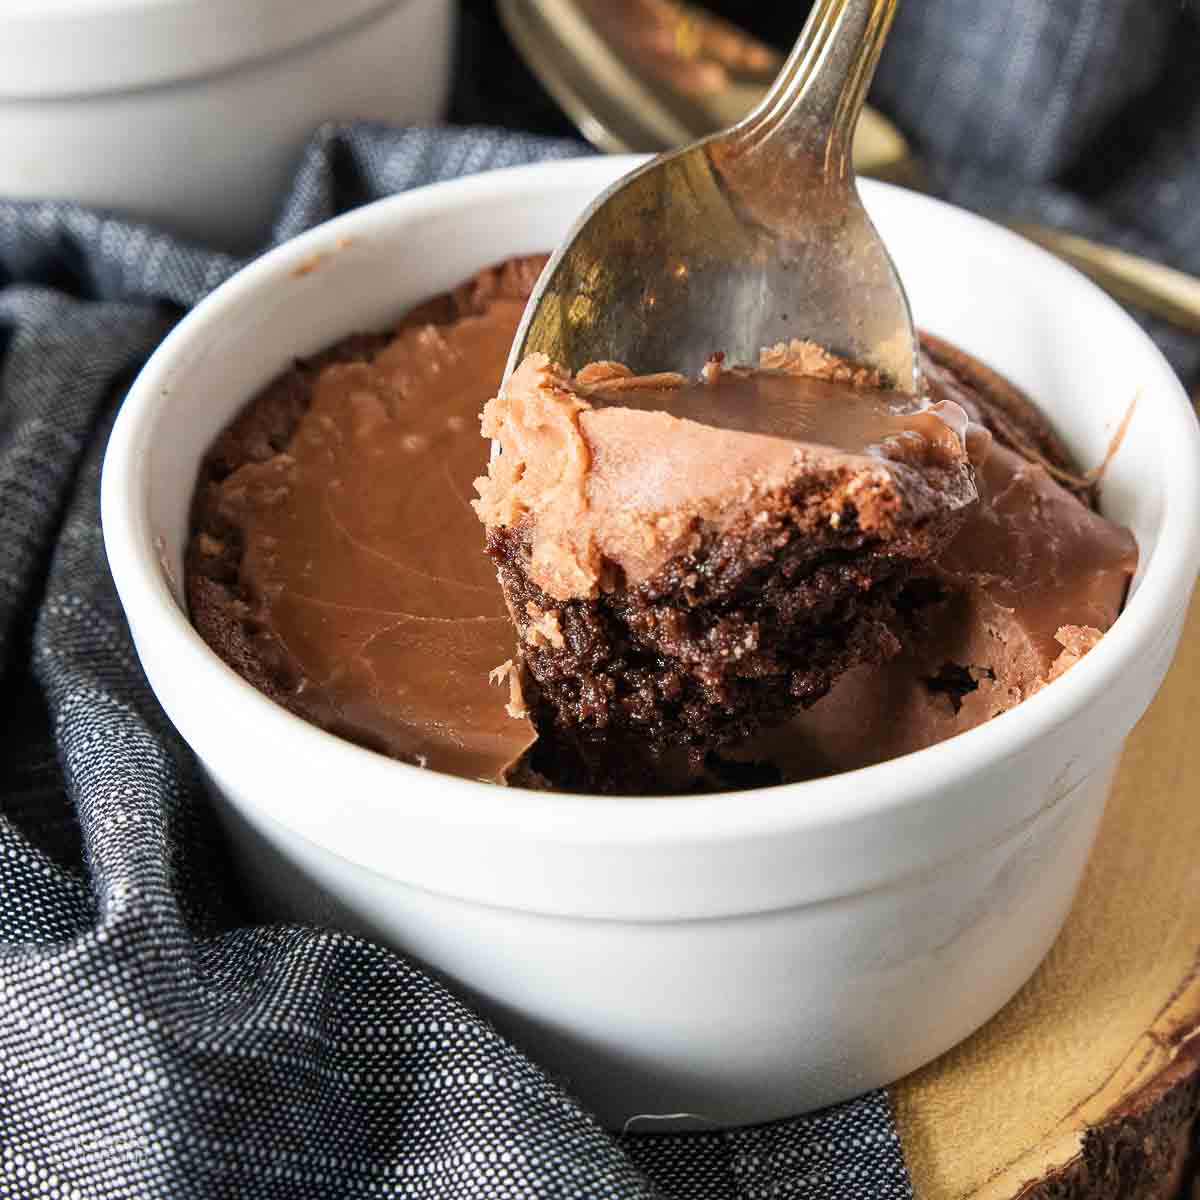
Boiled icing is a classic confectionary technique that transforms simple ingredients into a fluffy, glossy, and versatile frosting. Boiled to precision and whisked in an ice bath, it develops a delightful firmness, making it a perfect choice for cakes and sweet treats. Its old-fashioned charm adds a touch of nostalgia to desserts.
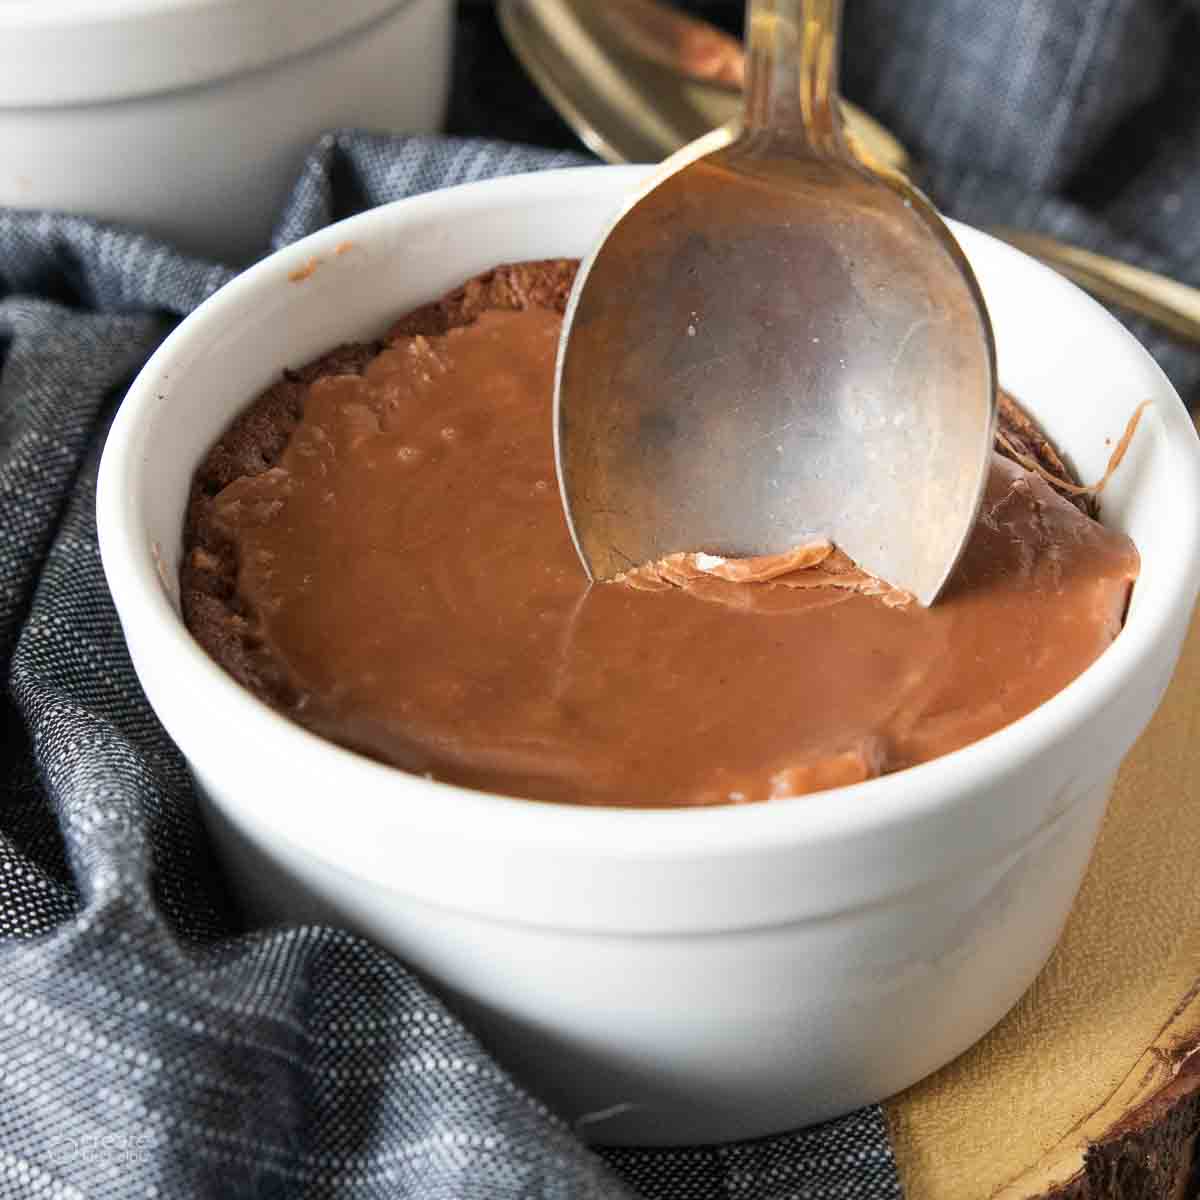
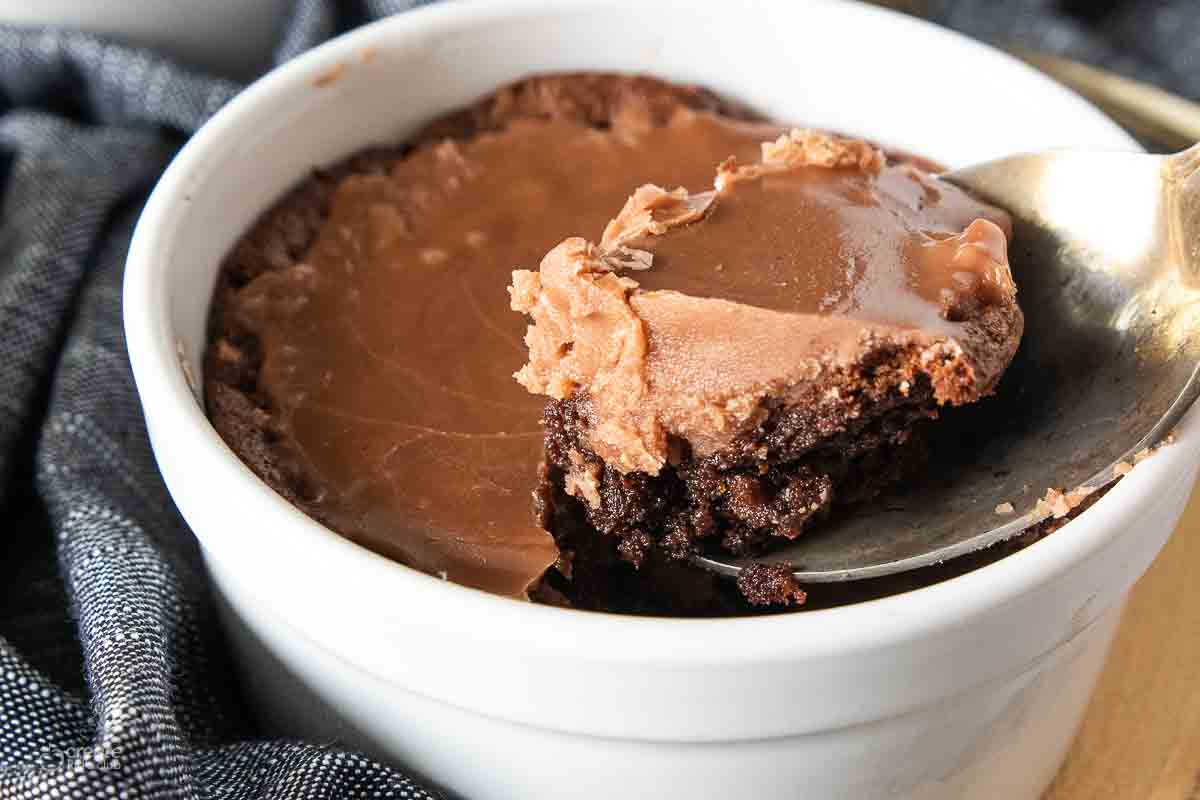
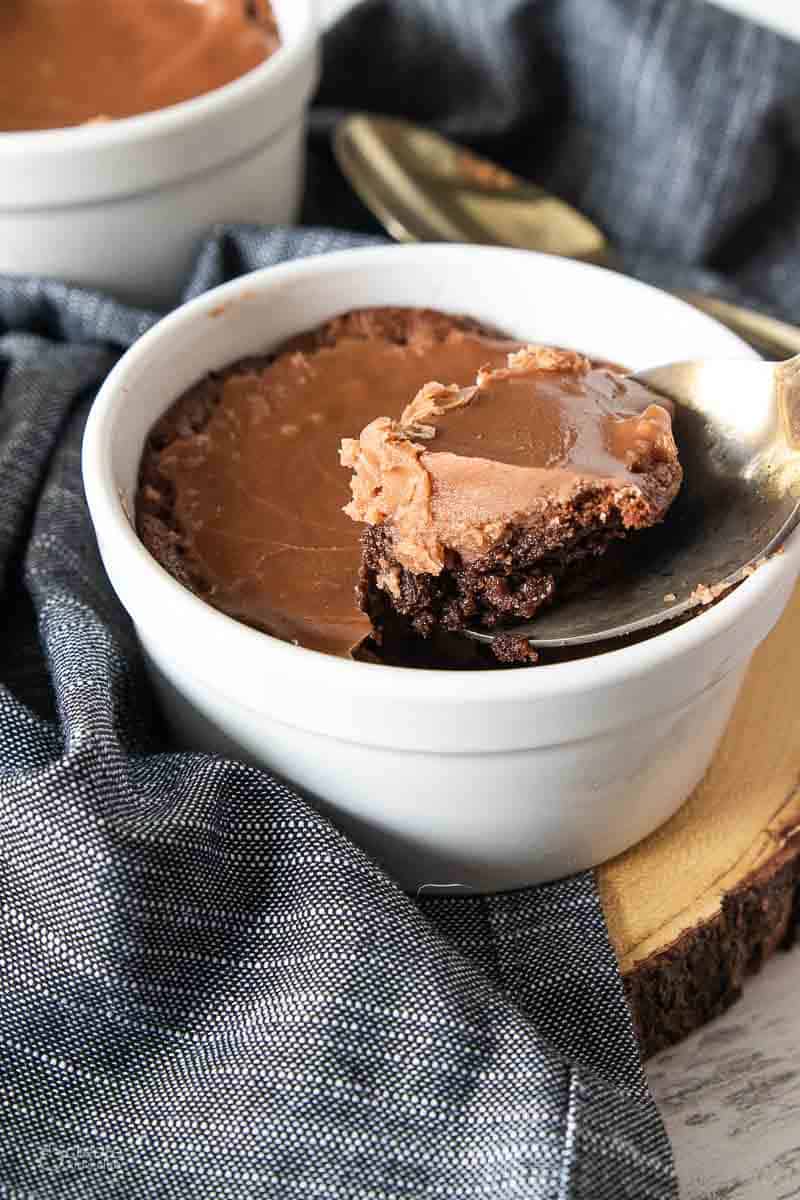
This is a boiled frosting that hardens and makes enough to frost a double-layer 9-inch cake. Simply adjust as needed to create the amount for your dessert. We often make half a batch when drizzling this recipe on our flourless chocolate mini cakes.
Looking for a delicious homemade cream cheese and buttercream frosting recipe? We have you covered with our Lemon Cream Cheese Frosting and Almond Buttercream Frosting.
Ready to get started? Gather the equipment and ingredients listed below before following the step by step directions or using the printable recipe card to create this icing recipe.
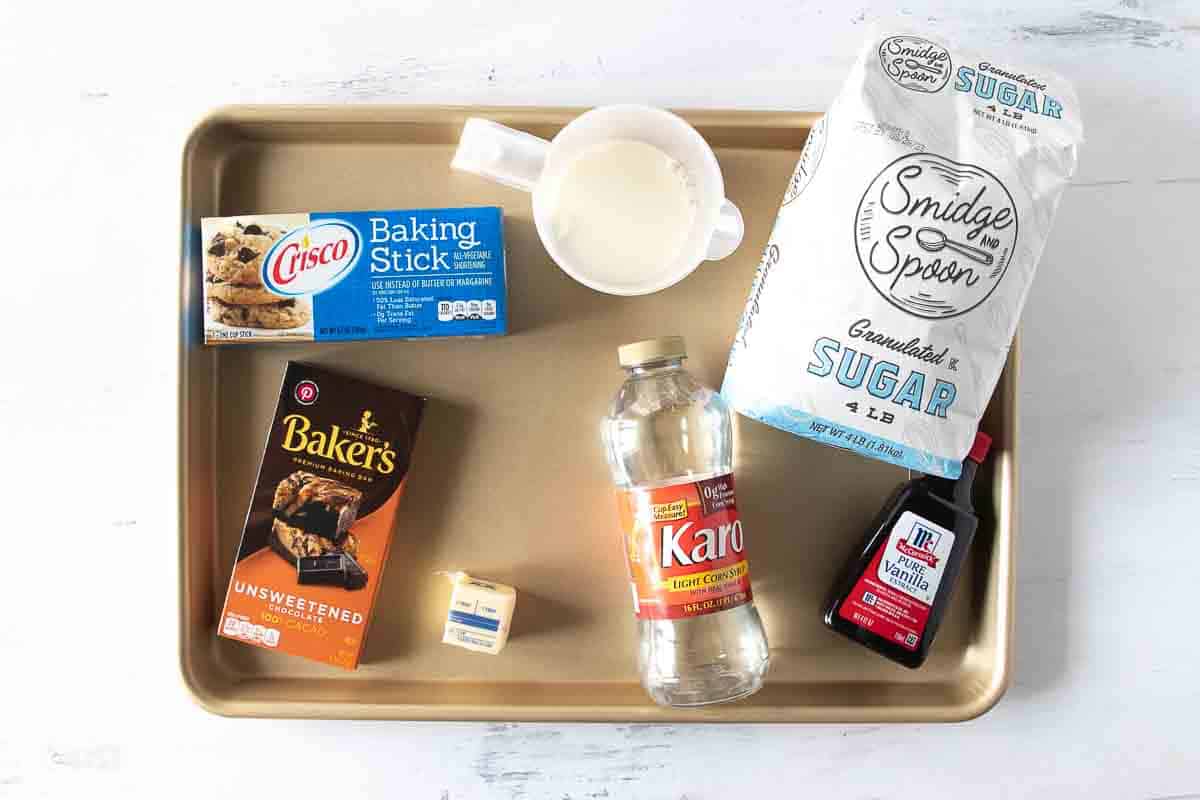
Table of Contents
Ingredients
- 1 1/2 cups sugar
- 4 squares unsweetened chocolate
- 1/3 cup milk
- 2 tablespoons butter
- 2 tablespoons Crisco
- 2 tablespoons light corn syrup
- 1 teaspoon vanilla extract check for gluten-free
- ice and water
How To Make Boiled Frosting
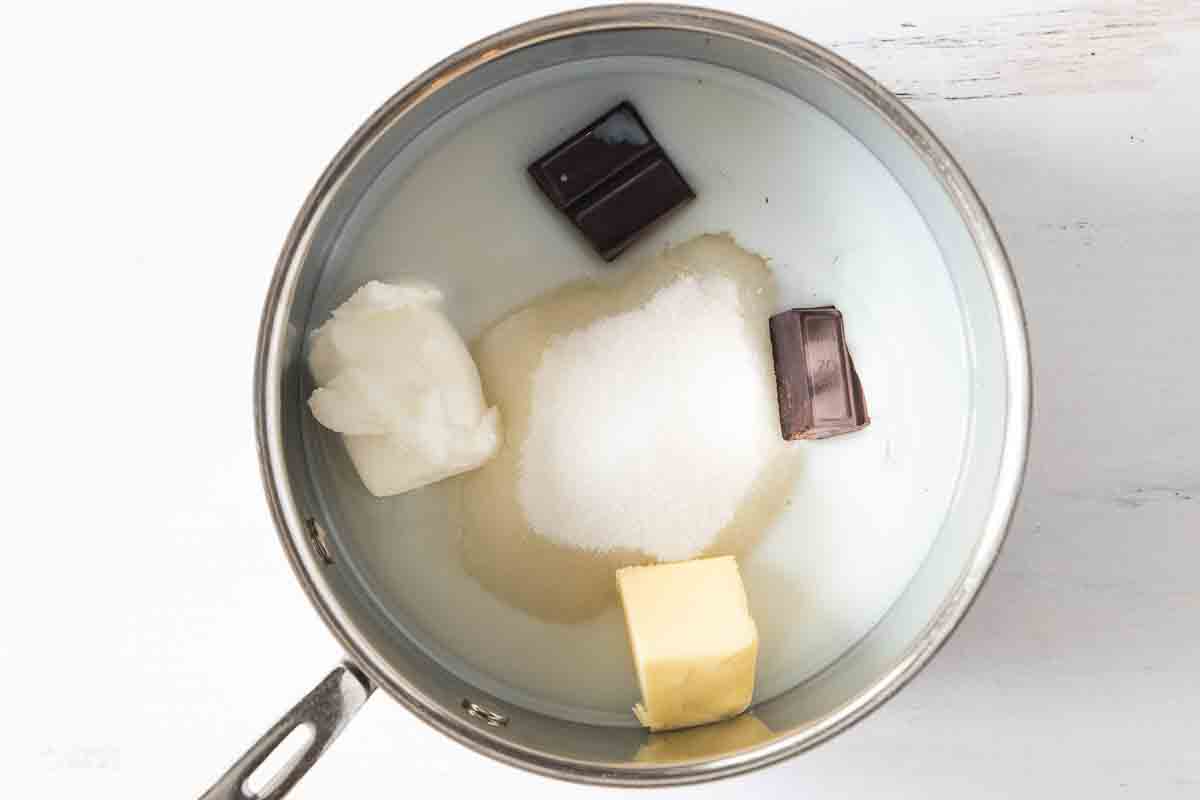
To a medium-sized saucepan over medium heat, bring the sugar, unsweetened chocolate, milk, butter, Crisco, and light corn syrup to a boil.
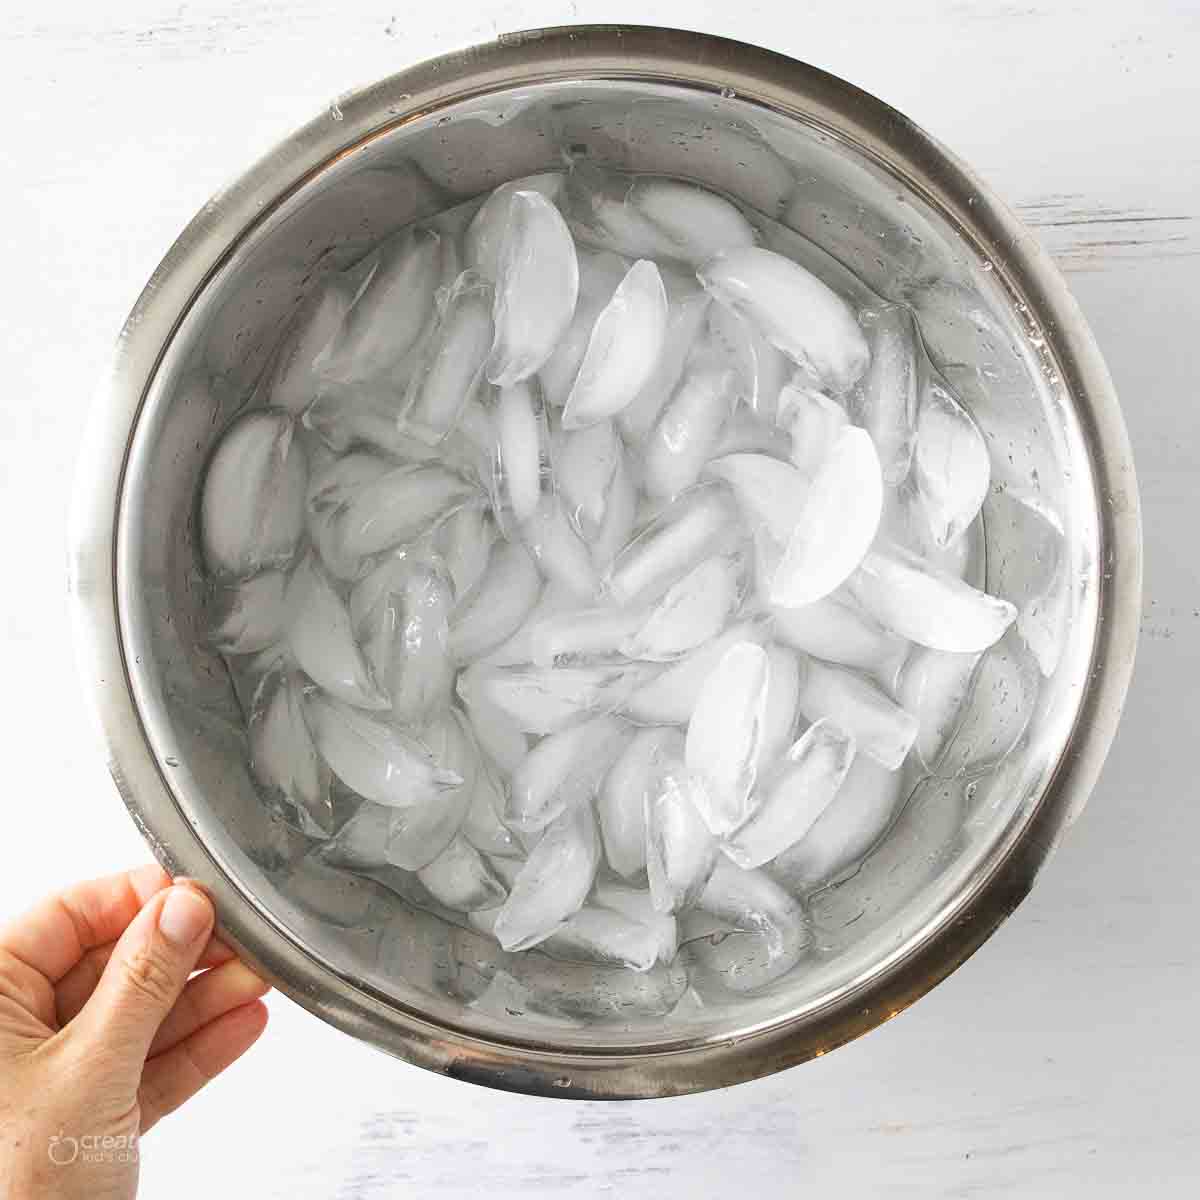
Prep the ice bath
Add ice to a large stainless steel or glass bowl that is big enough for the saucepan to fit. Add about 1 cup of water to the bowl then set aside.
Boil icing for 1 minute
Once the icing is at a rolling boil, let boil for 1 minute without stirring. Remove from heat and stir in the vanilla extract.
If desired, the vanilla extract can be swapped with almond extract. Before deciding on which extract to add, consider your dessert flavor. Almond extract pairs best with raspberry, peach, plum, butterscotch, chocolate, and maple flavors while vanilla extract complements cherry, orange, strawberry, cinnamon, hazelnut, and chocolate flavors.


Whisk icing in the ice bath
Immediately place the saucepan into the ice bath. Holding the handle of the saucepan, whisk the icing for about 1 minute or just until the icing starts to slightly thicken up. If the icing seems too runny, continue to whisk until it thickens.
Immediately pour onto the cake or dessert of choice. This icing will harden quickly so make sure to pour it while still runny.
Recipe Tips and Tricks
Prepare Your Ingredients in Advance: Have all the ingredients measured and ready before you start cooking. This will help streamline the process.
Use a Heavy-Bottomed Saucepan: A heavy-bottomed saucepan helps distribute heat evenly and reduces the risk of scorching the ingredients.
Don’t Stir During Boiling: When bringing the mixture to a boil, resist the temptation to stir. Stirring can lead to grainy or crystallized texture in the icing.
Be Cautious with Boiling: Ensure the mixture comes to a full rolling boil, but don’t overcook. Boil for the specified time, usually just 1 minute, and monitor it closely to prevent burning.
Use an Ice Bath: Setting up an ice bath is essential to stop the cooking process quickly. This helps control the texture of the icing.
Whisking for Consistency: When in the ice bath, whisk the icing until it starts to slightly thicken. Be patient and don’t rush this step, as it’s crucial for achieving the right texture.
Act Swiftly: Once the icing has thickened slightly, pour it onto your cake or dessert promptly. This icing hardens fast, so timing is crucial.
Adjusting Consistency: If your icing seems too runny after whisking, you can continue to whisk a little longer in the ice bath to reach the desired consistency.
Flavor Variations: While vanilla extract is commonly used, you can experiment with different flavor extracts or additions like coffee, mint, or citrus zest to customize the icing to your liking.
Practice Makes Perfect: Making boiled icing may take a couple of tries to get it just right. Don’t be discouraged if your first attempt isn’t perfect – you’ll improve with practice.
FAQ
A candy thermometer is not needed for our recipe, simply bring to a rolling boil then whisk in the ice bath before pouring onto the dessert of your choice.
To resoften, microwave the icing in 10-second intervals until it is runny enough to drizzle on your dessert.
This homemade icing is best served fresh, but it can be refrigerated on the dessert up to a day in advance if looking to make ahead of time.
Boiled icing does not harden completely, but it can develop a slightly firmer or crust-like layer on the surface when exposed to air.
Storage Instructions
Boiled icing should be used right away after preparation, as it tends to harden quickly once applied to your cake or dessert. It’s not suitable for long-term storage. Avoid keeping it for extended periods as it won’t maintain its desired texture and consistency. Make and apply the icing immediately for the best results.
More Gluten-Free Dessert Recipes
- Gluten-Free Pecan Pie
- Gluten-Free Pumpkin Roll
- Fruit Tart
- Bundt Cake (Gluten-Free)
- Gluten-Free Apple Cake
- Gluten-Free Cherry Dessert Parfaits
- Air Fryer Banana Chips
- Air Fryer Baked Apples (Gluten-Free)
- Gluten-Free Pumpkin Bars
CKC Features both Gluten-Free Guidance and Kids Cooking Instructions: If you’re new to eating gluten-free we understand it’s overwhelming trying to figure out which foods may contain gluten and which ones don’t. All of our gluten-free recipes marked with this symbol ✅ represent foods that need to be checked for gluten or cross-contamination.
The ⭐️ symbol in the recipe below denotes the steps in which kid cooks may need a helper (depending on age). If there is no ⭐️ symbol, that step (or recipe) doesn’t require a helper.
Boiled Icing Recipe
Equipment
- medium-sized saucepan with handle
- large stainless steel or glass bowl
Ingredients
- 1 1/2 cups sugar
- 4 squares unsweetened chocolate
- 1/3 cup milk
- 2 tablespoons butter
- 2 tablespoons Crisco
- 2 tablespoons light corn syrup
- 1 teaspoon vanilla extract ✅
- ice and water
Instructions
- ⭐️ Bring ingredients to a boil. To a medium-sized saucepan with handle over medium heat, bring the sugar, unsweetened chocolate, milk, butter, Crisco, and light corn syrup to a boil.1 1/2 cups sugar, 4 squares unsweetened chocolate, 1/3 cup milk, 2 tablespoons butter, 2 tablespoons Crisco, 2 tablespoons light corn syrup
- Prep the ice bath. Add ice to a large stainless steel or glass bowl (big enough for the saucepan to fit). Add about 1 cup of water.ice and water
- ⭐️ Boil icing for 1 minute. Once the icing is at a rolling boil, let boil for 1 minute without stirring. Stir in the vanilla.1 teaspoon vanilla extract
- ⭐️ Whisk icing in the ice bath. Immediately place the saucepan into the ice bath. Holding the handle of the saucepan, whisk the icing for about 1 minute or just until the icing starts to slightly thicken up. Immediately pour onto the cake or dessert of choice. If the icing seems too runny, continue to whisk. This icing will harden quickly – make sure to pour it onto the dessert while still runny.
Notes
- This homemade icing is best served fresh, but it can be refrigerated up to a day in advance if looking to make the recipe ahead of time.
- Pour immediately on your dessert of choice once made as it hardens quickly.
- Vanilla or almond extract? Consider your dessert flavor. Almond extract pairs best with raspberry, peach, plum, butterscotch, chocolate and maple flavors while vanilla extract complements cherry, orange, strawberry, cinnamon, hazelnut and chocolate flavors.
Nutrition
If you enjoyed these recipes make sure to leave a comment and a star rating below!
Then follow us on social media and tag #createkidsclub if you make the recipe. We love seeing what you come up with!



Leave a Reply