Our banana bread with applesauce recipe puts a unique twist on traditional banana bread – it features applesauce and yogurt! The applesauce adds extra moisture and is used as a replacement for oil, cutting fat and calories. The addition of Greek yogurt also adds moisture to the bread while helping it rise and creating that old-fashioned banana bread flavor. Gluten-free.
Banana bread is always best enjoyed fresh from the oven, but can easily be frozen in individual ziplock bags for grab-and-go snacks or packed for lunch. A slice of frozen banana bread makes for the ultimate ice pack in your child’s lunchbox.
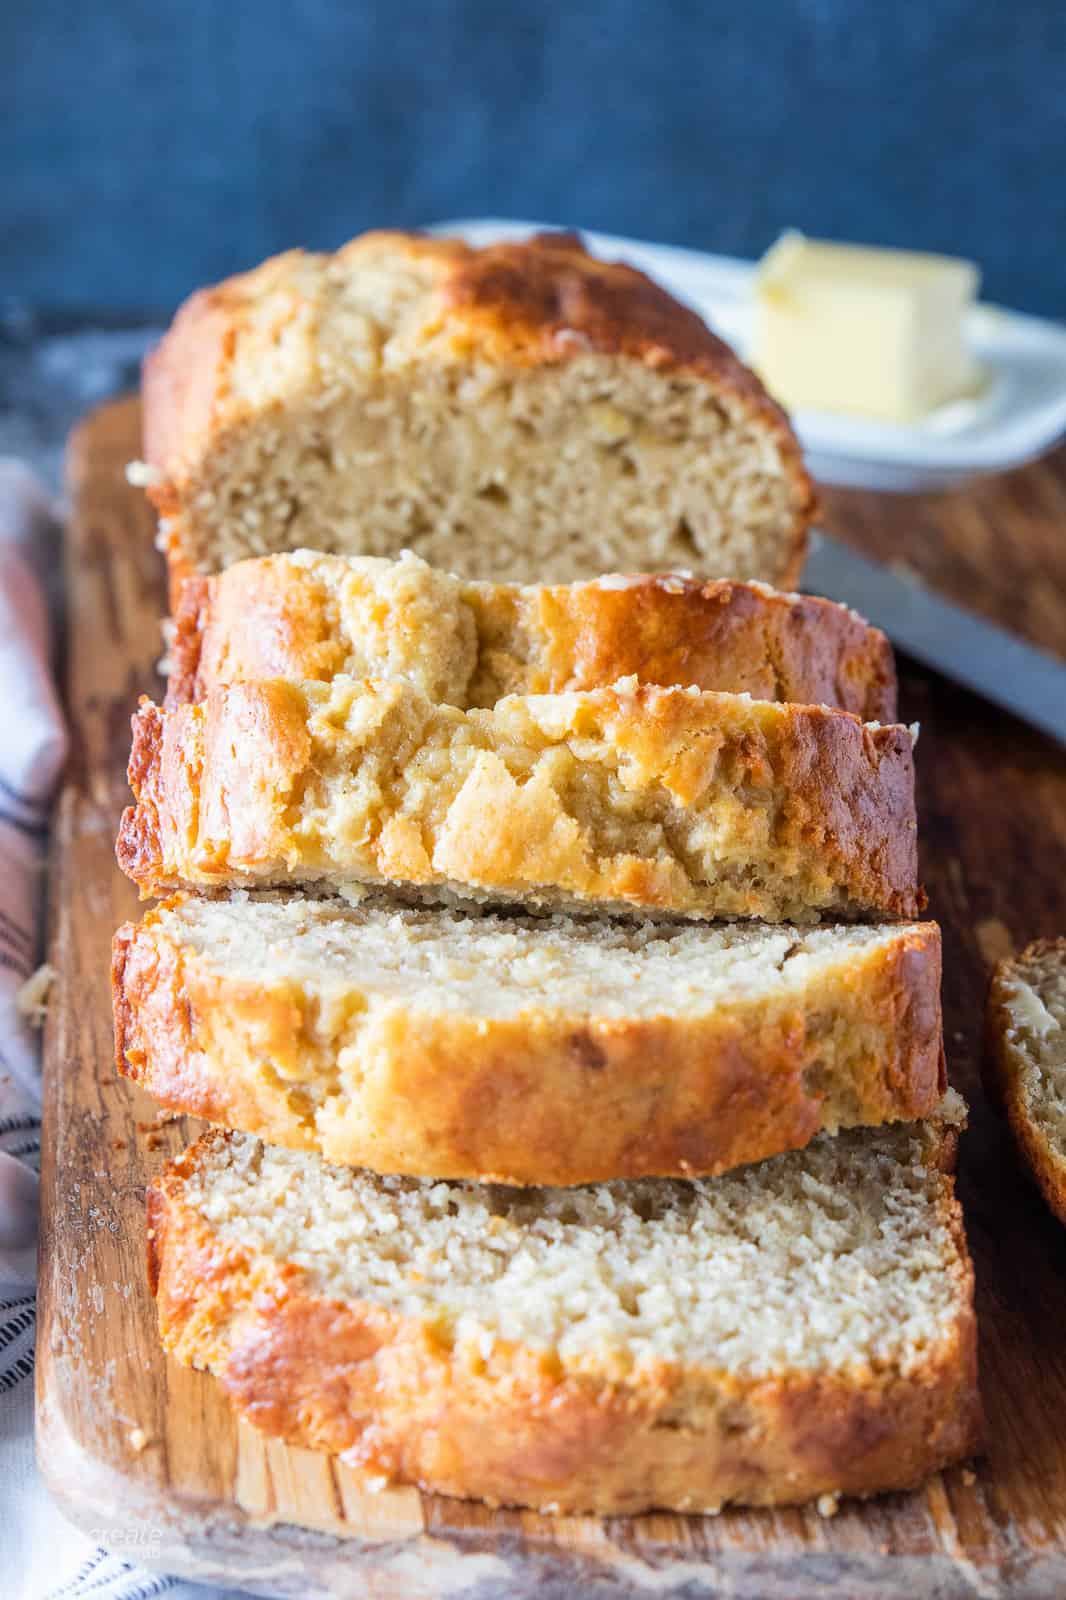
If you have over-ripe bananas on the counter or stashed in the freezer, you were meant to bake a loaf of banana bread! Use the over-ripe bananas to create Banana Bread Recipe For Kids, Healthy Banana Muffins or this recipe below.
Gather the equipment and ingredients to get started then follow the simple instructions.
Table of Contents
Ingredients
- 1 cup plain Greek yogurt
- 1/2 cup brown sugar
- 1/2 cup granulated sugar
- 1/2 cup unsweetened applesauce
- 2 large eggs
- 2 teaspoons vanilla extract
- 1 1/2 cups all-purpose gluten-free flour
- 1 teaspoon baking soda
- 1 teaspoon salt
- 3 medium overripe bananas, mashed
How To Make this Banana Bread Recipe with Applesauce
Follow the step-by-step instructions to make banana bread with yogurt and applesauce, checking out our favorite mix-ins to add to this banana bread recipe before baking!
Preheat the Oven to 400°F: Preheating the oven is an essential step in baking because it ensures that the oven reaches the desired temperature before you place your bread inside. This initial high temperature is a clever technique for jumpstarting the rise of the banana bread and creating a beautiful, golden crust.
Spray the Loaf Pan with Nonstick Cooking Spray: Greasing the loaf pan with nonstick cooking spray or butter is crucial to prevent the banana bread from sticking to the pan. It also aids in achieving a smooth release of the bread after it’s baked.
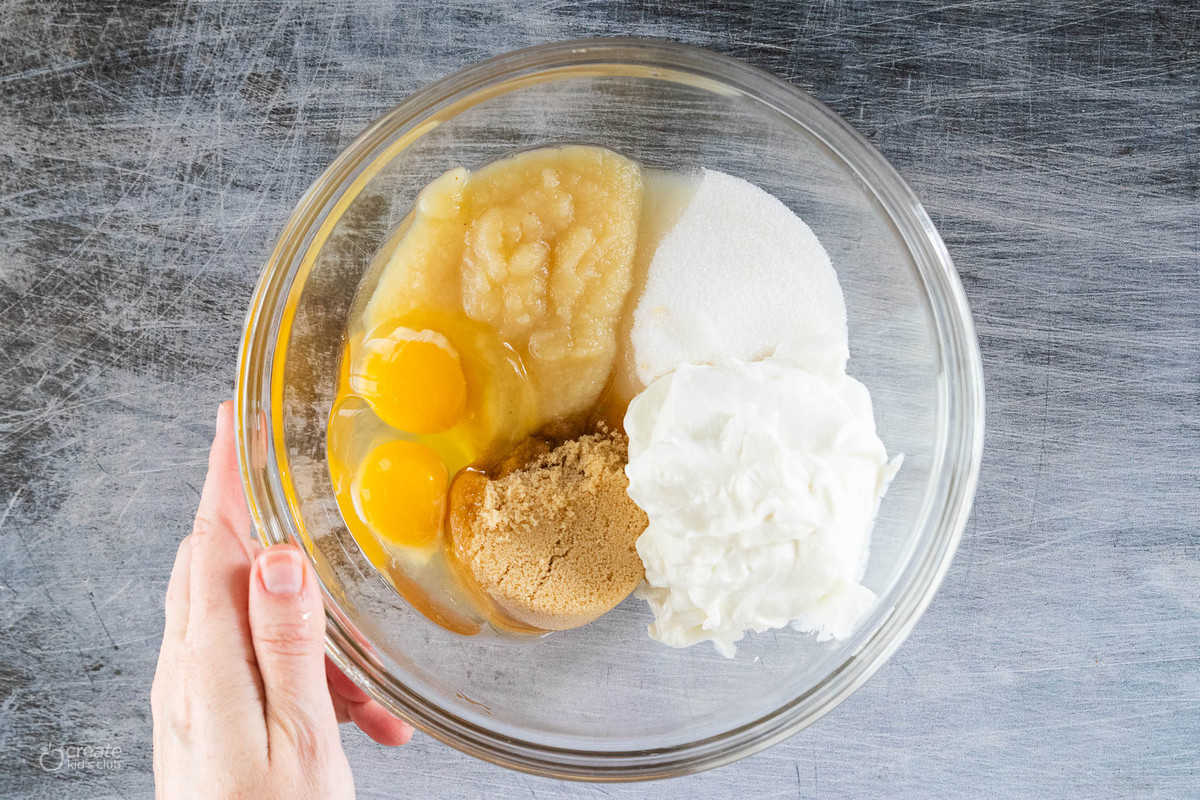
Combine the Wet Ingredients: In a large bowl, you’ll combine several wet ingredients: Greek yogurt, brown sugar, granulated sugar, applesauce, eggs, and vanilla extract. This mixture provides moisture, sweetness, and flavor to your banana bread. The Greek yogurt adds a tangy richness, while the applesauce helps keep the bread moist.

Combine the Dry Ingredients: In a separate medium-sized bowl, combine the dry ingredients: flour, baking soda, and salt. The flour serves as the structural base for the bread, while the baking soda acts as a leavening agent, causing the bread to rise. Salt enhances the overall flavor by balancing the sweetness.
Mix the Dry and Wet Ingredients: Gently add the dry ingredients to the wet ingredients in the large bowl. Stir just until the two mixtures start to come together. Overmixing can lead to a tough or dense texture, so it’s essential to handle the batter with care.
Add Mashed Banana and Mix-Ins: Incorporate the mashed banana into the batter and gently stir. This step introduces the signature banana flavor and moistness to the bread. Additionally, you have the option to personalize your banana bread by adding mix-ins like chocolate chips, shredded coconut, dried fruits, or nuts. These mix-ins can bring extra texture and flavor to your bread.


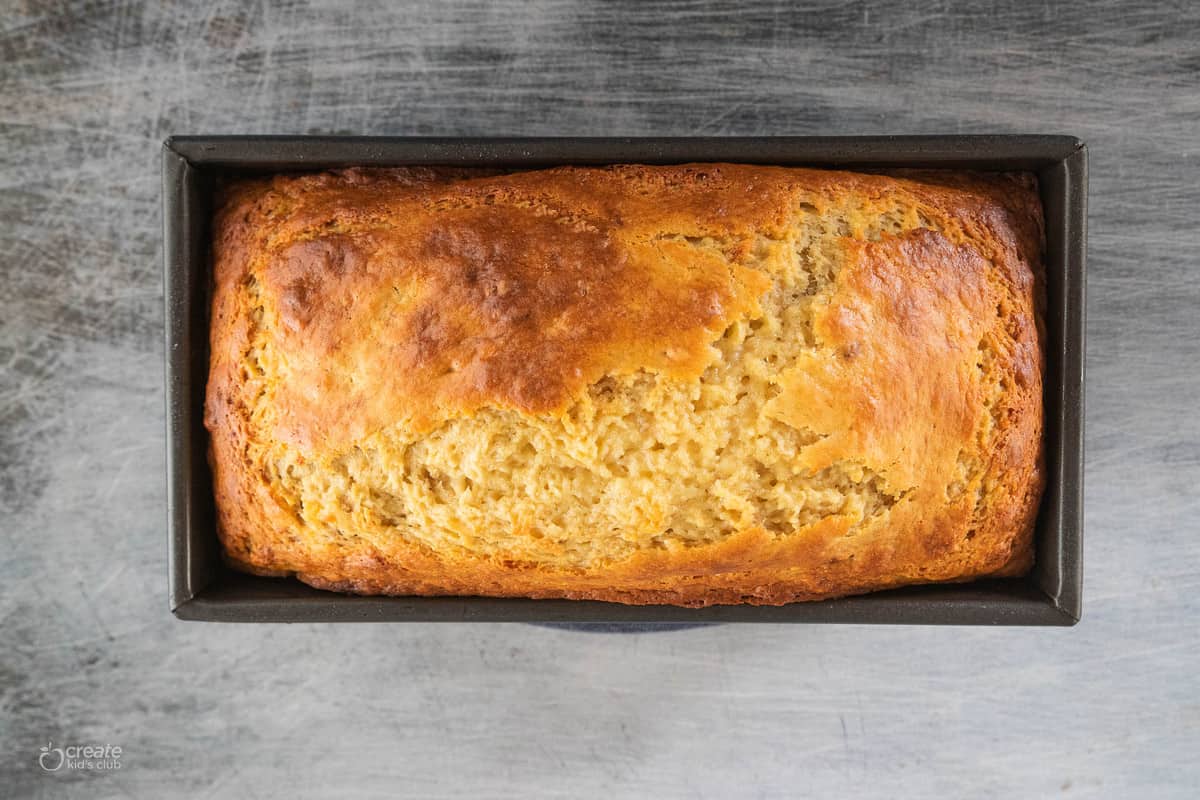
Bake at 400°F for 10 Minutes, Then Reduce to 350°F: The initial high baking temperature of 400°F helps the bread rise rapidly, creating a lovely crust on the surface. After the first 10 minutes, lower the oven temperature to 350°F. This reduction in temperature allows the inside of the bread to cook thoroughly without over-browning or burning the top. This dual-temperature technique results in a moist and tender interior while maintaining a delightful crunchy exterior.
Check for Doneness: Bake the banana bread at 350°F for about 50 minutes or until a toothpick inserted into the center comes out clean. The toothpick test ensures that the bread is fully baked and not gooey in the center.

Expert Tips
- Ingredient Temperature: For optimal results, make sure your wet ingredients like eggs and yogurt are at room temperature.
- Mixing Technique: When combining wet and dry ingredients, use a gentle folding motion rather than aggressive stirring. This prevents overmixing, which can lead to tough or dense bread.
- Measuring Flour: When measuring flour, use a spoon to scoop flour into the measuring cup, then level it off with a straight edge. This helps prevent excess flour from being packed into the cup, which could lead to a dry or dense texture.
- Banana Ripeness: Using overripe bananas with brown spots will give your bread a richer banana flavor and natural sweetness. The bananas will also mash more easily, contributing to a smooth batter.
- Testing for Doneness: While the toothpick test is a good indicator, also pay attention to the overall color of the bread. It should be golden brown and firm to the touch. If the toothpick comes out with a few moist crumbs, that’s fine, as long as it’s not raw batter.
- Cooling Process: Once the bread is out of the oven, allow it to cool in the pan for about 10-15 minutes before transferring it to a wire rack to cool completely. This prevents the bread from becoming soggy due to trapped steam.
- Customization: While the recipe is excellent as is, don’t hesitate to get creative. You can add nuts, chocolate chips, or dried fruits for added texture and flavor.
Remember that baking can be a bit of trial and error, especially with different ovens and ingredients. Don’t be discouraged if your first attempt isn’t perfect—it’s all part of the learning process!
Frequently Asked Questions
The Greek yogurt can be swapped for whole, 2%, or nonfat yogurt or 1 cup sour cream if desired.
Banana bread will be dense if the batter has been over-mixed. Stir the ingredients until just mixed then pour straight into the loaf pan. If your kiddos are helping in the kitchen, give them a specific number to stir as a kid-friendly way to prevent over-stirring.
Store in the fridge wrapped in foil or plastic wrap and placed in a ziplock bag for up to 5 days or in the freezer for up to 3 months.
Turn into muffins by pouring the batter into a muffin tin. Then, bake at 400°F for 8 minutes, turning down to 350°F and baking for an additional 7 minutes or until a toothpick inserted into the center of the muffins comes out clean.
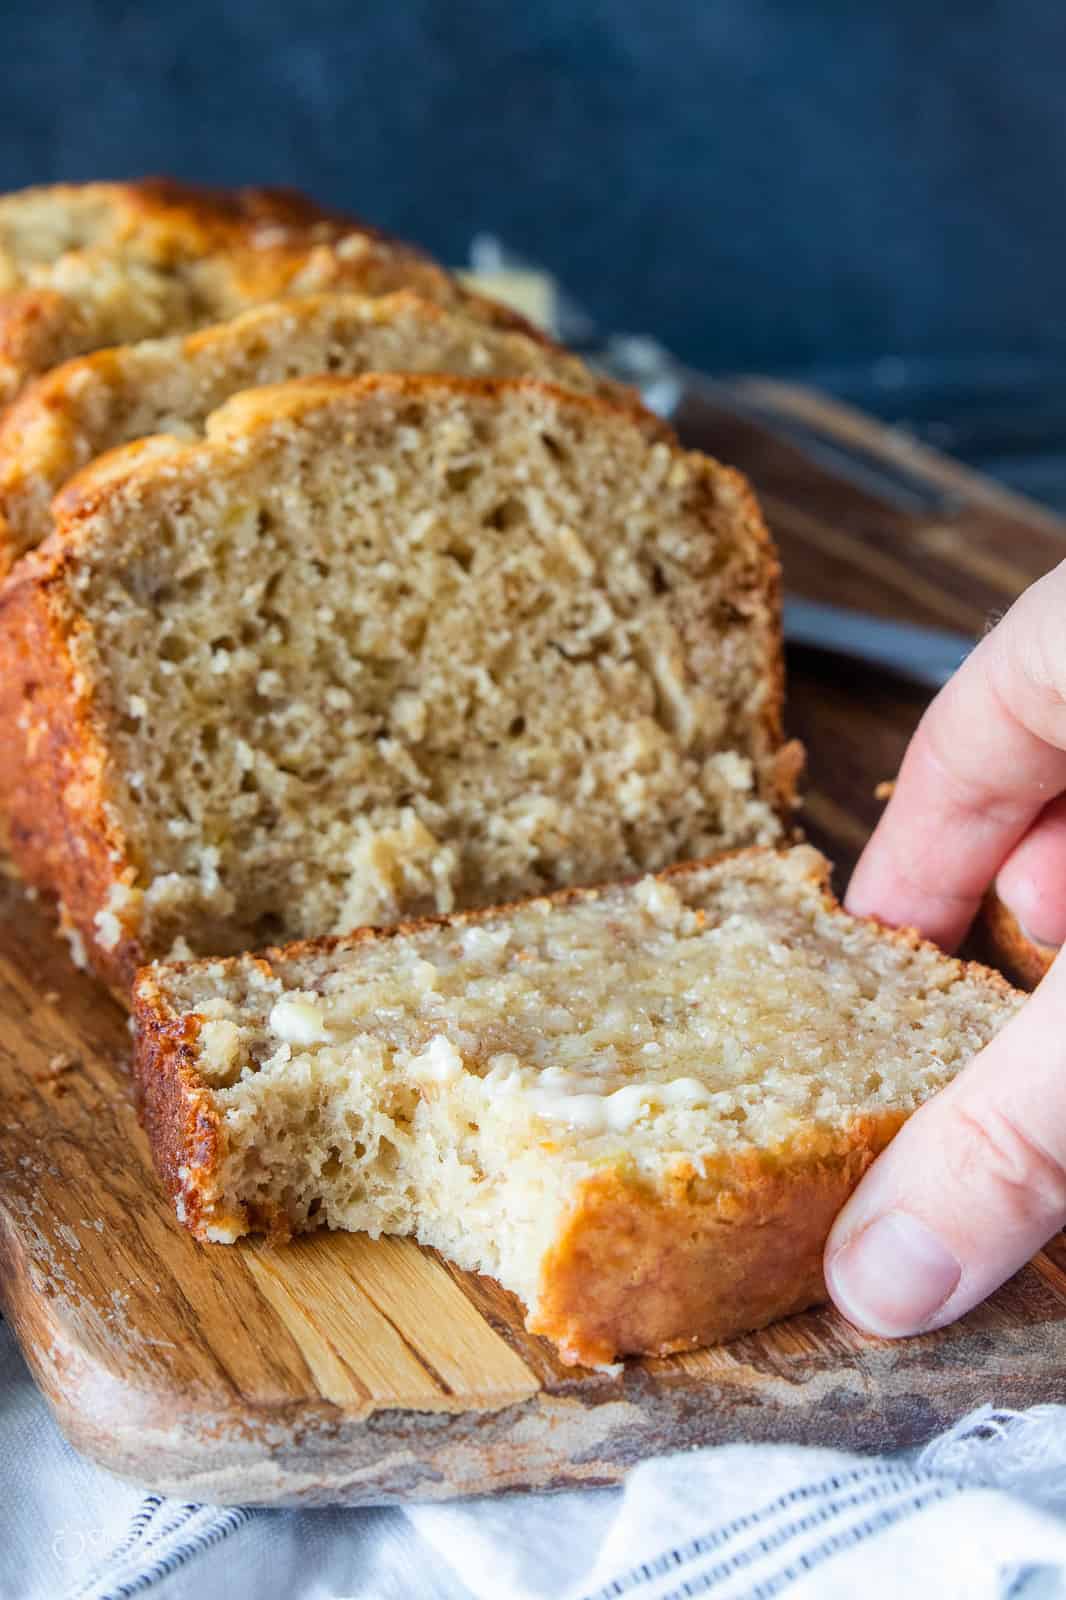
Storage and Freezing Instructions
After baking your delicious banana bread, allow it to cool completely to room temperature. Once cooled, wrap the bread tightly in plastic wrap or aluminum foil to maintain its moisture and prevent it from drying out. For short-term storage, you can keep the wrapped bread at room temperature in a cool, dry place for up to 1-2 days.
If you intend to enjoy the banana bread over the course of a few more days, it’s advisable to refrigerate it. Wrap the bread in plastic wrap or aluminum foil, and then place it in an airtight container or a resealable plastic bag. Refrigeration will help extend its freshness and prevent spoilage. Before serving, allow the refrigerated bread to come to room temperature or gently warm it in the oven.
For longer-term storage, freezing is the best option. Once the banana bread has cooled down completely, wrap it securely in plastic wrap or aluminum foil. Next, place the wrapped bread in a freezer-safe resealable plastic bag, removing as much air as possible before sealing. Don’t forget to label the bag with the date for reference. Frozen banana bread can maintain its quality for up to 3 months. When you’re ready to enjoy it, thaw the bread in the refrigerator or at room temperature. You can also lightly warm individual slices in the oven or microwave.
More Banana Recipes
- Air Fryer Banana Chips
- Easy S’mores Banana Boats
- Spinach Muffins with Banana and Blueberries
- Banana Zucchini Bread
- Healthy Banana Muffins
- Banana Date Smoothie
- Peanut Butter Overnight Oatmeal
CKC Features both Gluten-Free Guidance and Kids Cooking Instructions: If you’re new to eating gluten-free we understand it’s overwhelming trying to figure out which foods may contain gluten and which ones don’t. All of our gluten-free recipes marked with this symbol ✅ represent foods that need to be checked for gluten or cross-contamination.
The ⭐️ symbol in the recipe below denotes the steps in which kid cooks may need a helper (depending on age). If there is no ⭐️ symbol, that step (or recipe) doesn’t require a helper.
Banana Bread with Applesauce Recipe
Equipment
- 9 x 5 inch loaf pan or 2 small loaf pans
- large mixing bowl
- fork
Ingredients
- 1 cup plain full fat Greek yogurt
- 1/2 cup brown sugar
- 1/2 cup granulated sugar
- 1/2 cup unsweetened applesauce
- 2 large eggs
- 2 teaspoons vanilla extract ✅
- 2 1/2 cups all-purpose gluten-free flour
- 1 teaspoon baking soda ✅
- 1 teaspoon salt
- 3 small overripe bananas, mashed
Instructions
- Preheat the oven. Preheat the oven to 400°F. Spray the loaf pan with nonstick cooking spray.
- Combine wet ingredients. Combine the yogurt, brown sugar, granulated sugar, applesauce, eggs, and vanilla in a large bowl.1 cup plain full fat Greek yogurt, 1/2 cup brown sugar, 1/2 cup granulated sugar, 1/2 cup unsweetened applesauce, 2 large eggs, 2 teaspoons vanilla extract
- Combine the dry ingredients. In a medium-sized bowl combine the flour, baking soda, and salt.2 1/2 cups all-purpose gluten-free flour, 1 teaspoon baking soda, 1 teaspoon salt
- Stir the wet and dry ingredients together, then add banana. Add the dry ingredients to the wet ingredients and stir until they just start to come together. Add the mashed banana and gently stir. Do not over stir or the bread will become dense.3 small overripe bananas, mashed
- ⭐️Bake. Bake for 10 minutes at 400°F then turn the oven down to 350°F and continue cooking for about 50 minutes or until a toothpick inserted into the center of the loaf comes out clean.
Notes
Dairy-Free
Make dairy-free by choosing a dairy-free yogurt.Muffins
Turn into muffins by pouring the batter into a muffin tin. Then, bake at 400°F for 8 minutes, turning down to 350°F and baking for an additional 7 minutes or until a toothpick inserted into the center of the muffins comes out clean. CCK Features both Gluten-Free Guidance and Kids Cooking Instructions: If you’re new to eating gluten-free we understand it’s overwhelming trying to figure out which foods may contain gluten and which ones don’t. All of our gluten-free recipes marked with this symbol ✅ represent foods that need to be checked for gluten or cross-contamination. The ⭐️ symbol in the recipe below denotes the steps in which kid cooks may need a helper (depending on age). If there is no ⭐️ symbol, that step (or recipe) doesn’t require a helper.Nutrition
If you enjoyed these recipes make sure to leave a comment and a star rating below!
Then follow us on social media and tag #createkidsclub if you make the recipe. We love seeing what you come up with!




May says
The best!
DD says
Delicious recipe. Produced a lot of batter! I overloaded my loaf pan and made a bit of a mess in my oven so a suggestion would be to additionally make some muffins with the extra instead of keeping your fingers crossed that it won’t spill over.
Jodi Danen, RDN says
Hi Diana! Thanks for the feedback. I updated the post to specify using a large loaf pan or two small pans. My recipe turned out great in the pan I show in the post, but it must be larger than the one you used. Thanks so much!
DD says
AMAZING!!!! I’m making this recipe again, and noticed the update in your instructions. Thanks so much!
Jodi Danen, RDN says
I hope the updates were useful and I’m thrilled to hear you enjoy the recipe! 🙂
Rachel Lynn says
Suggestion: Give the measurements of the loaf pans you’ve mentioned, i.e. 9 in x 4 in.
Jodi Danen, RDN says
I added the measurement, thanks!
Annie B. says
This looks wonderful! I am planning to bake it with 2 and 3 year old children. Has anyone tried this recipe with no eggs and doubling the applesauce? Thank you for the recipe!
Briana says
I tried this recipe today. 10 minutes at 400 degrees and ended up baking for 1 hour and 20 minutes at 350 degrees, but the center did not bake. I followed the directions step by step, and used the correct size loaf pan. I was very bummed it didn’t bake through because it smelled absolutely delicious :/
Jodi Danen, RDN says
I’m sorry it didn’t cook through for you. It might be worth putting a thermometer in your oven to make sure it’s cooking at the proper temps. A lot of times our ovens actually cook at slightly different temps than they should. You could try making them as muffins – that might work better!
Jen says
completely burnt. SO disappointed! Made into muffins and wasted time and ingredients. Didn’t even cook as long as recipe stated.
Jodi Danen, RDN says
Hi Jen, I’m sorry to hear this. When baking muffins you typically only need to bake them for 20 minutes. This recipe cooks for 1 hr and 10 minutes so if you cooked them anywhere that long they would have burnt.
Barbara says
Had to cook it a little longer, but was delicious! I also added chocolate chips.
Mary says
Can this be made with almond flour.?
Thank you
Shauna says
I have to agree with the majority of the reviews. This was a total flop! I studied the reviews first so had high hopes, but this loaf went straight in the trash. I used the right size loaf pan (9 x 5), I have an oven thermometer and watched it diligently while baking. The bread burned before it could fully bake! I think this needs some tweaking for sure! I wouldn’t waste the ingredients.
Jodi Danen, RDN says
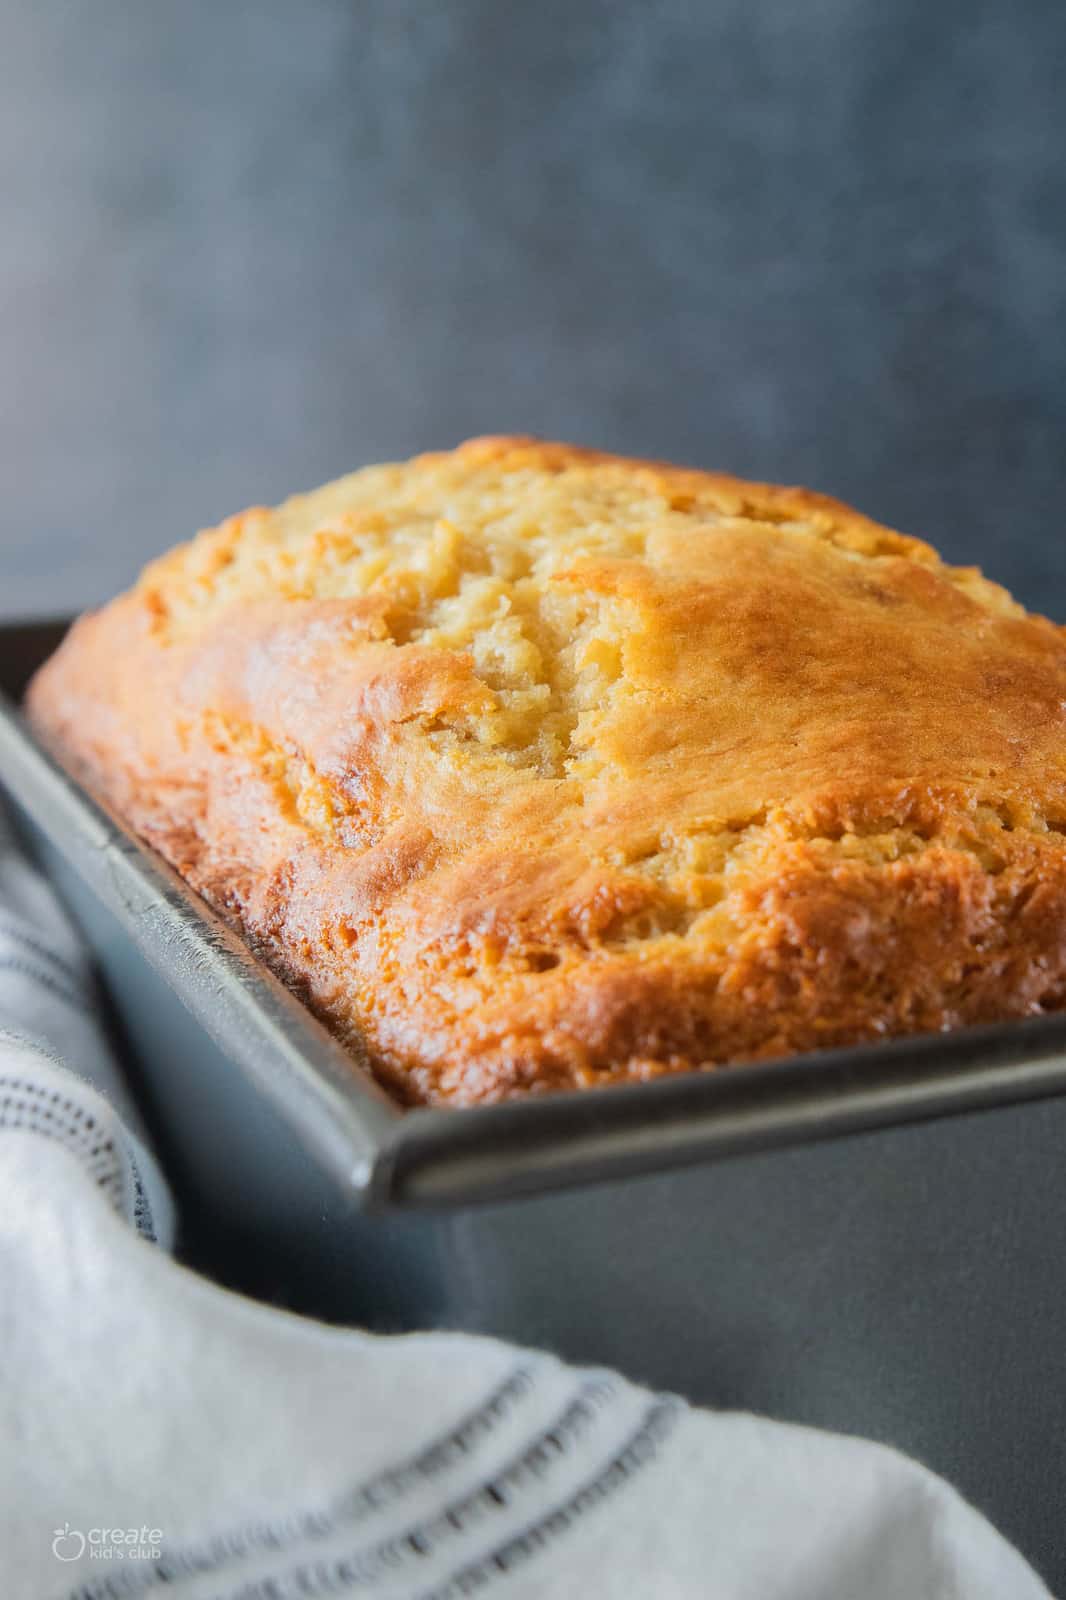
Sorry to hear that Shauna. This bread will be very dark on top. That is what makes it perfectly crunchy outside and moist inside. If it’s really getting burnt before being done, simply cover it with tin foil to avoid it getting any darker.
Angie says
Sadly this came out gummy and not good. It rose beautiful and then fell leaving it gummy. The toothpick came out clean.
Jodi Danen, RDN says
Hi Angie, I’m sorry to hear this. I’m wondering if it didn’t cook all the way through everywhere in the loaf. It does take a long time to cook. Also, did you use full-fat yogurt or fat-free? I’m going to update the recipe as I think this might be a problem as well. Thanks for sharing!
Tina says
I used almond flour and it turned out great. My husband’s comment, “Throw out any other banana bread recipe you have. This one is the one I want every time. “
Sandy says
I mad it as directed, but used 2 pans for fear of over flow. I also put chocolate chips in it . It turned out so good!! I was wanting to make it a chocolate banana bread but was sure it would work. Do you have any suggestions for that ?
Jodi Danen, RDN says
Hi Sandy! So happy to hear you enjoyed the bread! You can use 1/2 cup Dutch process cocoa to make it chocolate banana bread. There should be enough sugar in the recipe that you’d only need the chocolate.
Debbie says
This turned out great! I over cooked the muffins because I didn’t read far enough. 🙂 My loaf was done with about 7 minutes left on the timer. It was baked through though. We really liked this recipe.
Jp says
Everything turned out fine, however I did use all purpose flour. I just found it a bit to sweet for my taste. Next time I’ll reduce the amount of sugar.
Darlene says
I have found a winner for GF/DF Banana Bread!! Absolutely DE-Lish!!! One I can actually serve to my Grans that are all DF/GF. Just served a piece to my husband that was buttered and toasted in air fryer. He loves all things with sugar!!,,, so,,, IF HE SAYS this recipe is YUM,,,, then it’s an “fact jack”!! No problem with the timing or the temperature. My oven cooks a little hotter so I DO cover with foil sometimes or cut back on the time.
I read through the first few reviews which inspired me to make this recipe, PLUS the fact it used the ingredients I had on hand. I really needed to use my DF yogurt . One of the reviews mentioned using coconut sugar in place of the white and brown which I also tried and the other suggestion for adding spice. My husband and I love pecans and walnuts,,, I added walnuts, so yummy!! The bread rose beautifully, crisp on the outside and super moist on the inside. I took a picture hoping to post along with my comment but don’t see the option.
Geri says
I made this banana bread for Super Bowl 2024 party. I must admit, I got nervous when I read the reviews! Was worried I wasted expensive ingredients plus I was thinking I needed a backup plan to take to the Super Bowl party.
I followed directions to the T! I did not alter in anyway. I cooked in a 9 x 5 loaf pan. I used Krusteez Gluten free flour. And the bread was absolutely delicious! I will make this again and love that it’s not only GF but healthier ingredients of applesauce and yogurt.
Everyone at the party raved on this . I will be making this one again.